MRI
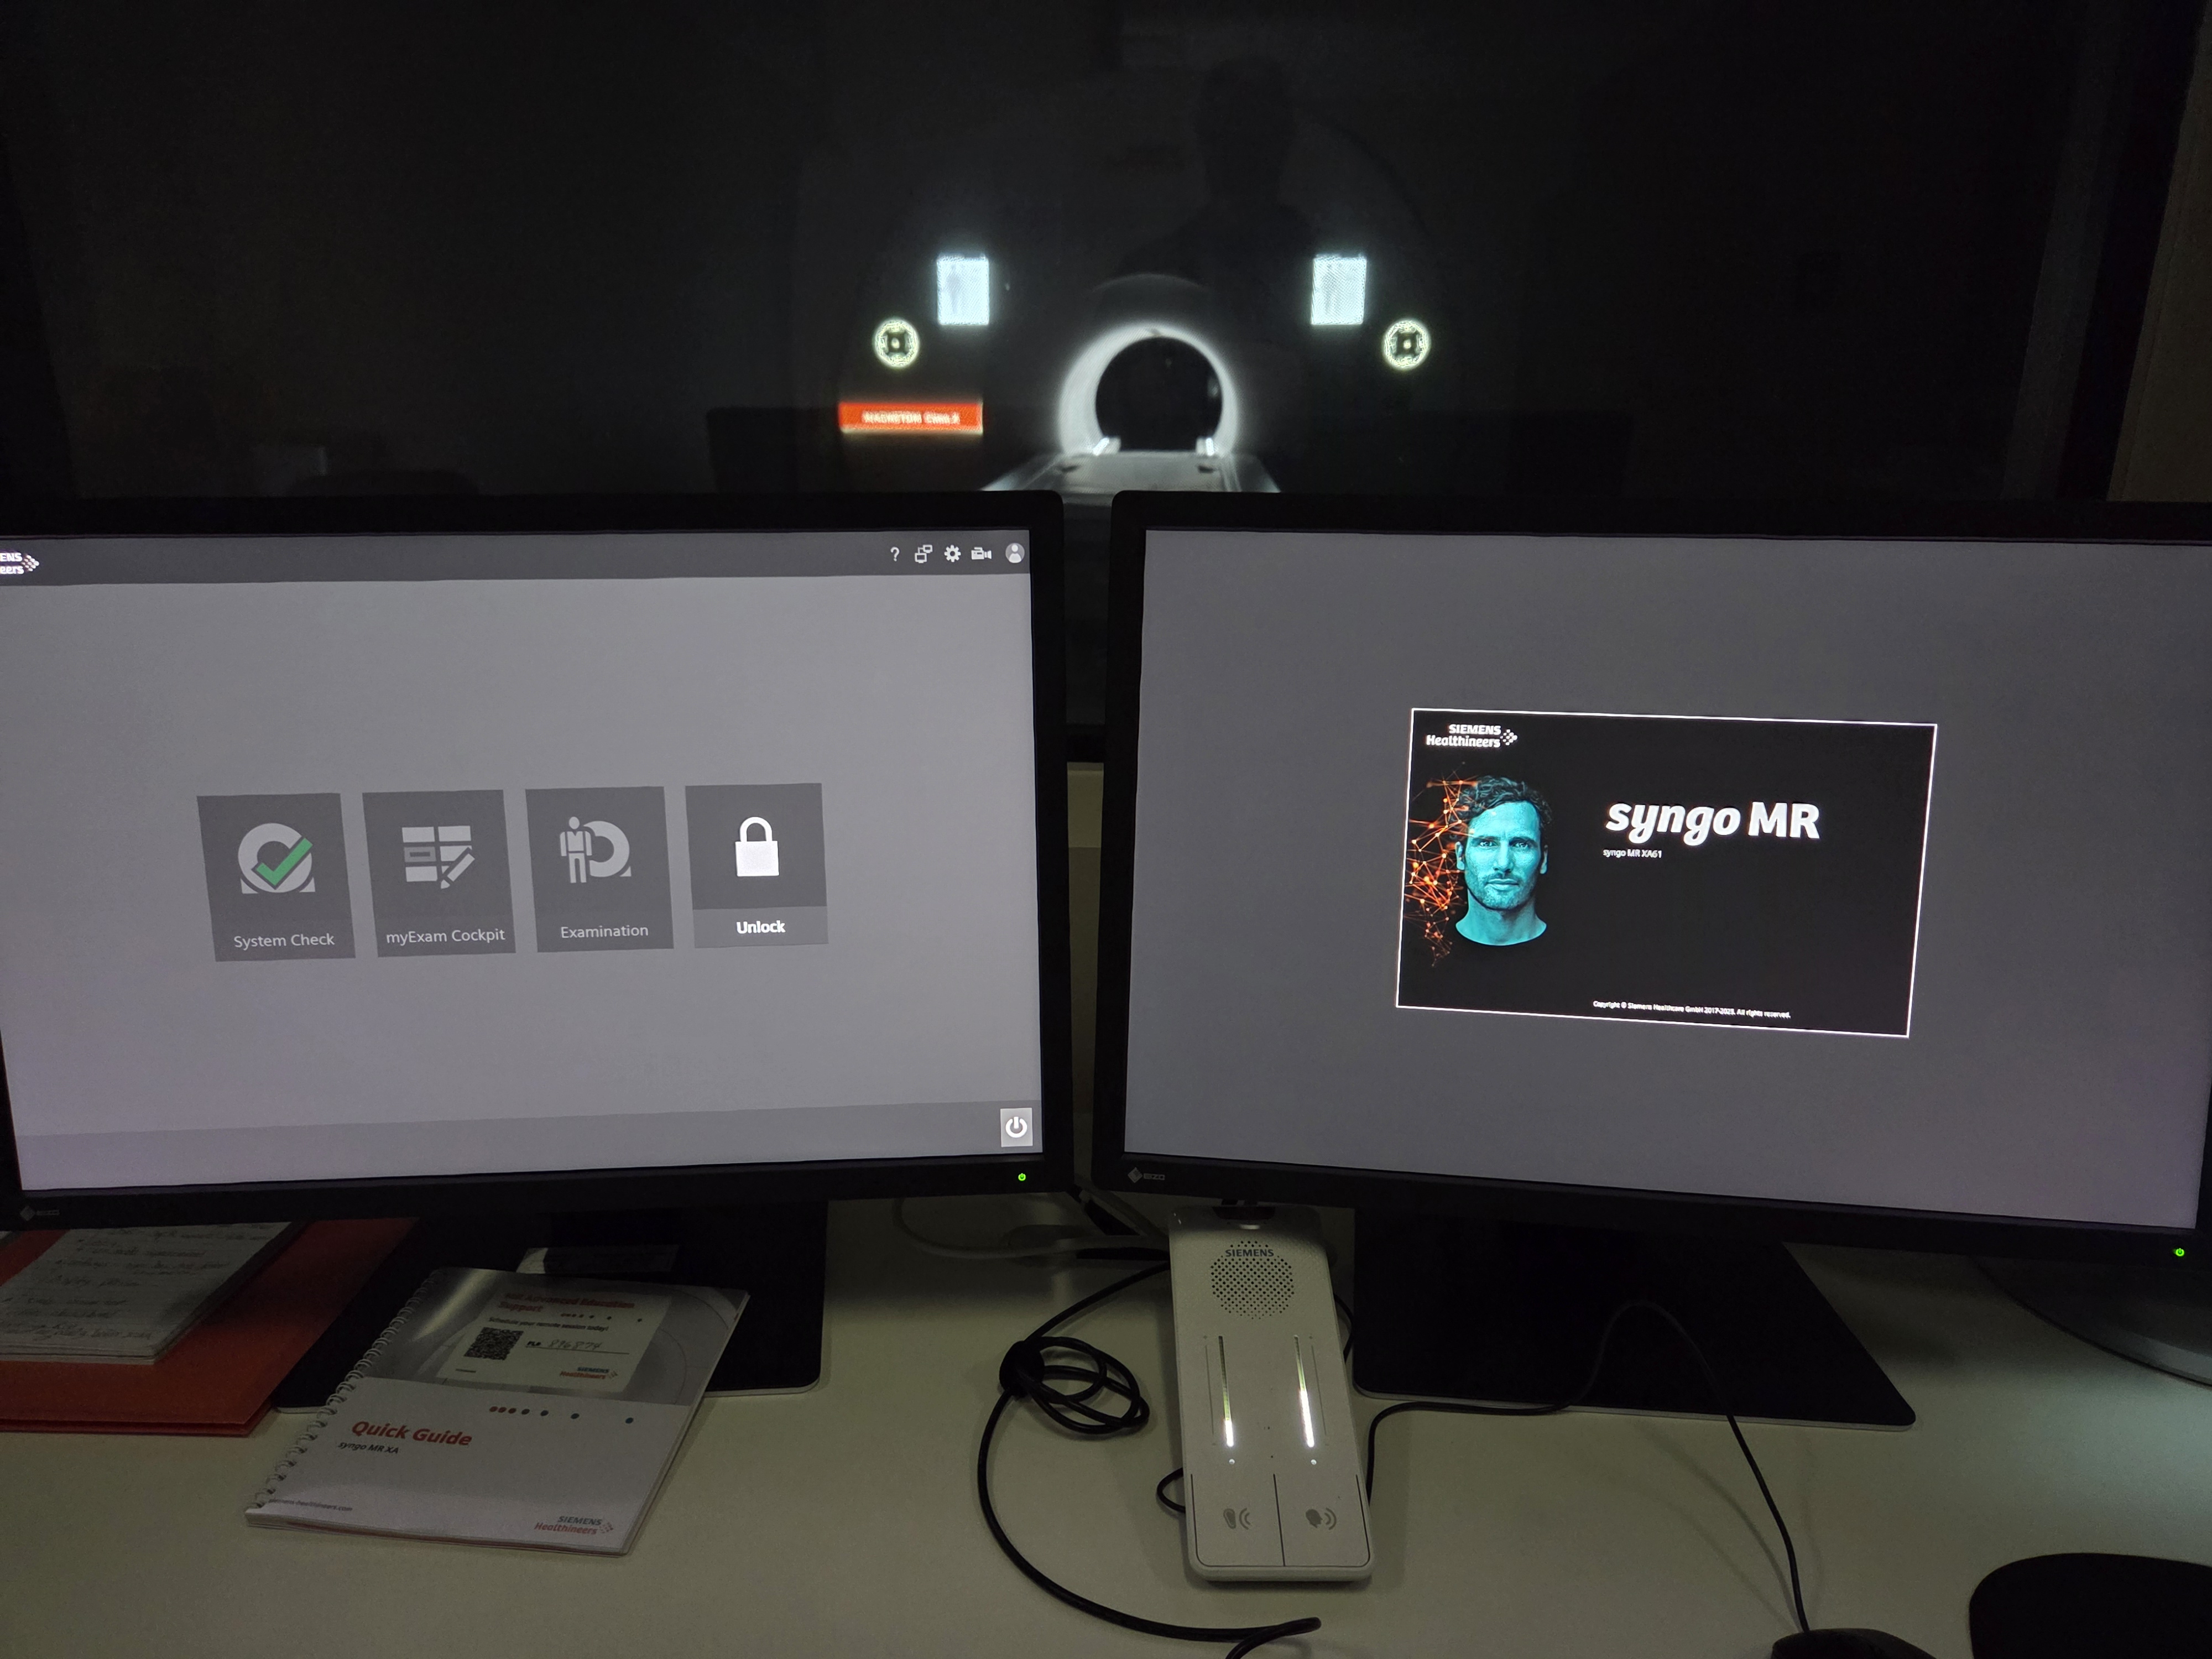
Overview
Step-by-step instructions for conducting human subject research with the MRI scaner.
Boot Control System
Power Up
- Verify Power Panel is unlocked.
- Press “System On” button on Power Panel.
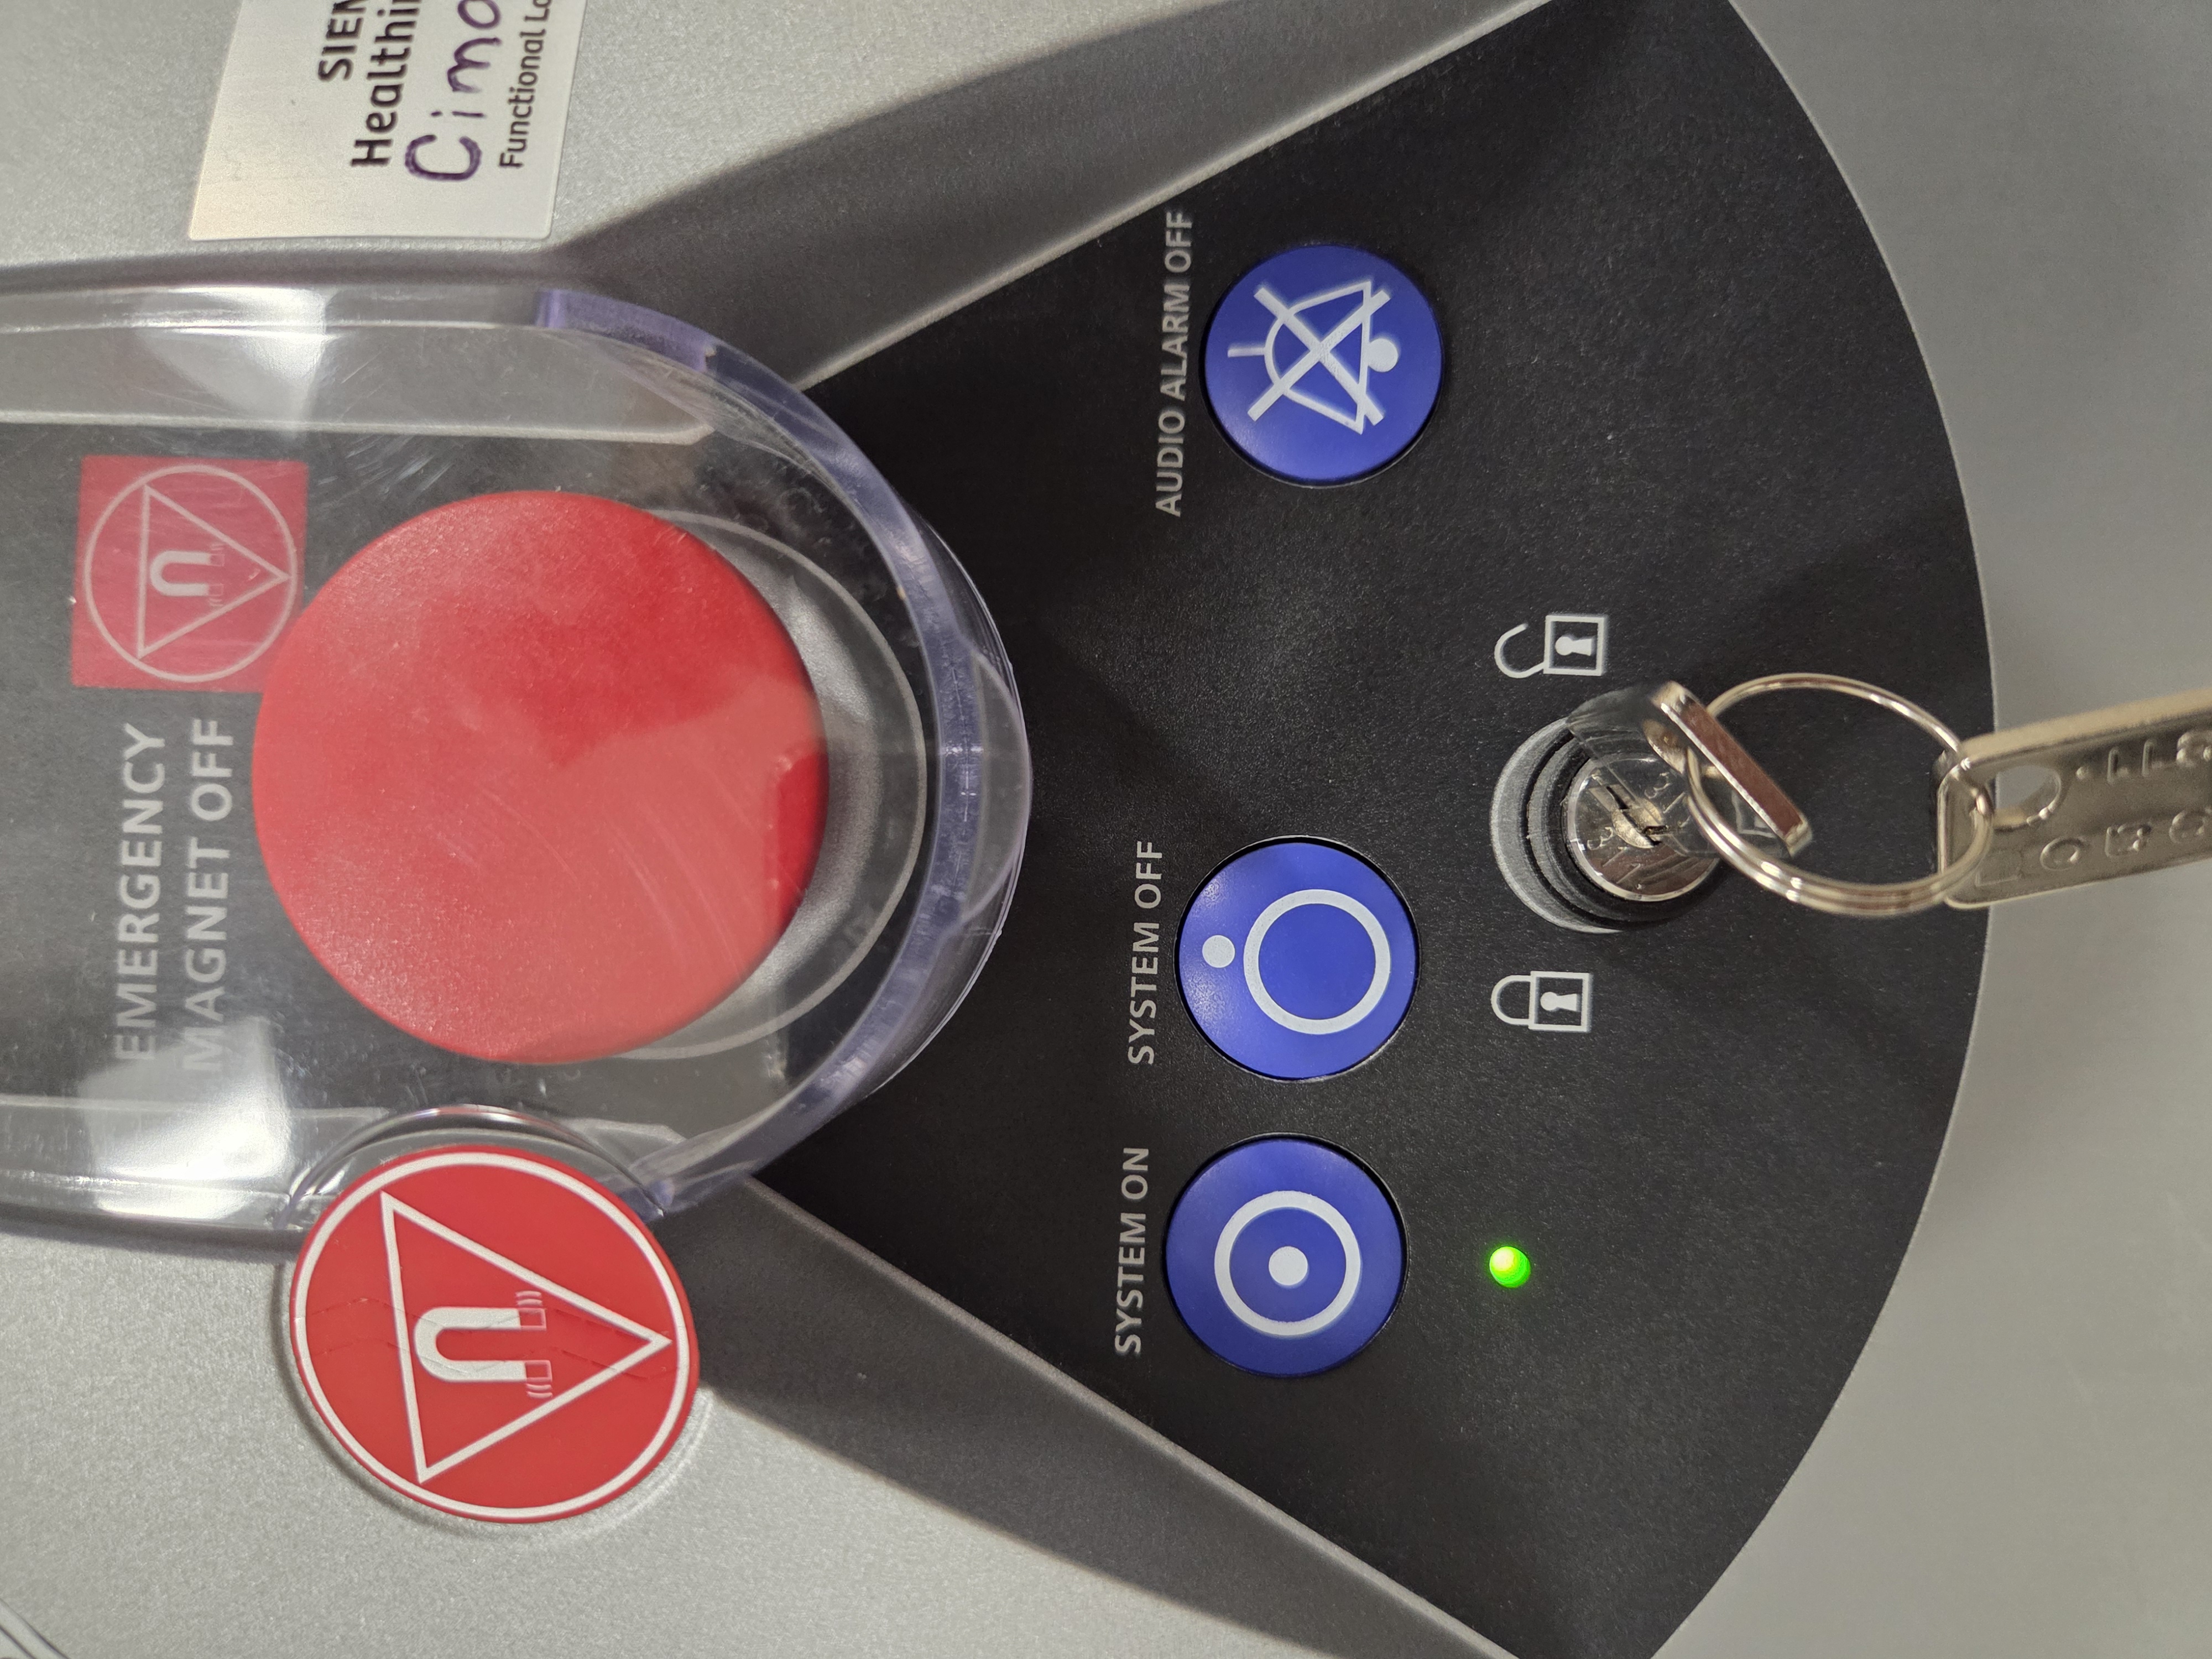
- Wait for the MRI Control system to boot up.
- Approx. 10 minutes.
- System is booted when console displays appear.
Power Down
- Select power button icon in lower right corner of screen.
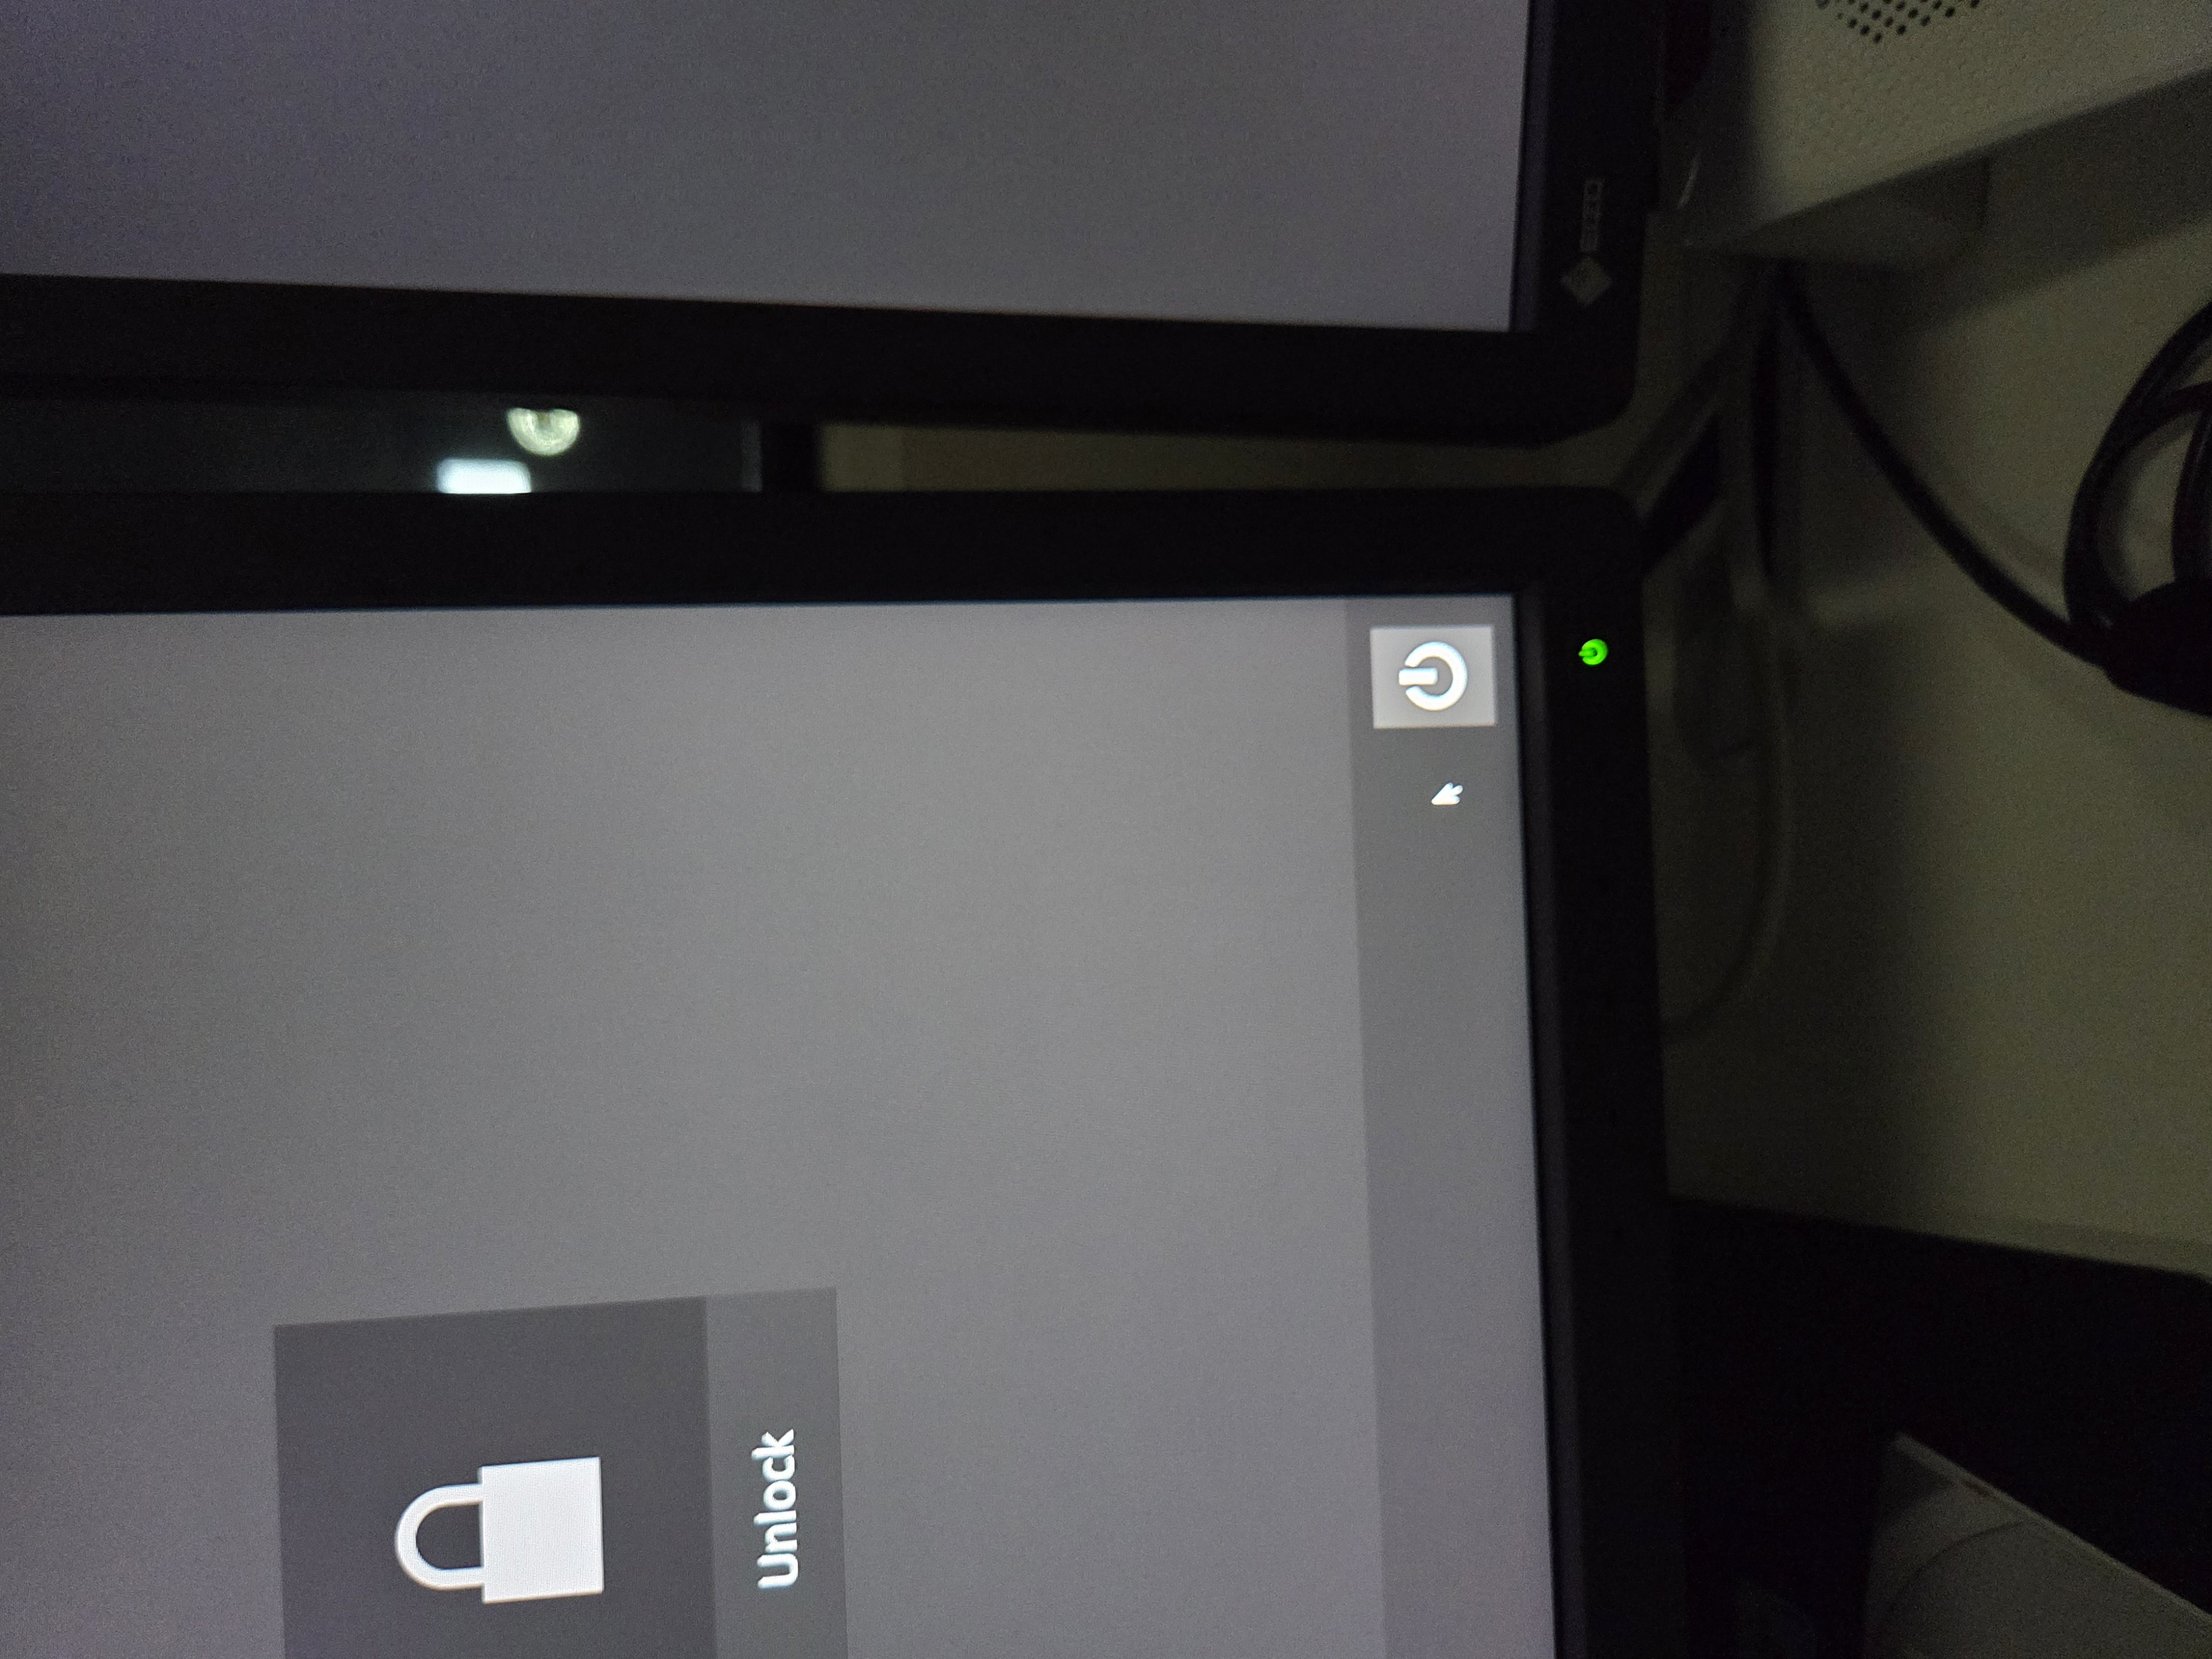
- Select the “Shut Down System” from dropdown menu.
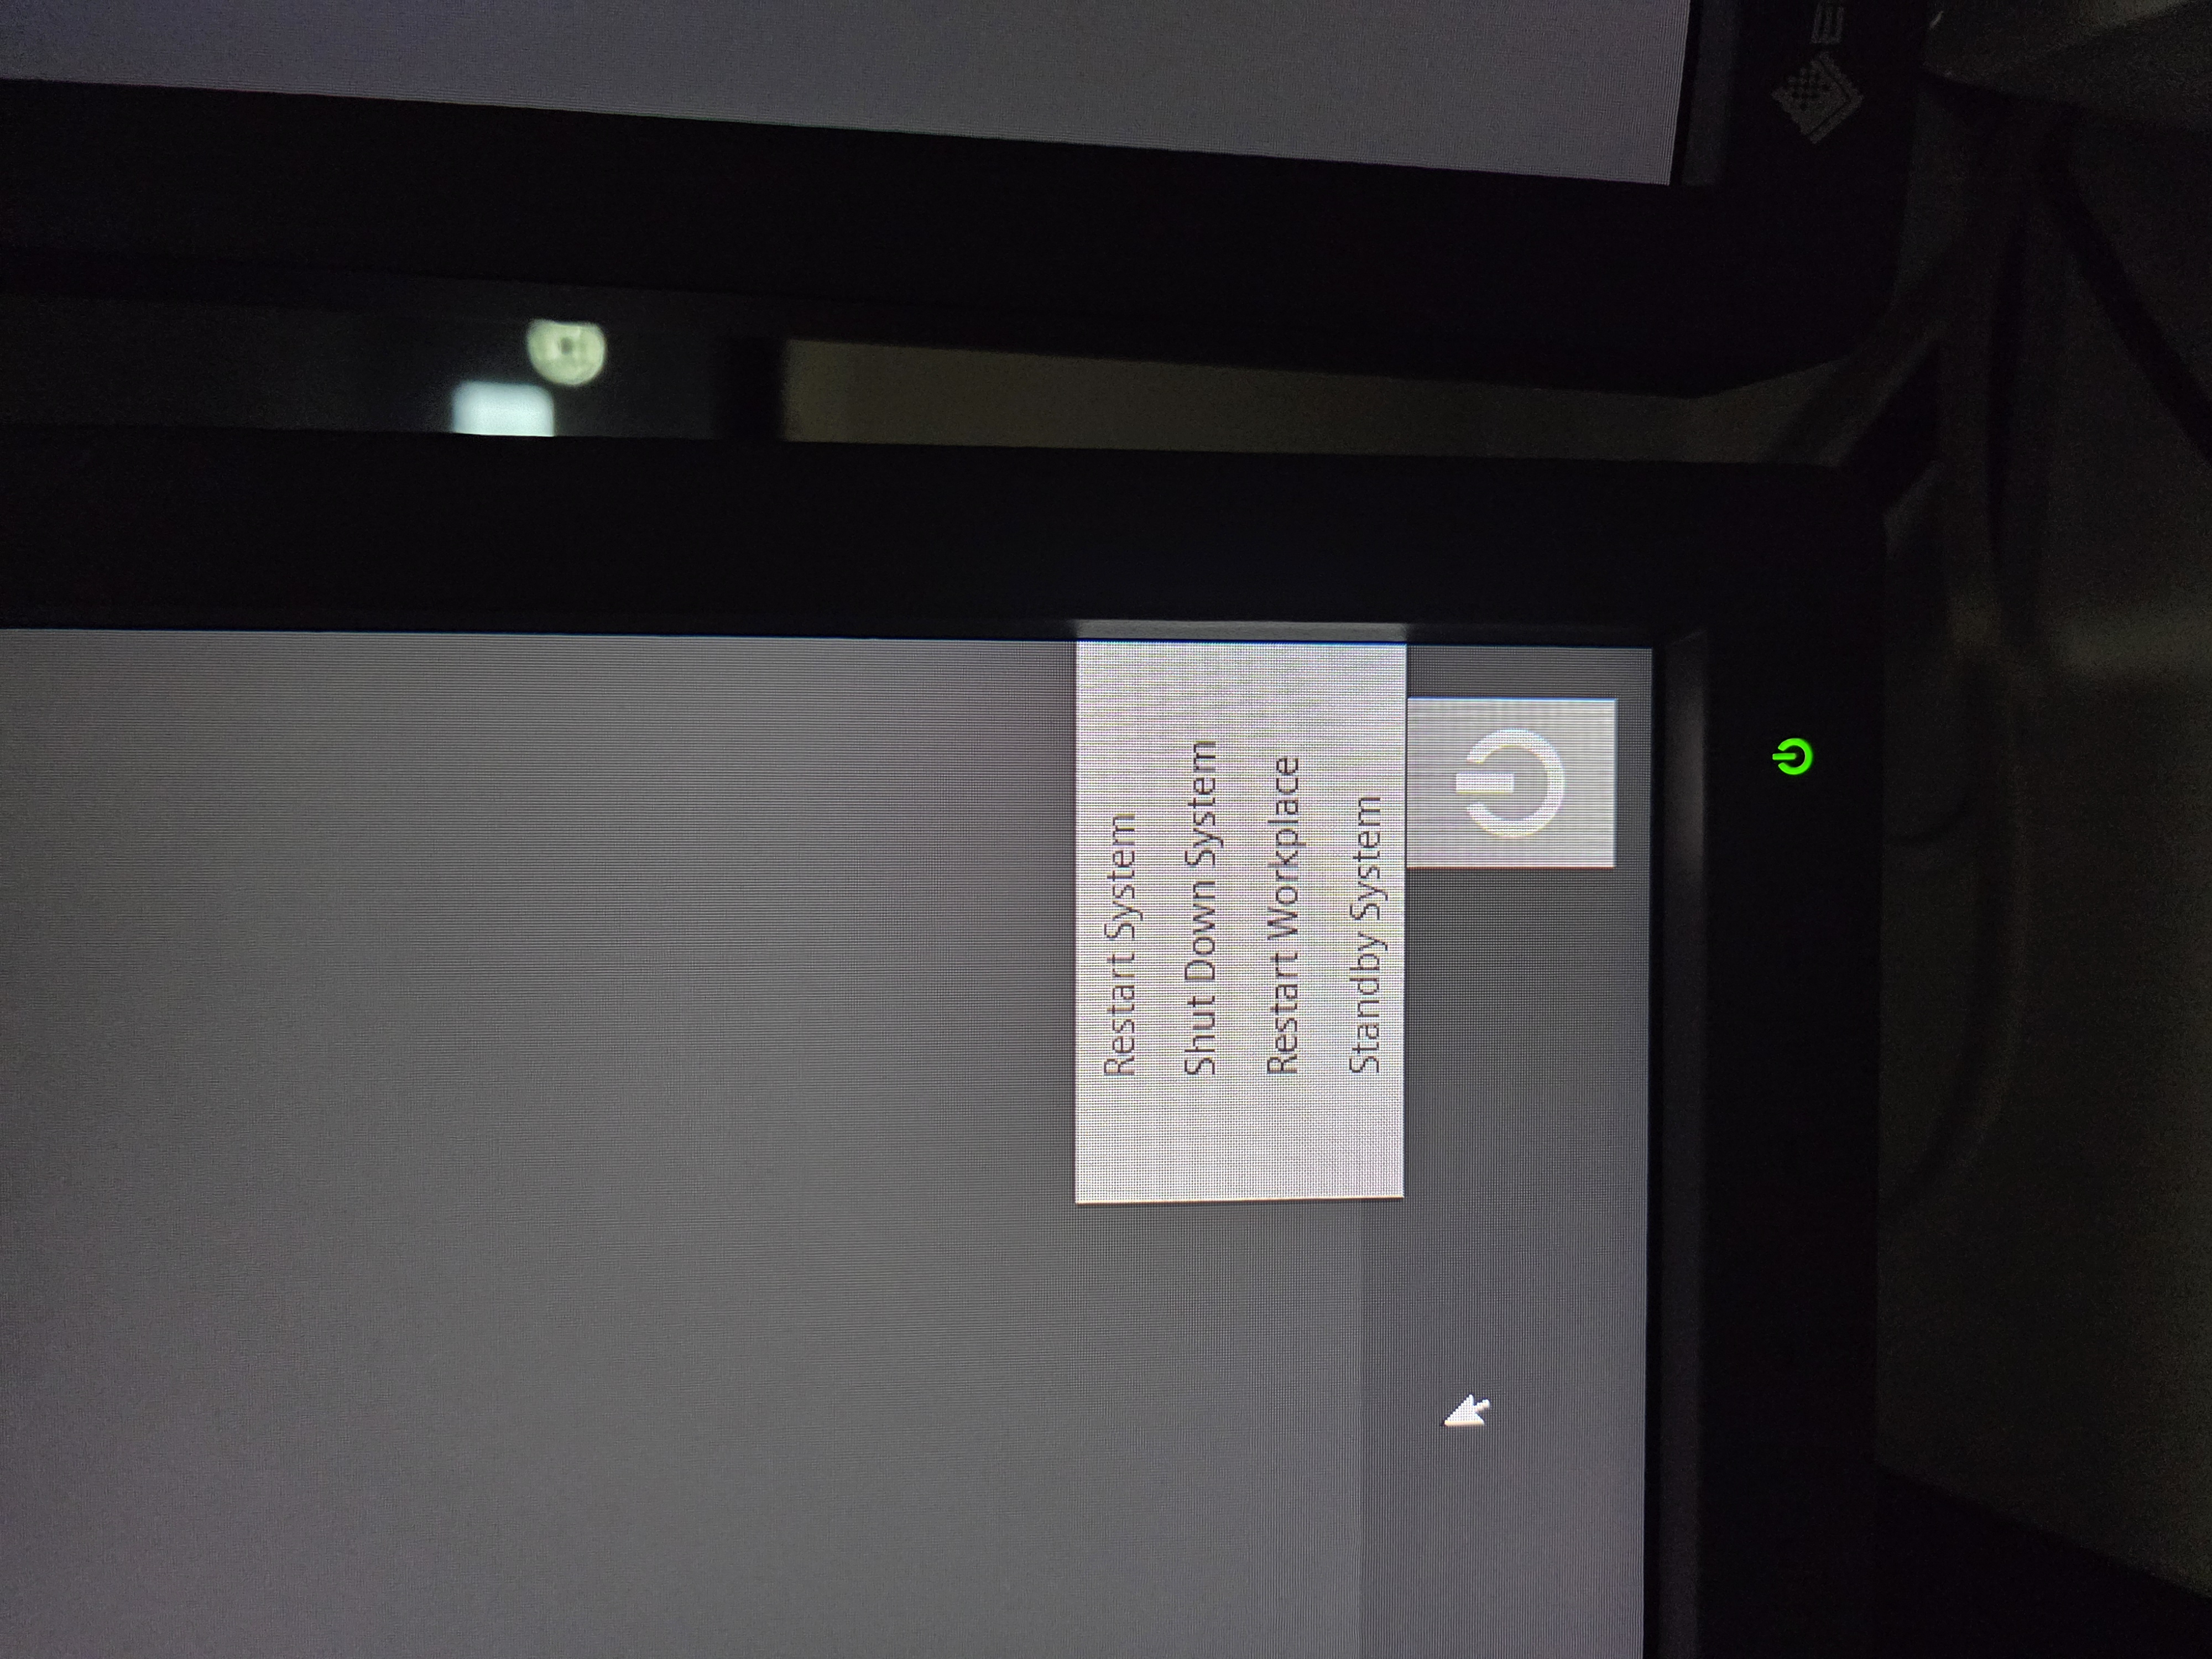
- Select “Shut Down” in pop-up window.
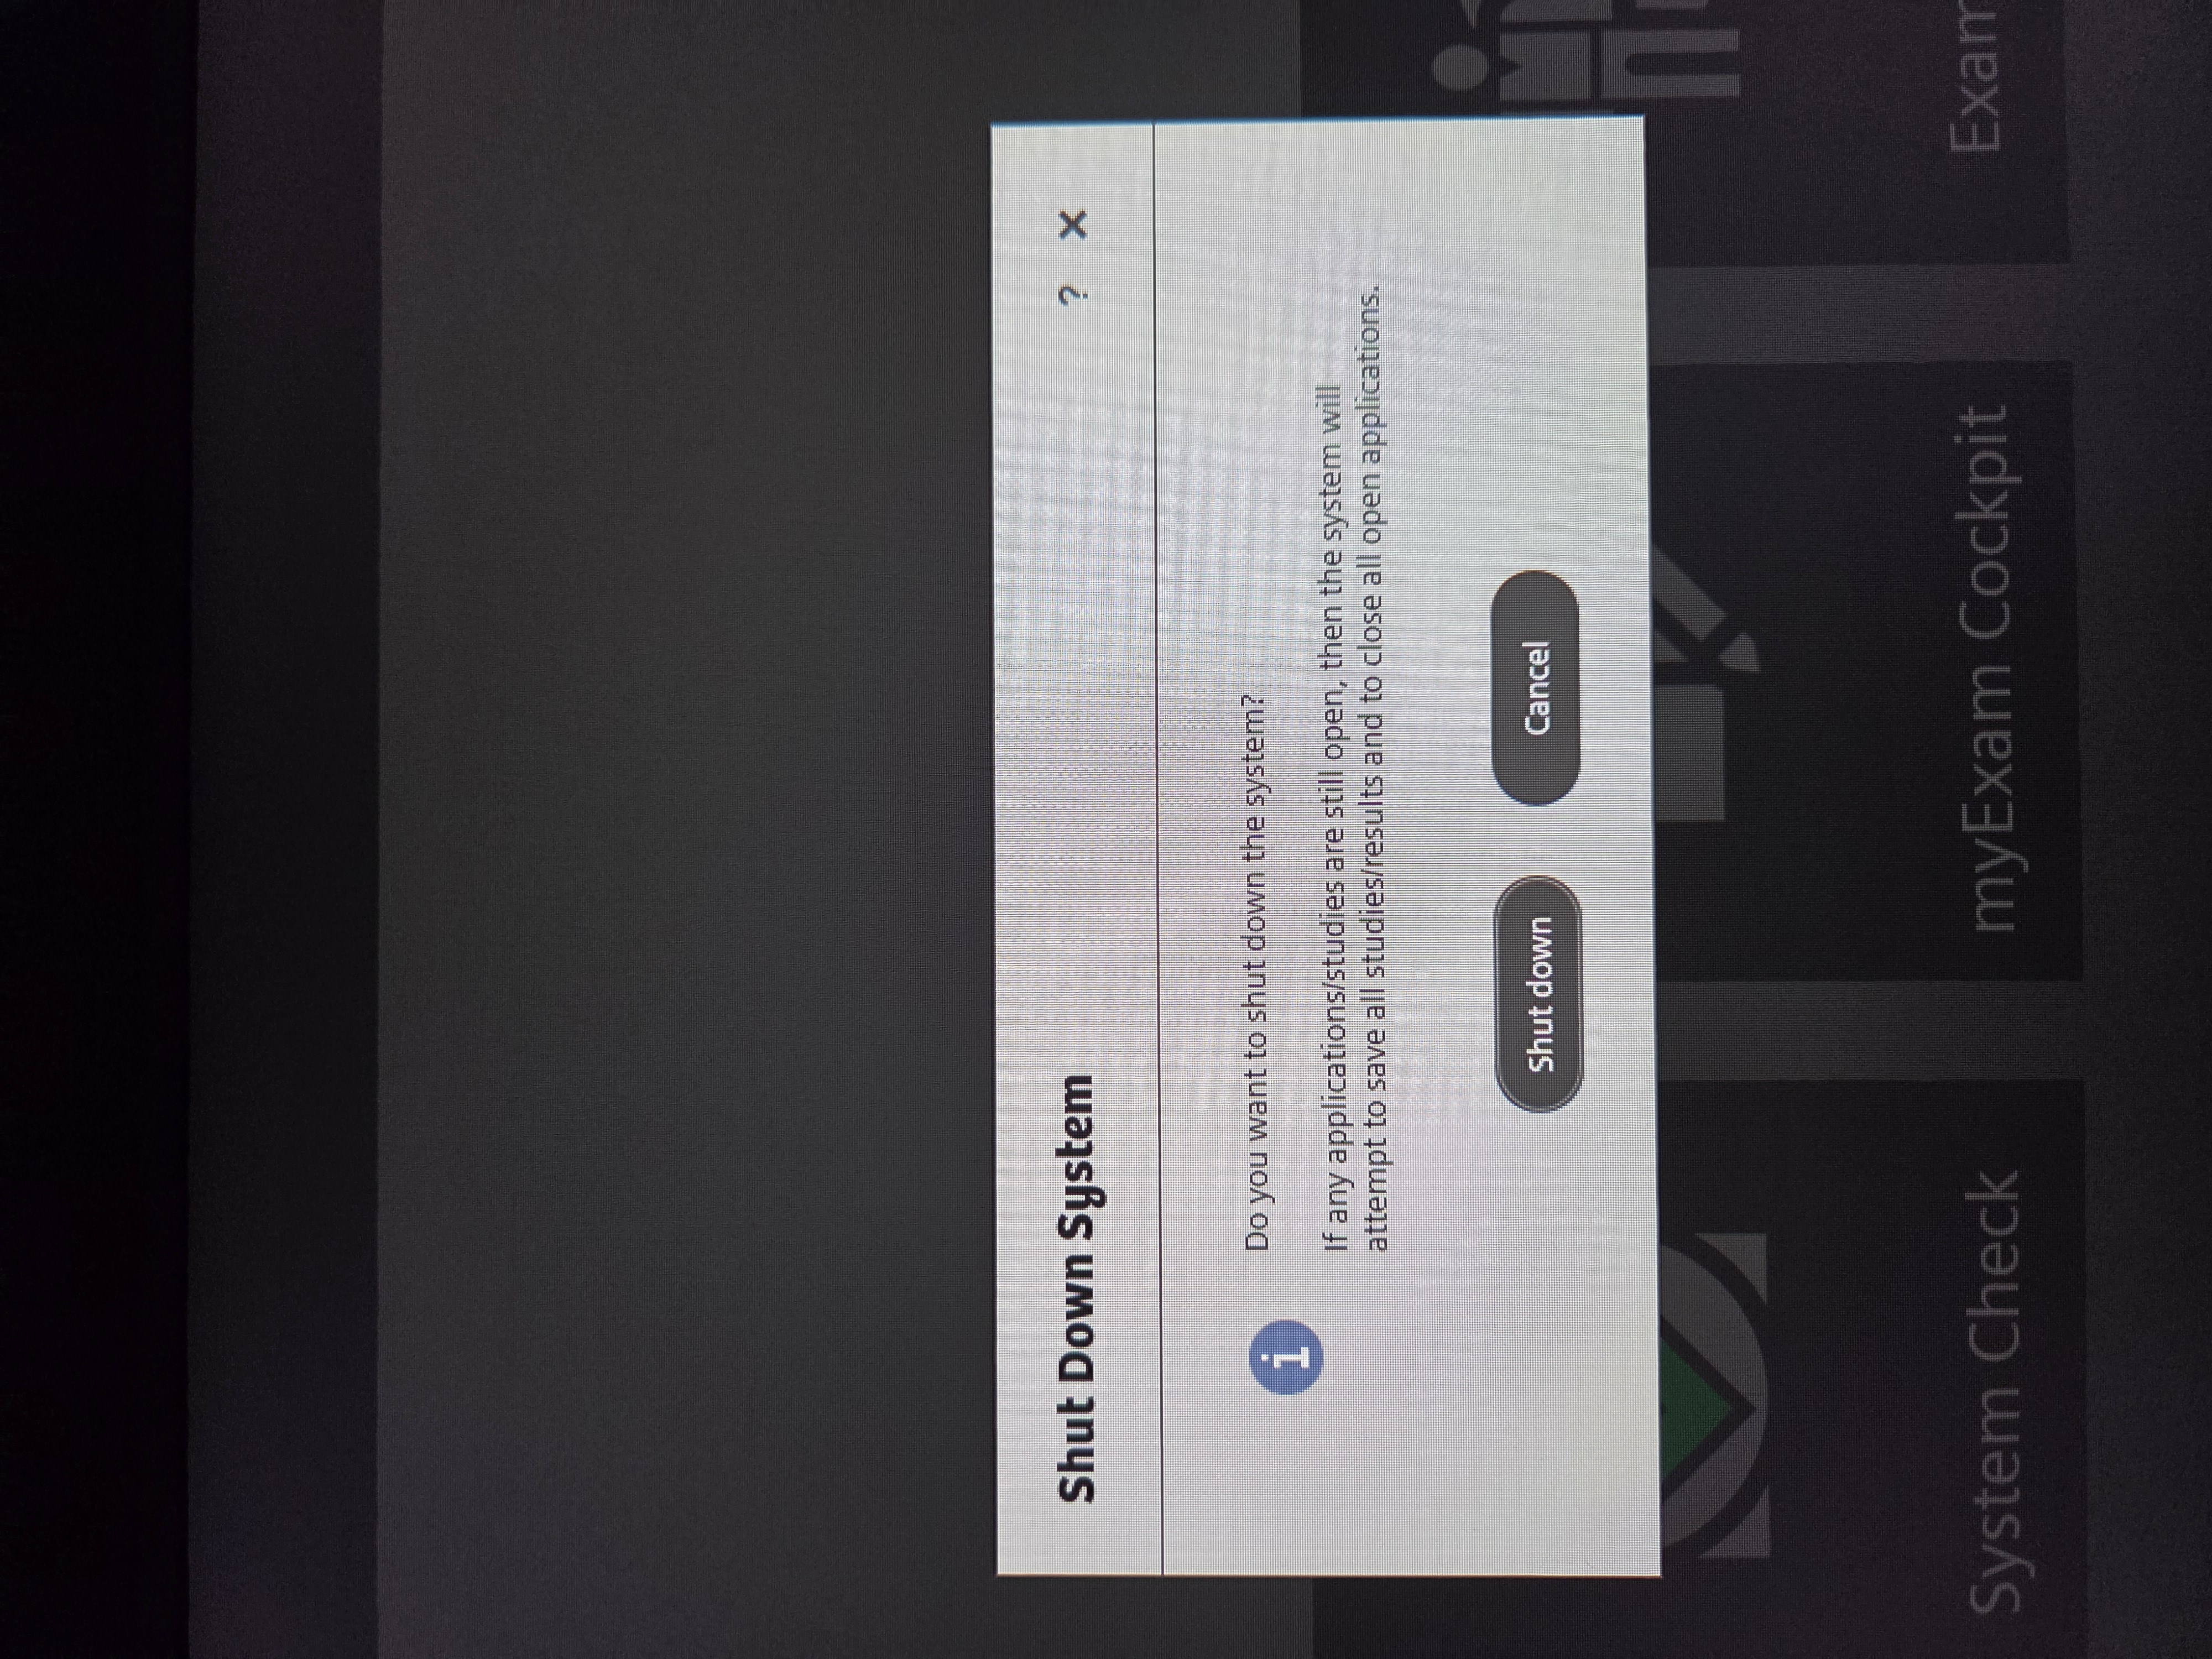
- Wait until the system shuts down – the screens will be blank, monitor power buttons red.
- Push the “System Off” button on the Power Panel.
- Monitor power buttons should now be dark.
Start Session
Login to Control Computer
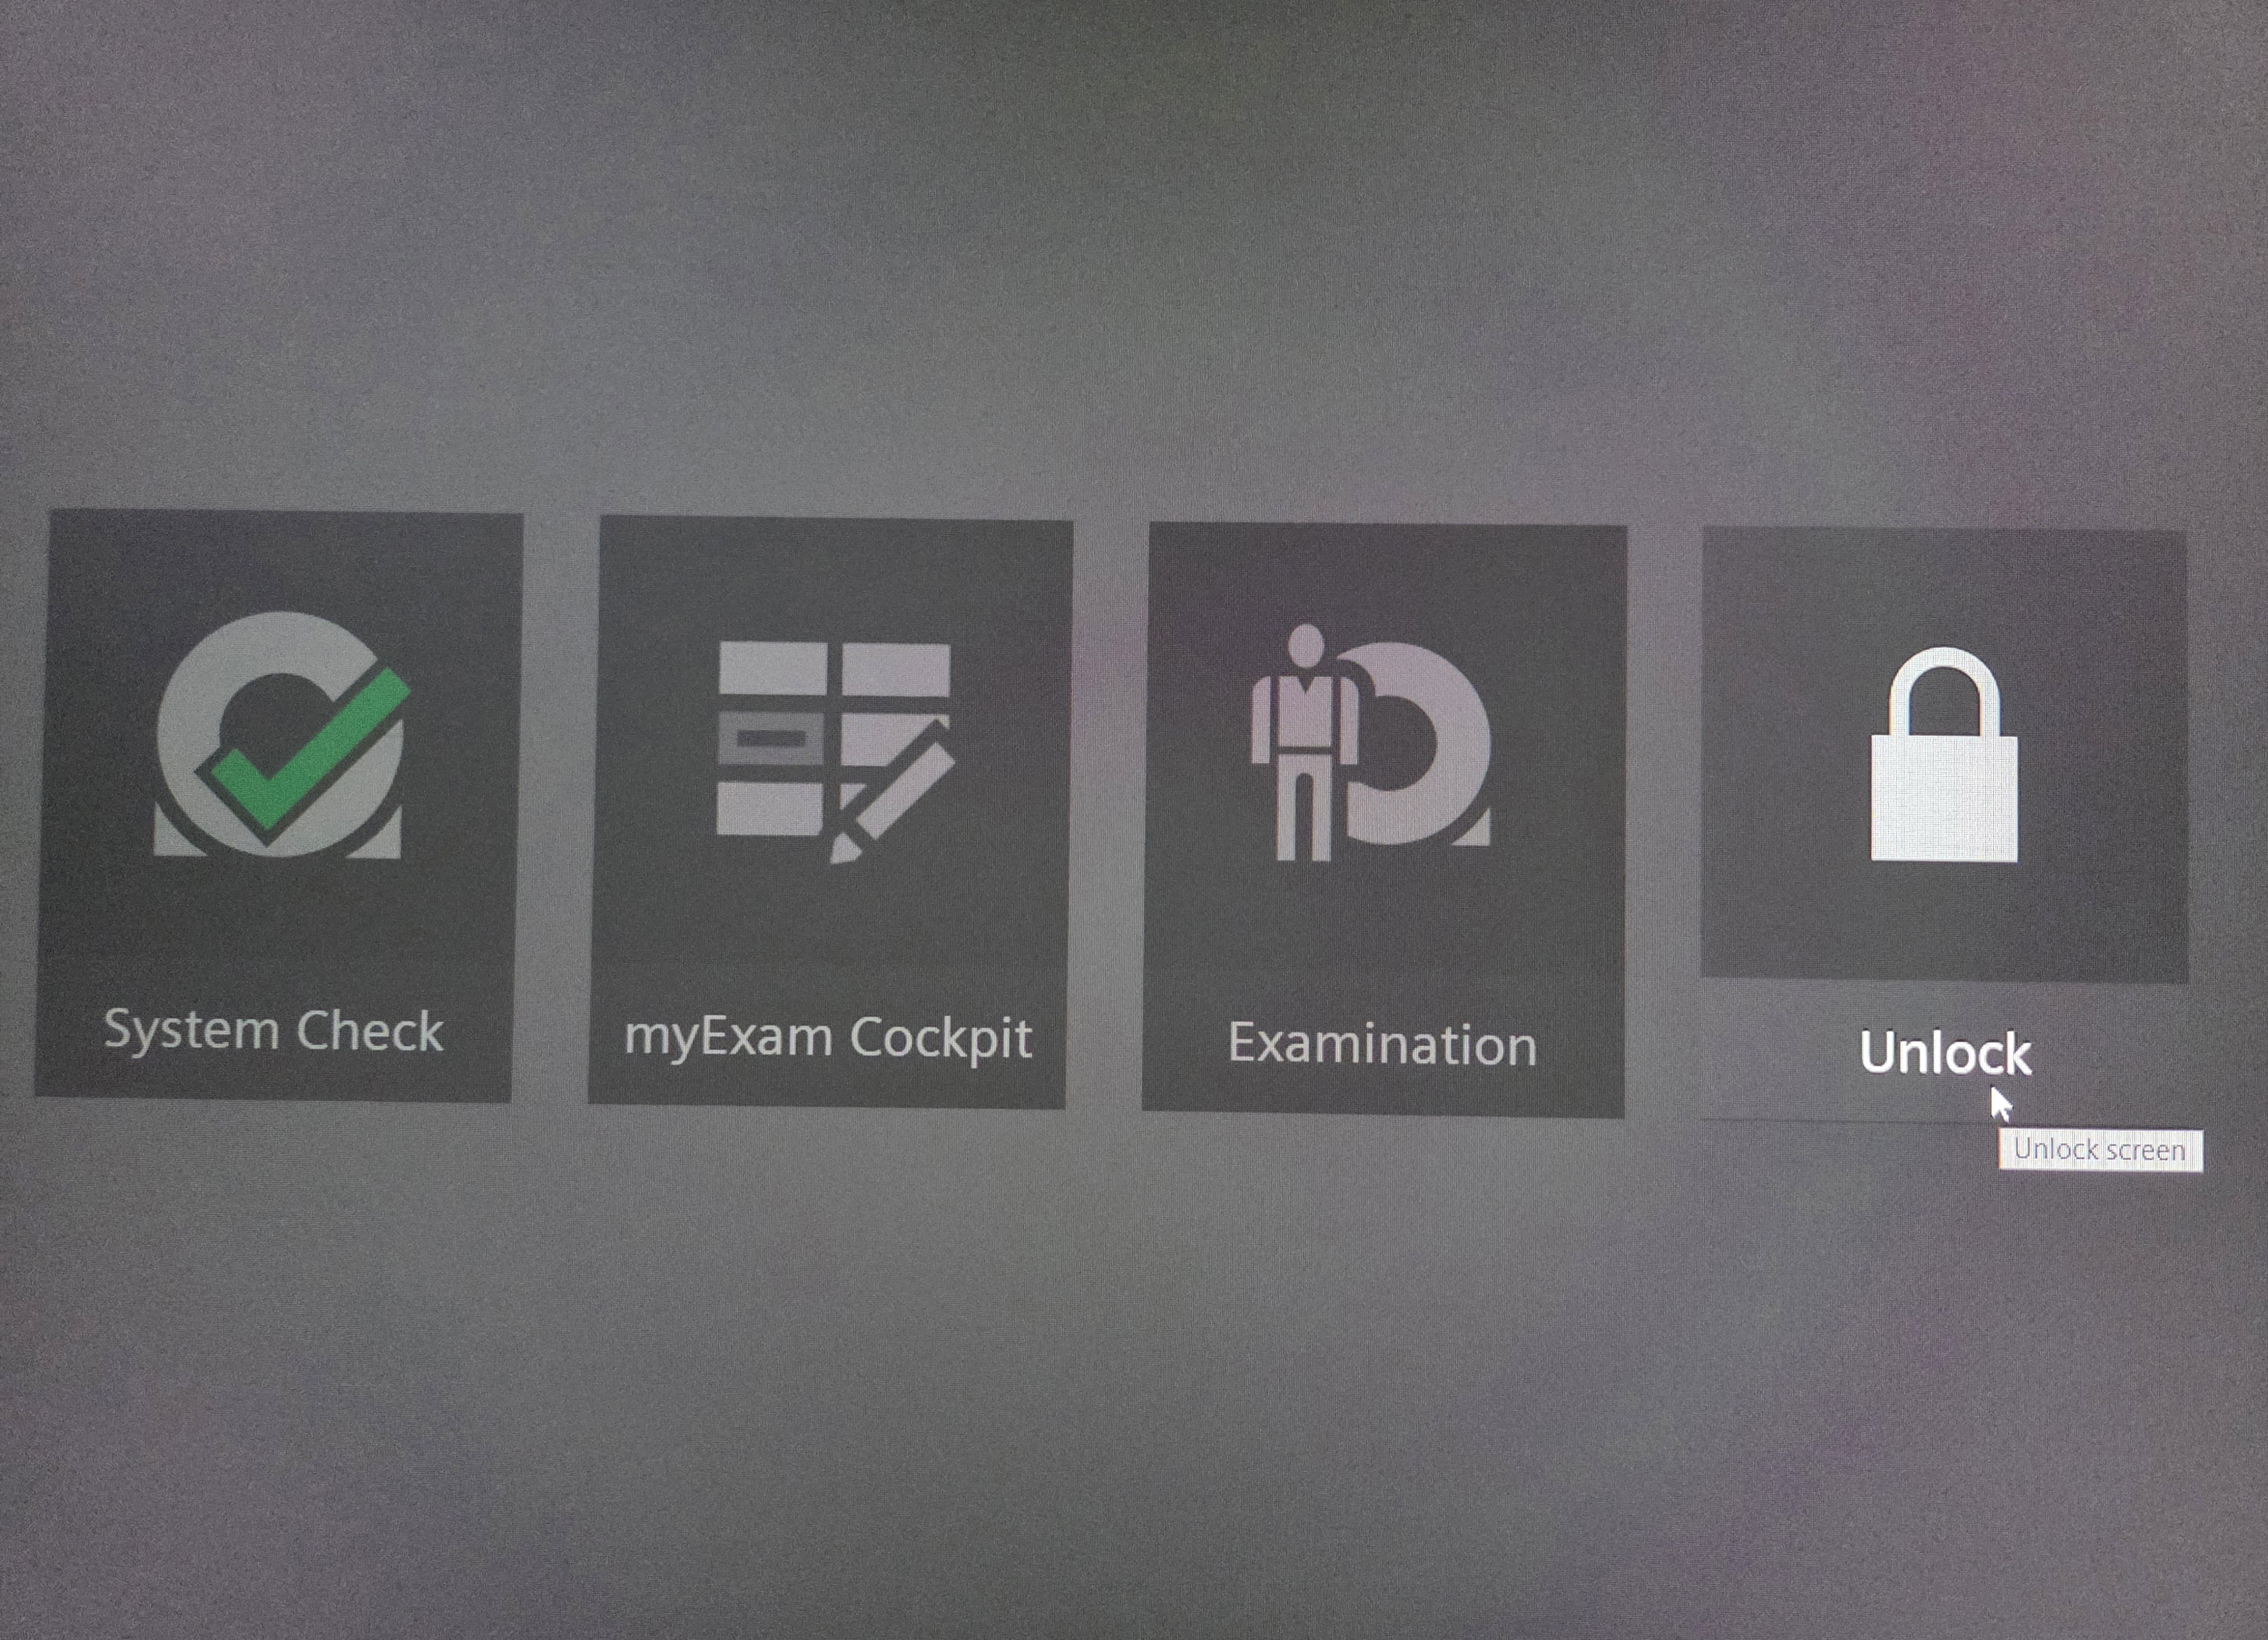
- Select “Unlock” on main screen.
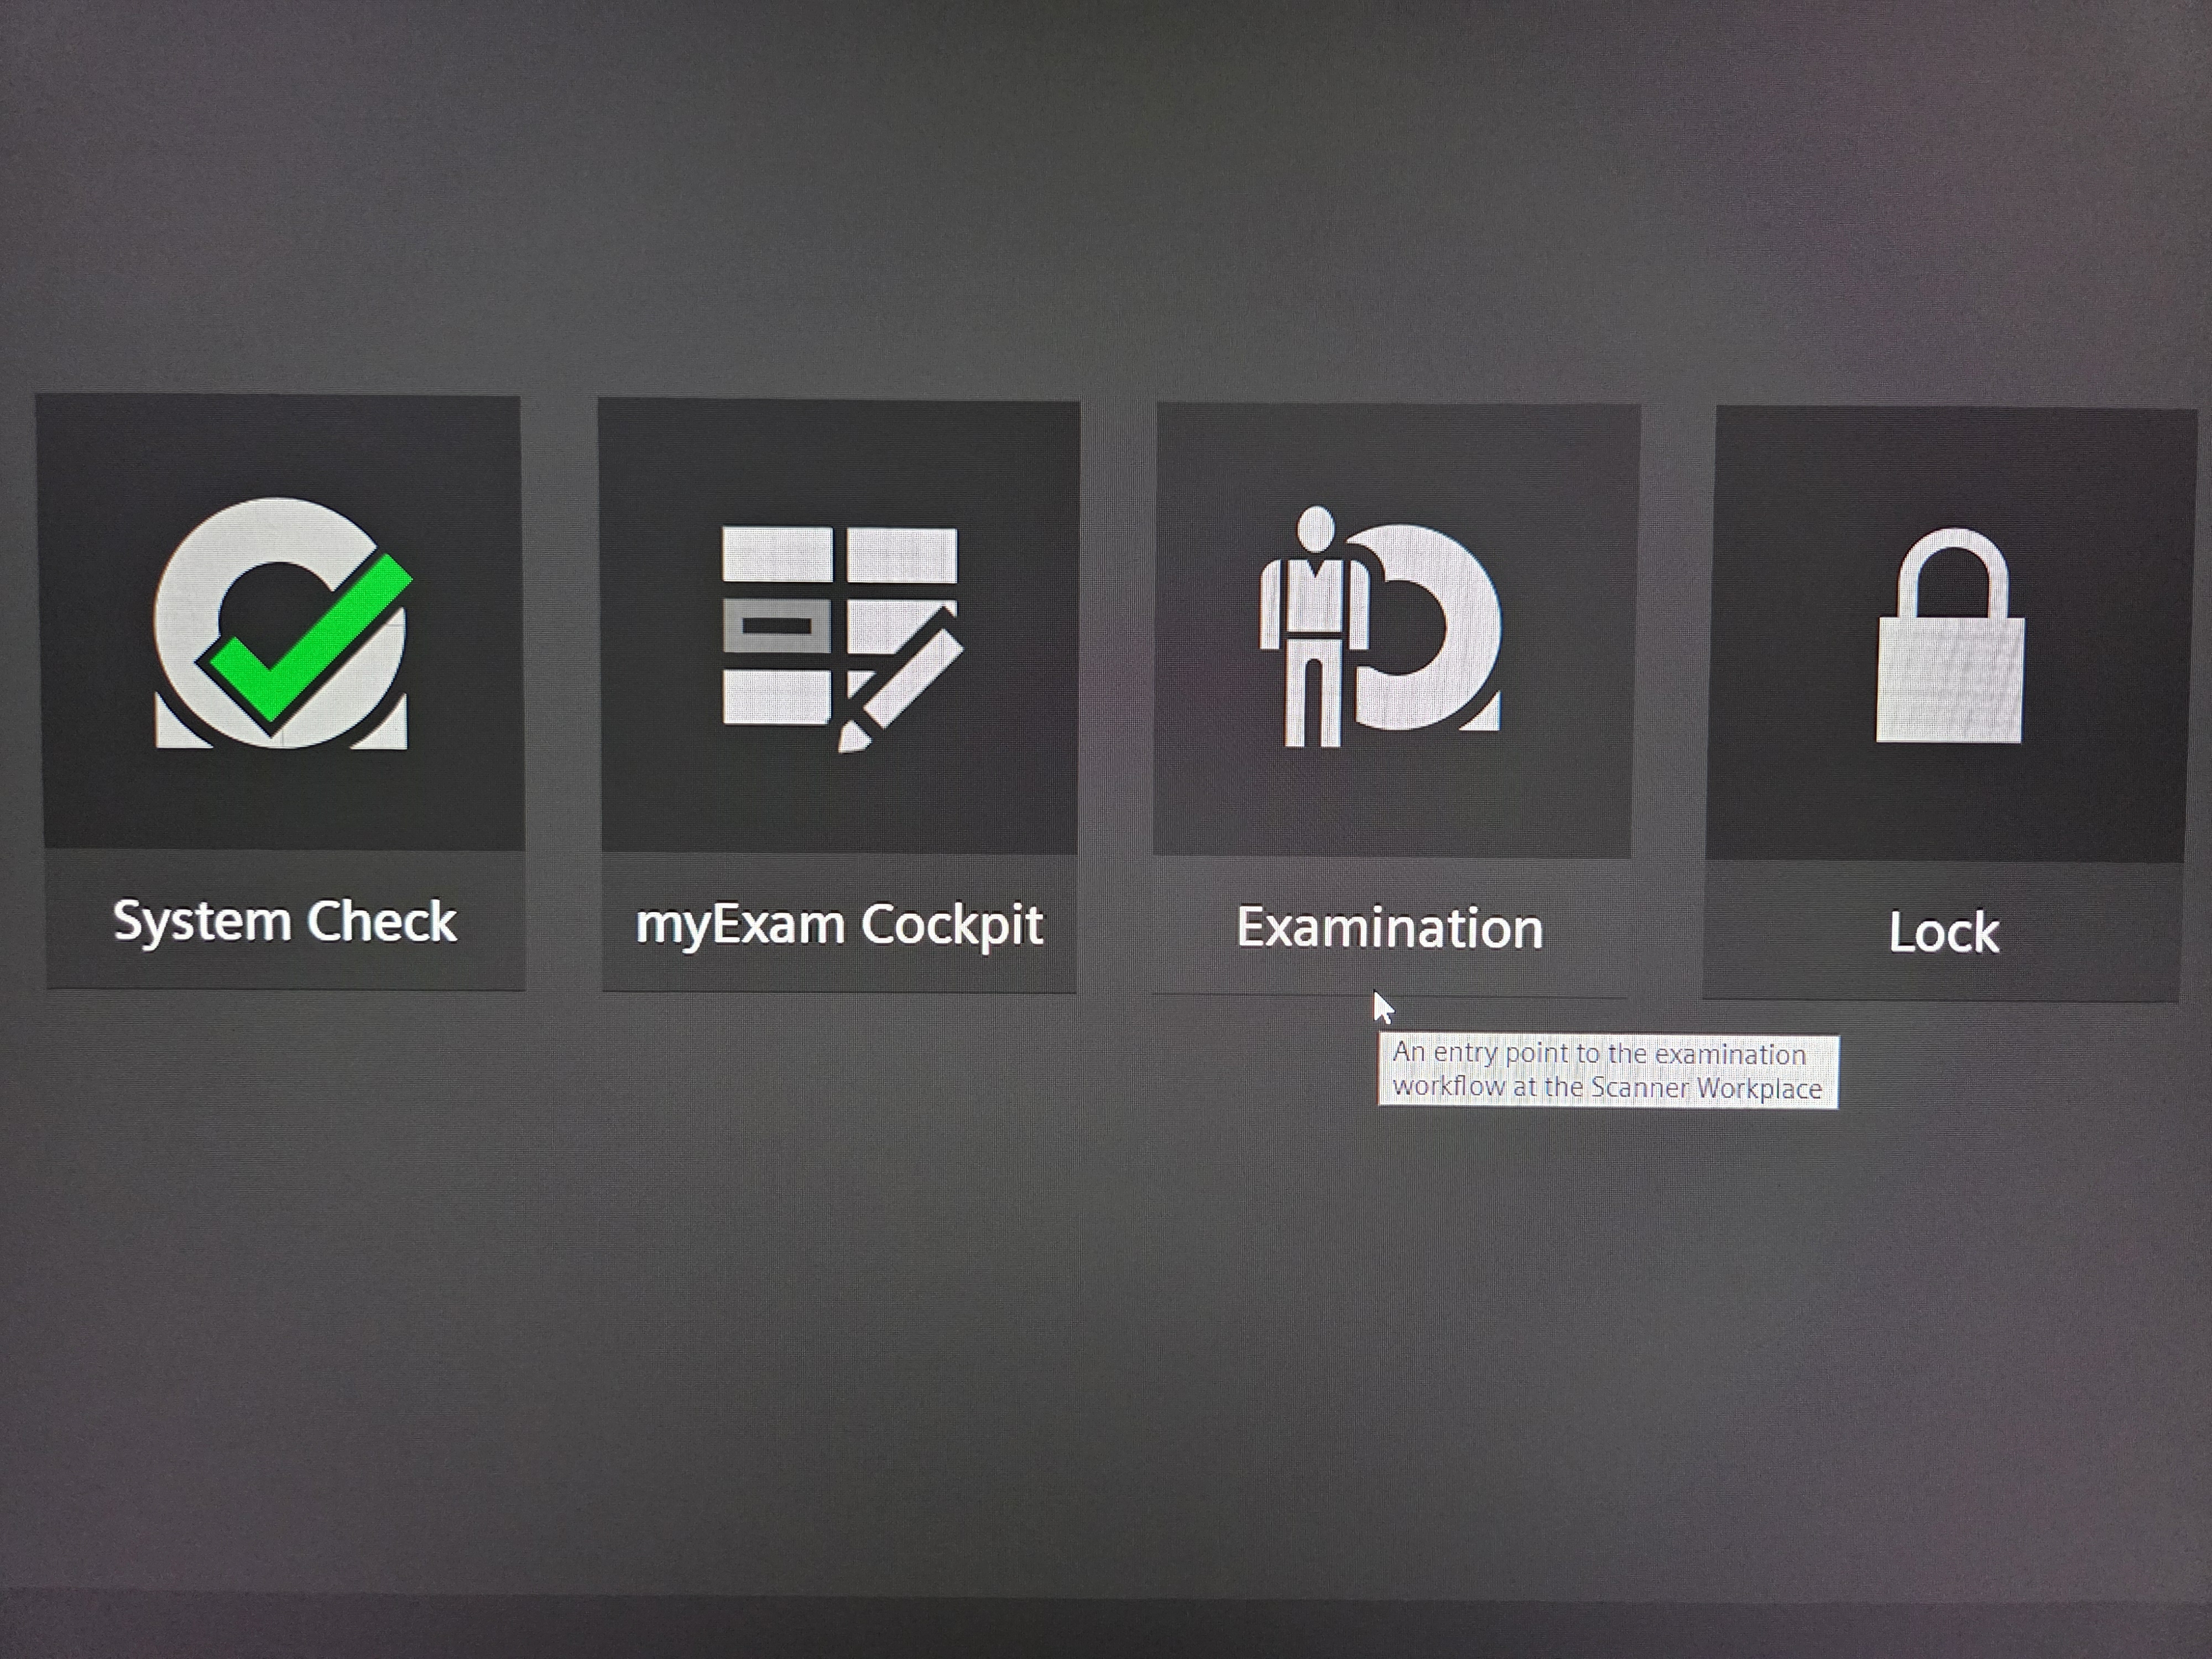
- Select “Examination”.
Register Participant
Note: Fields with orange bars are required, and an accession number must be created.
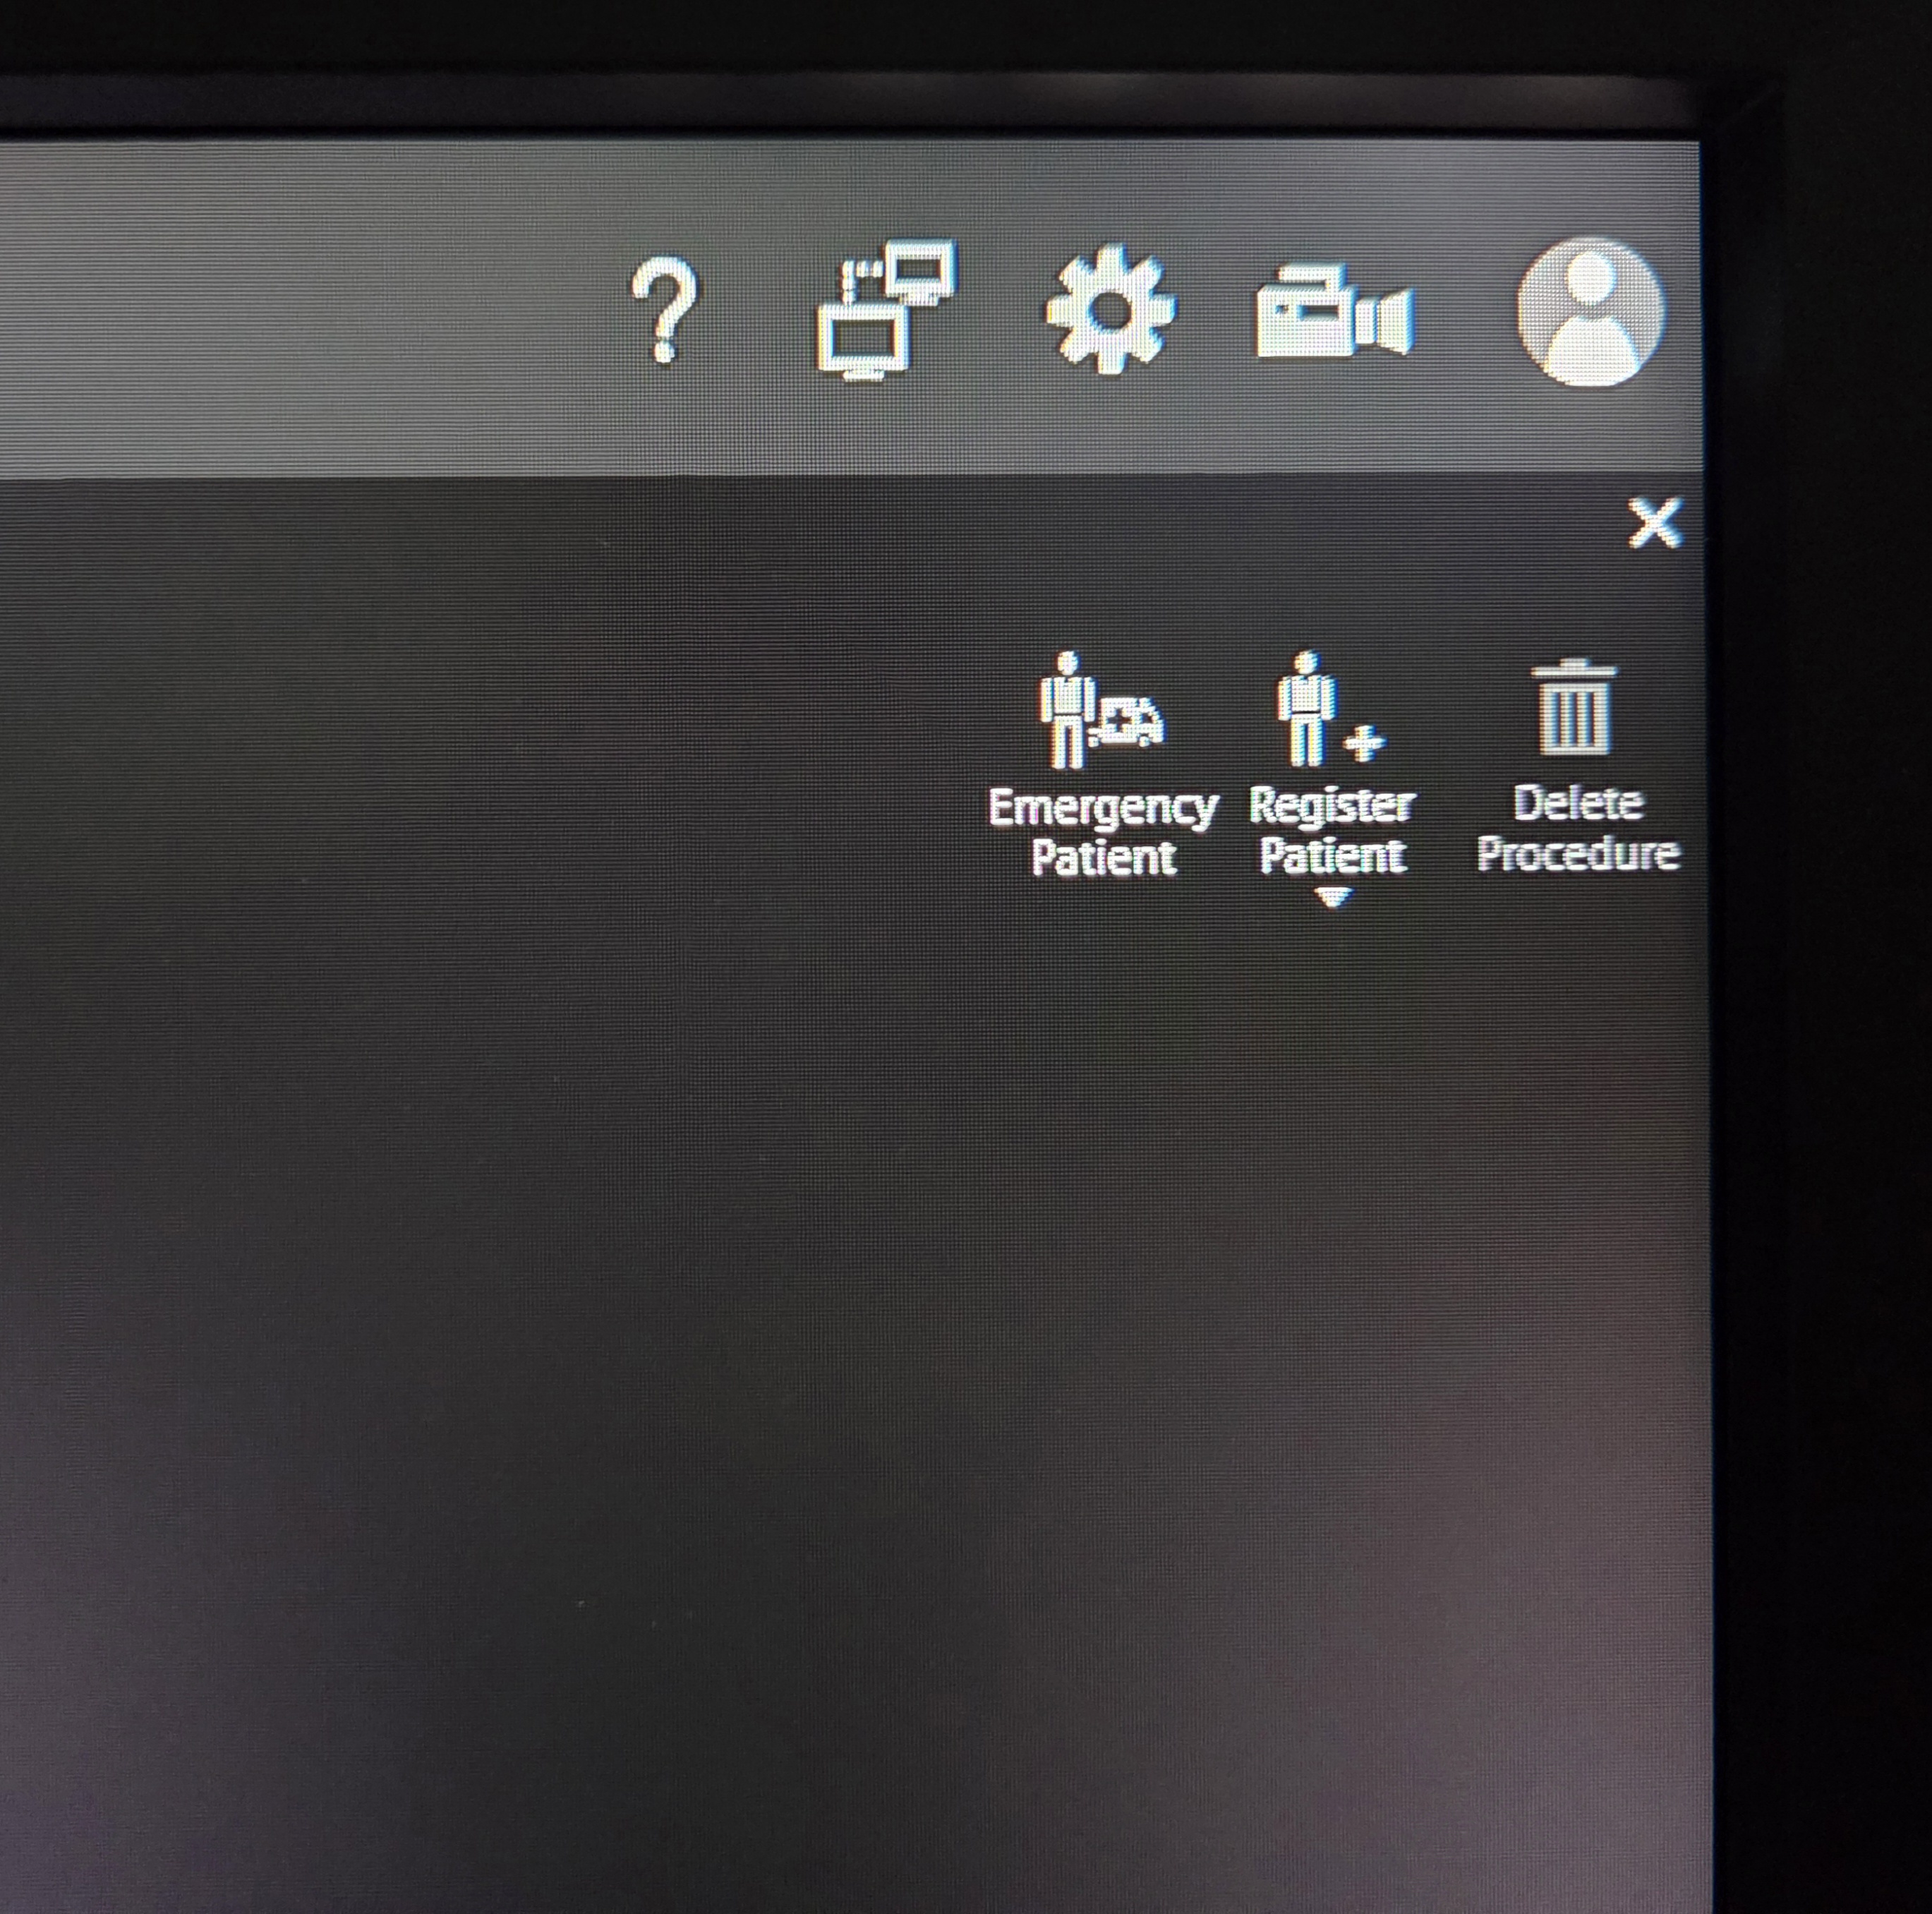
- Select “Register Patient”.
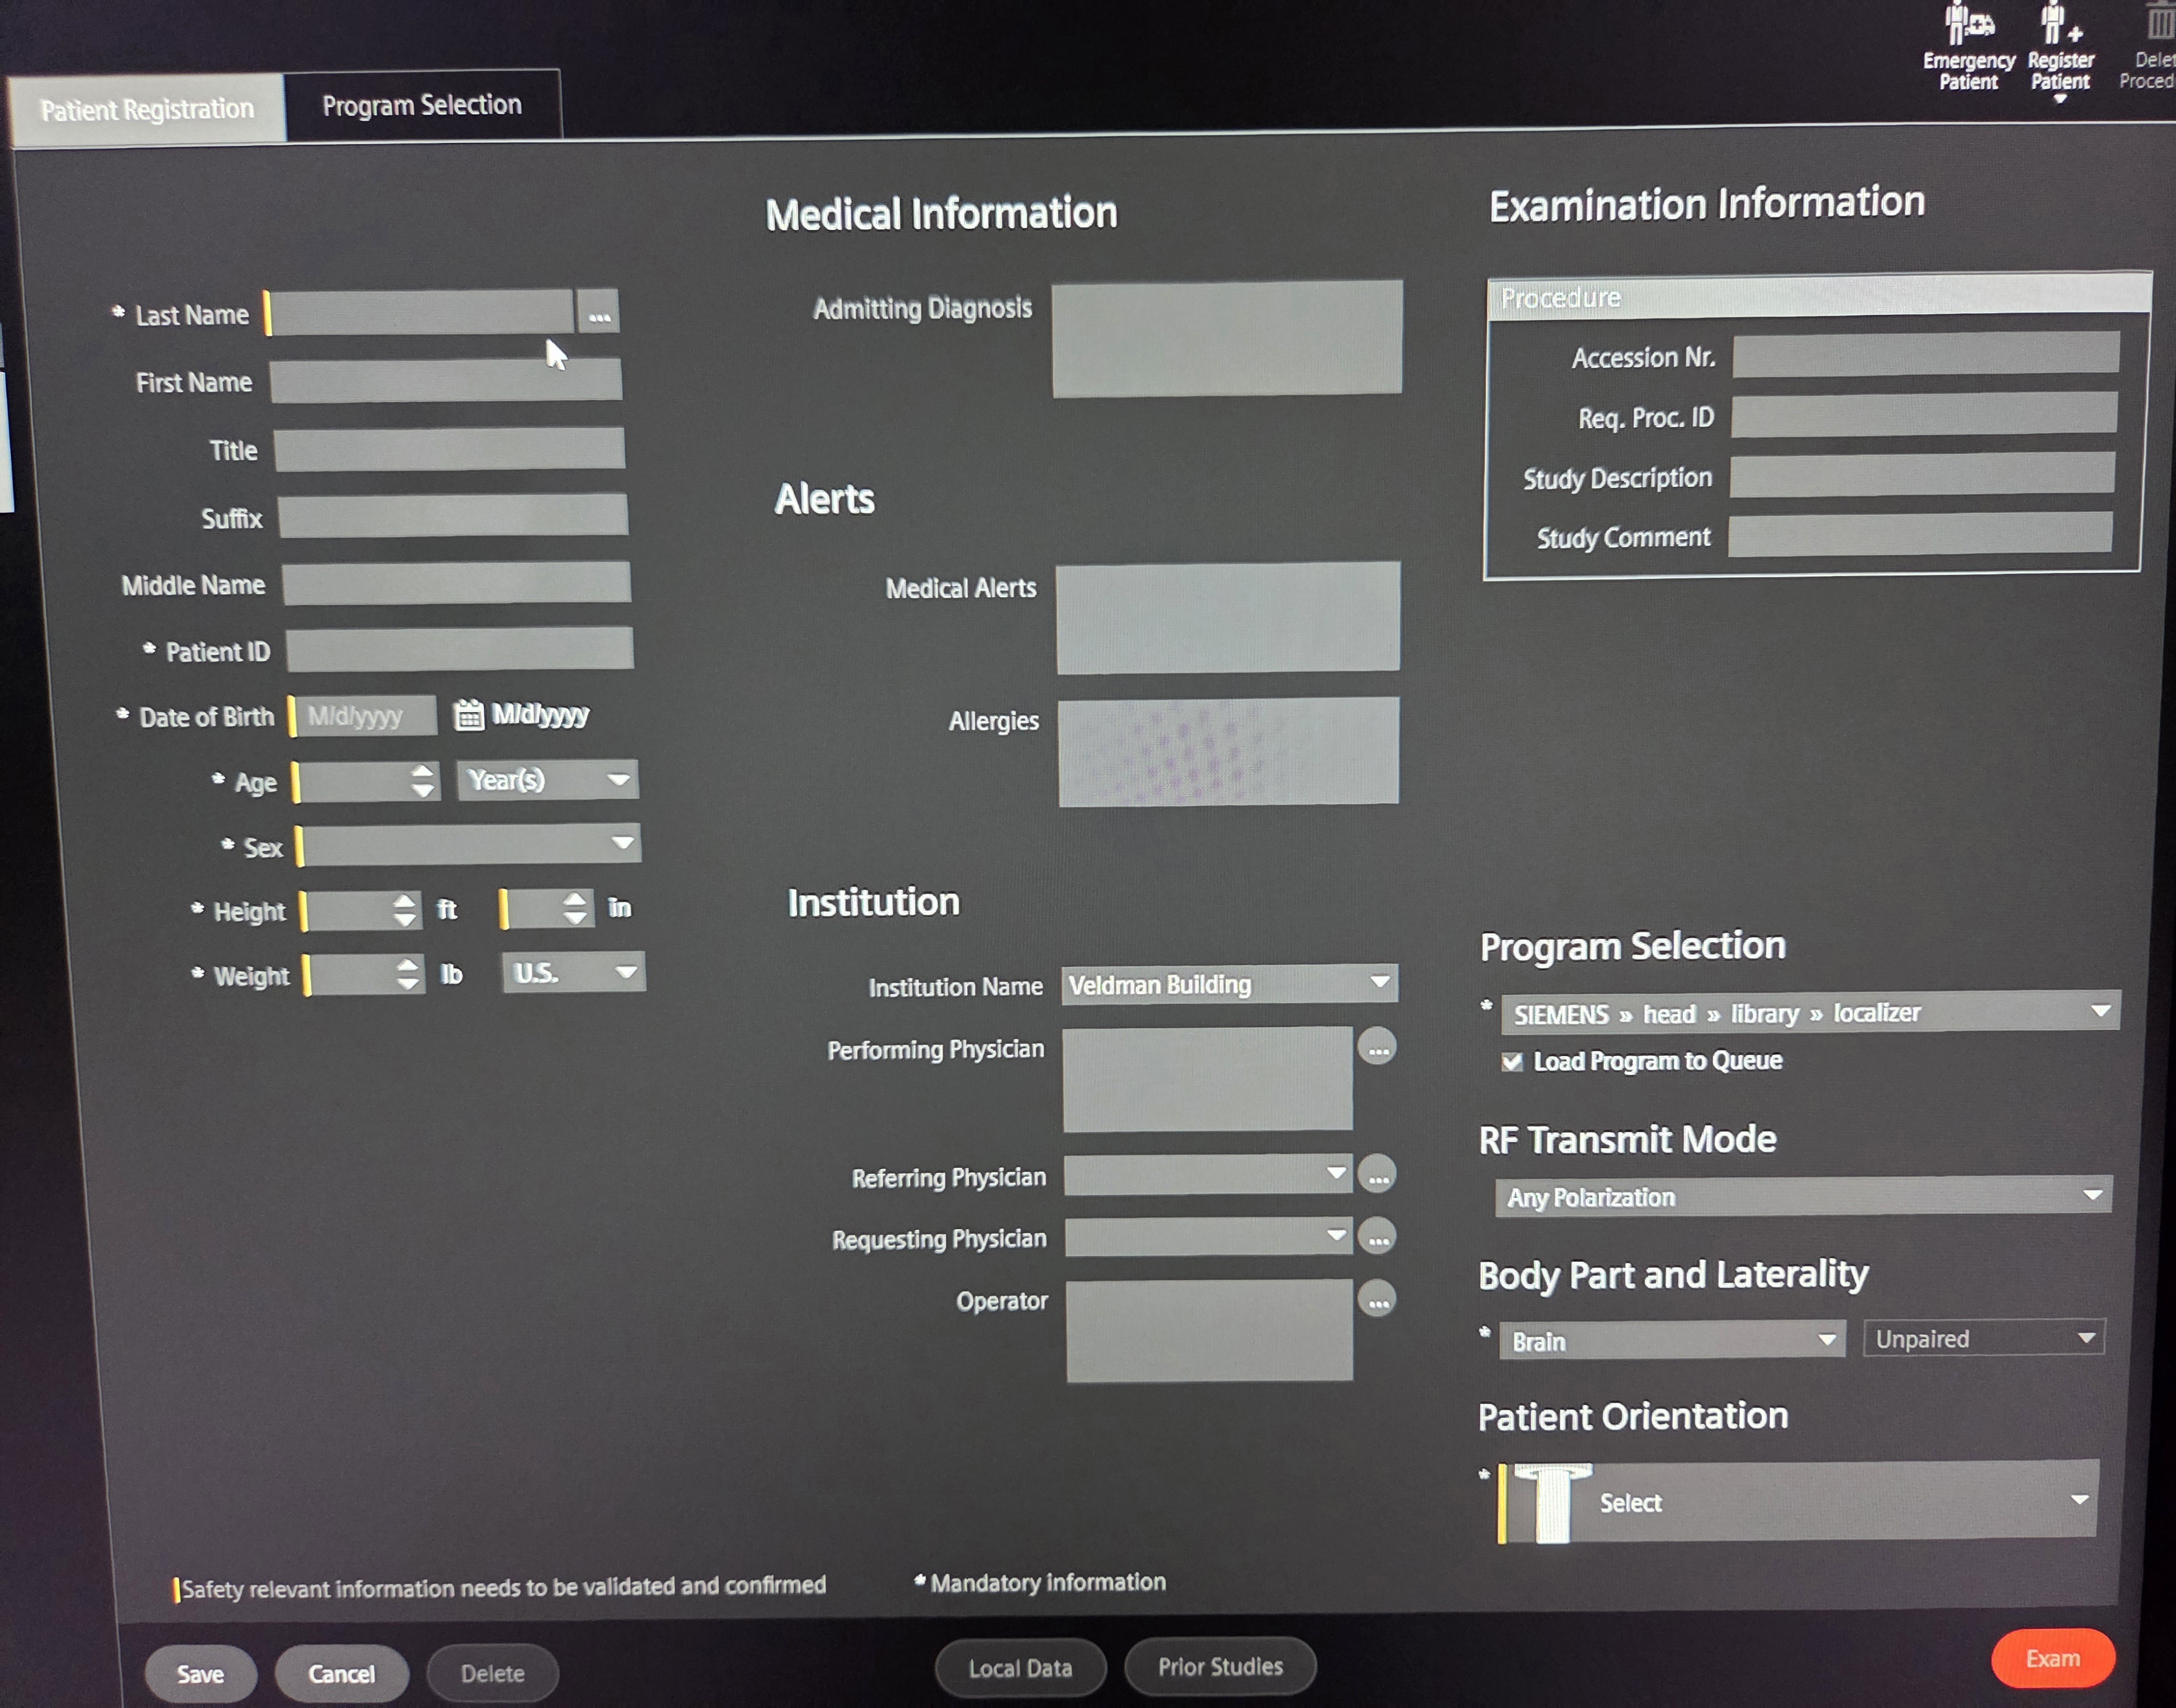
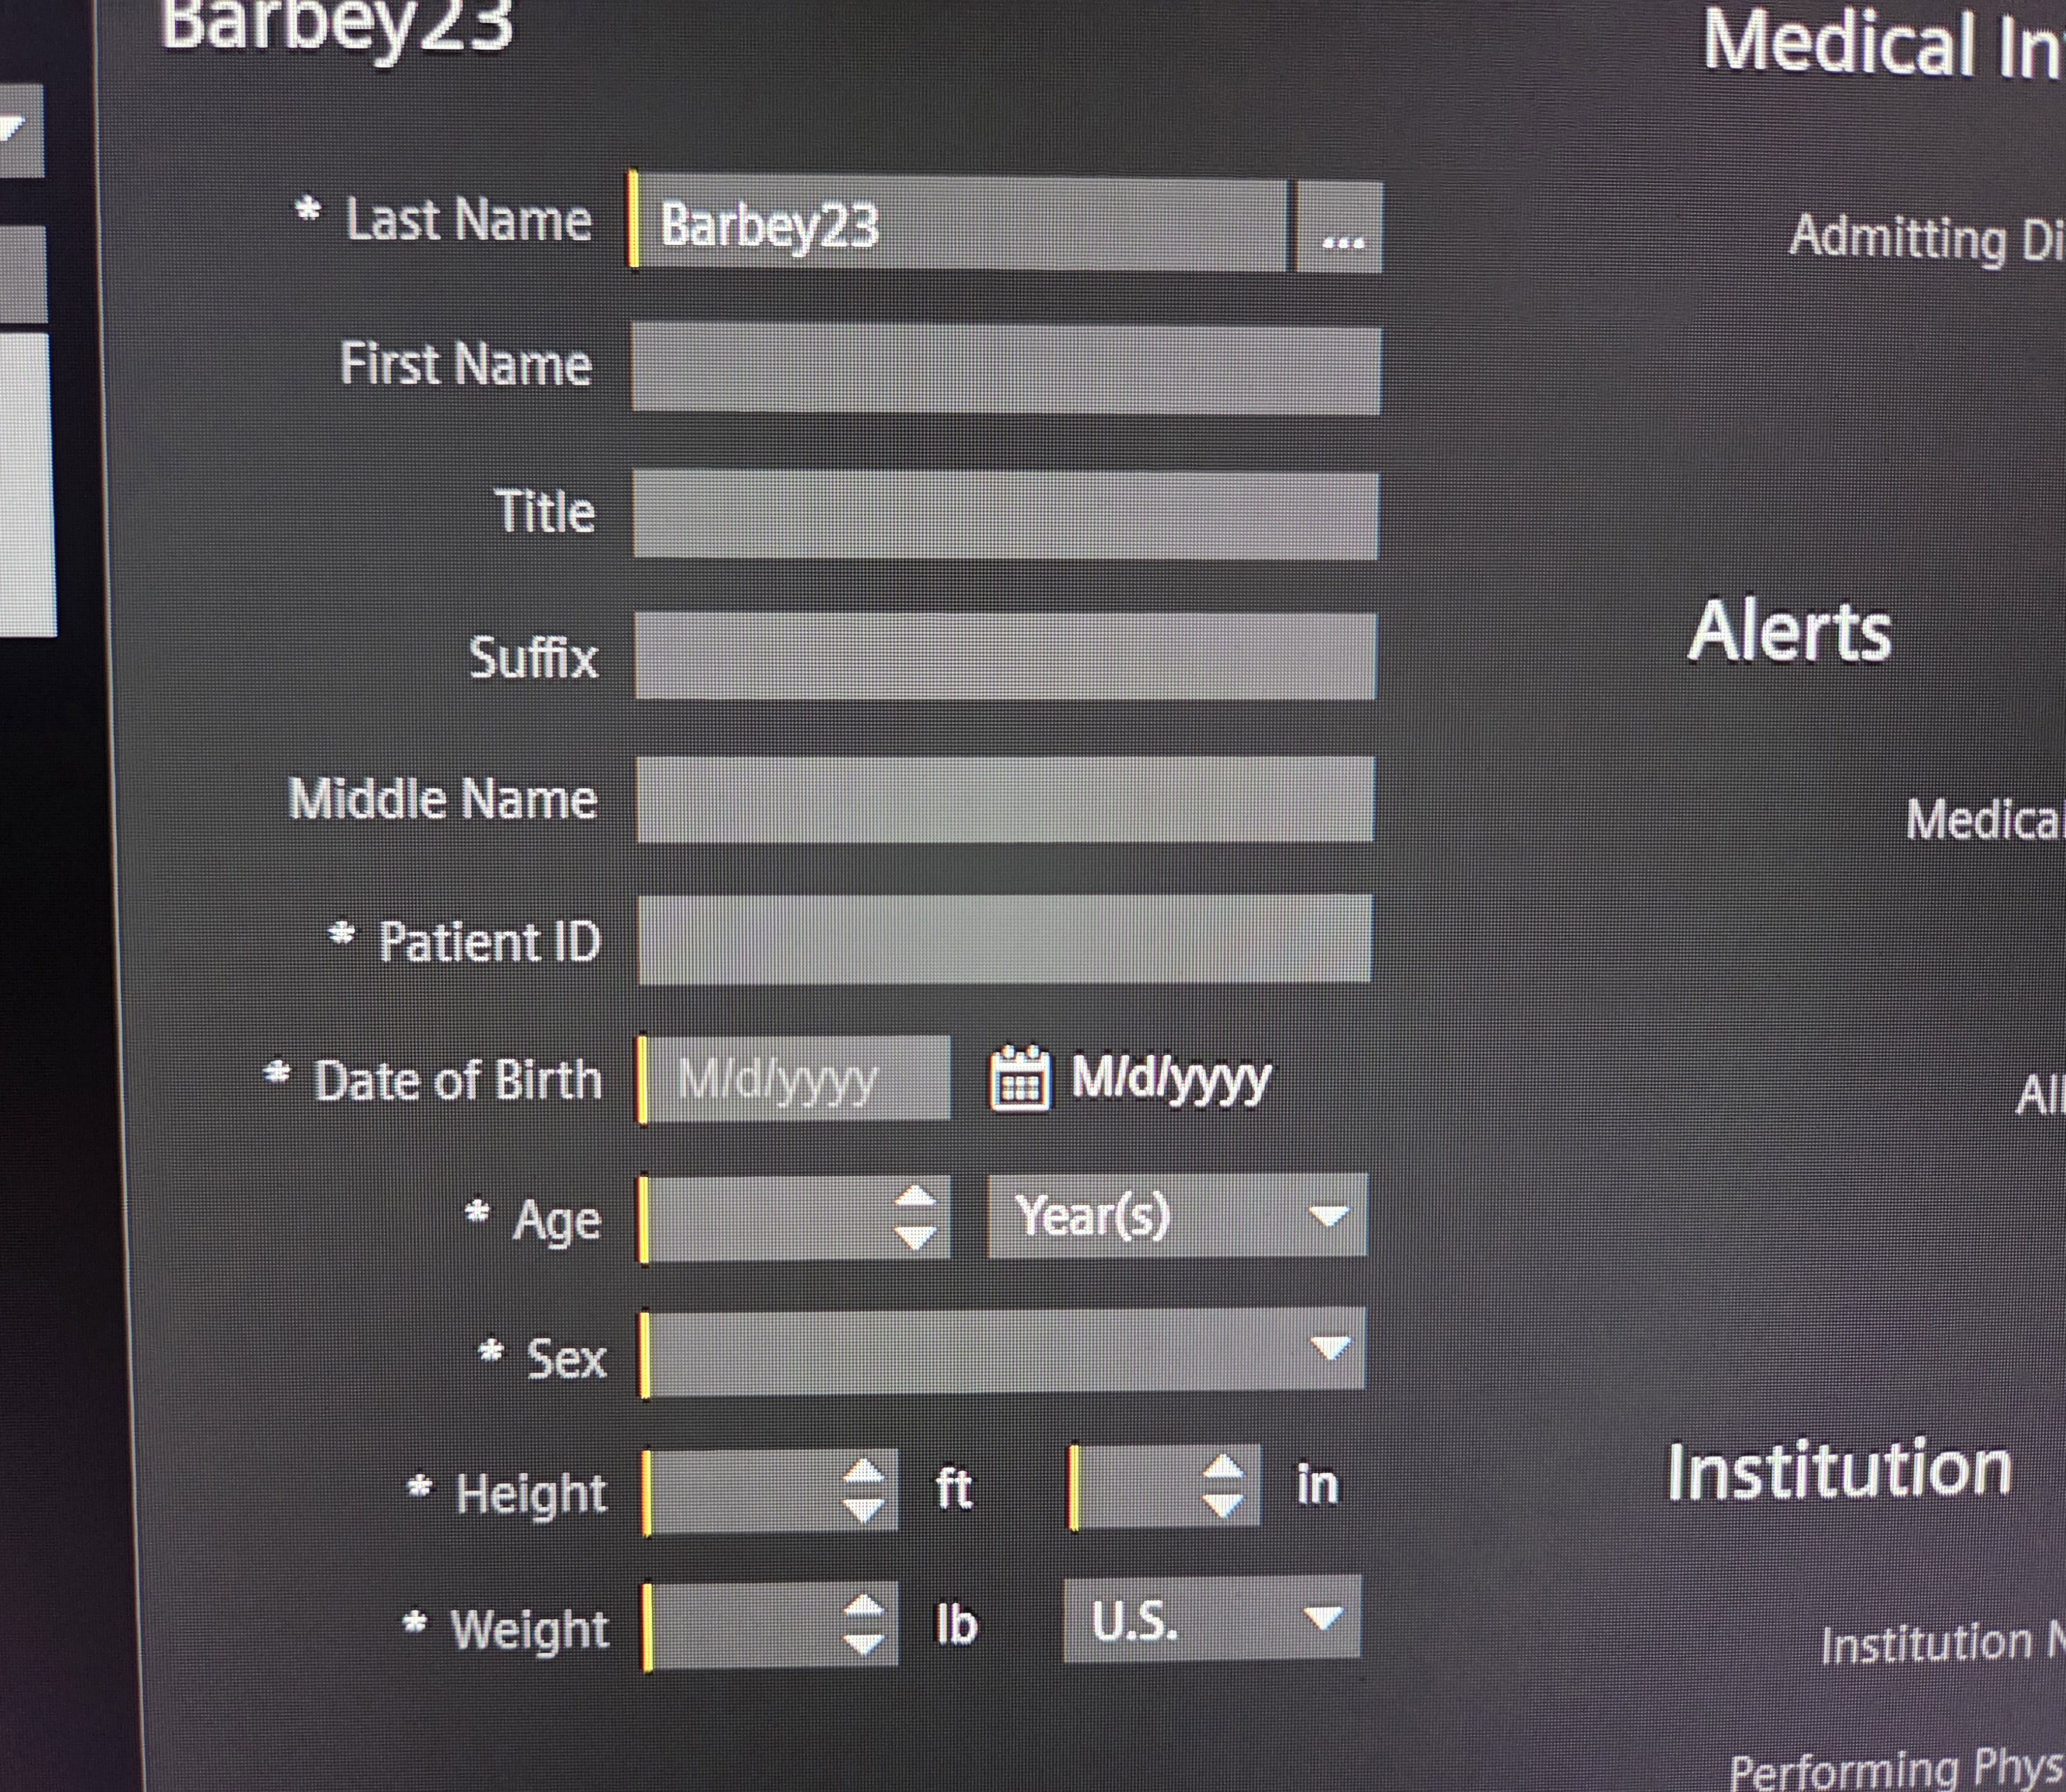
- Enter “Last Name”.
- Use format “PI Last + Subject ID”, e.g. Barbey23
- Do not enter the participant’s acutal name.
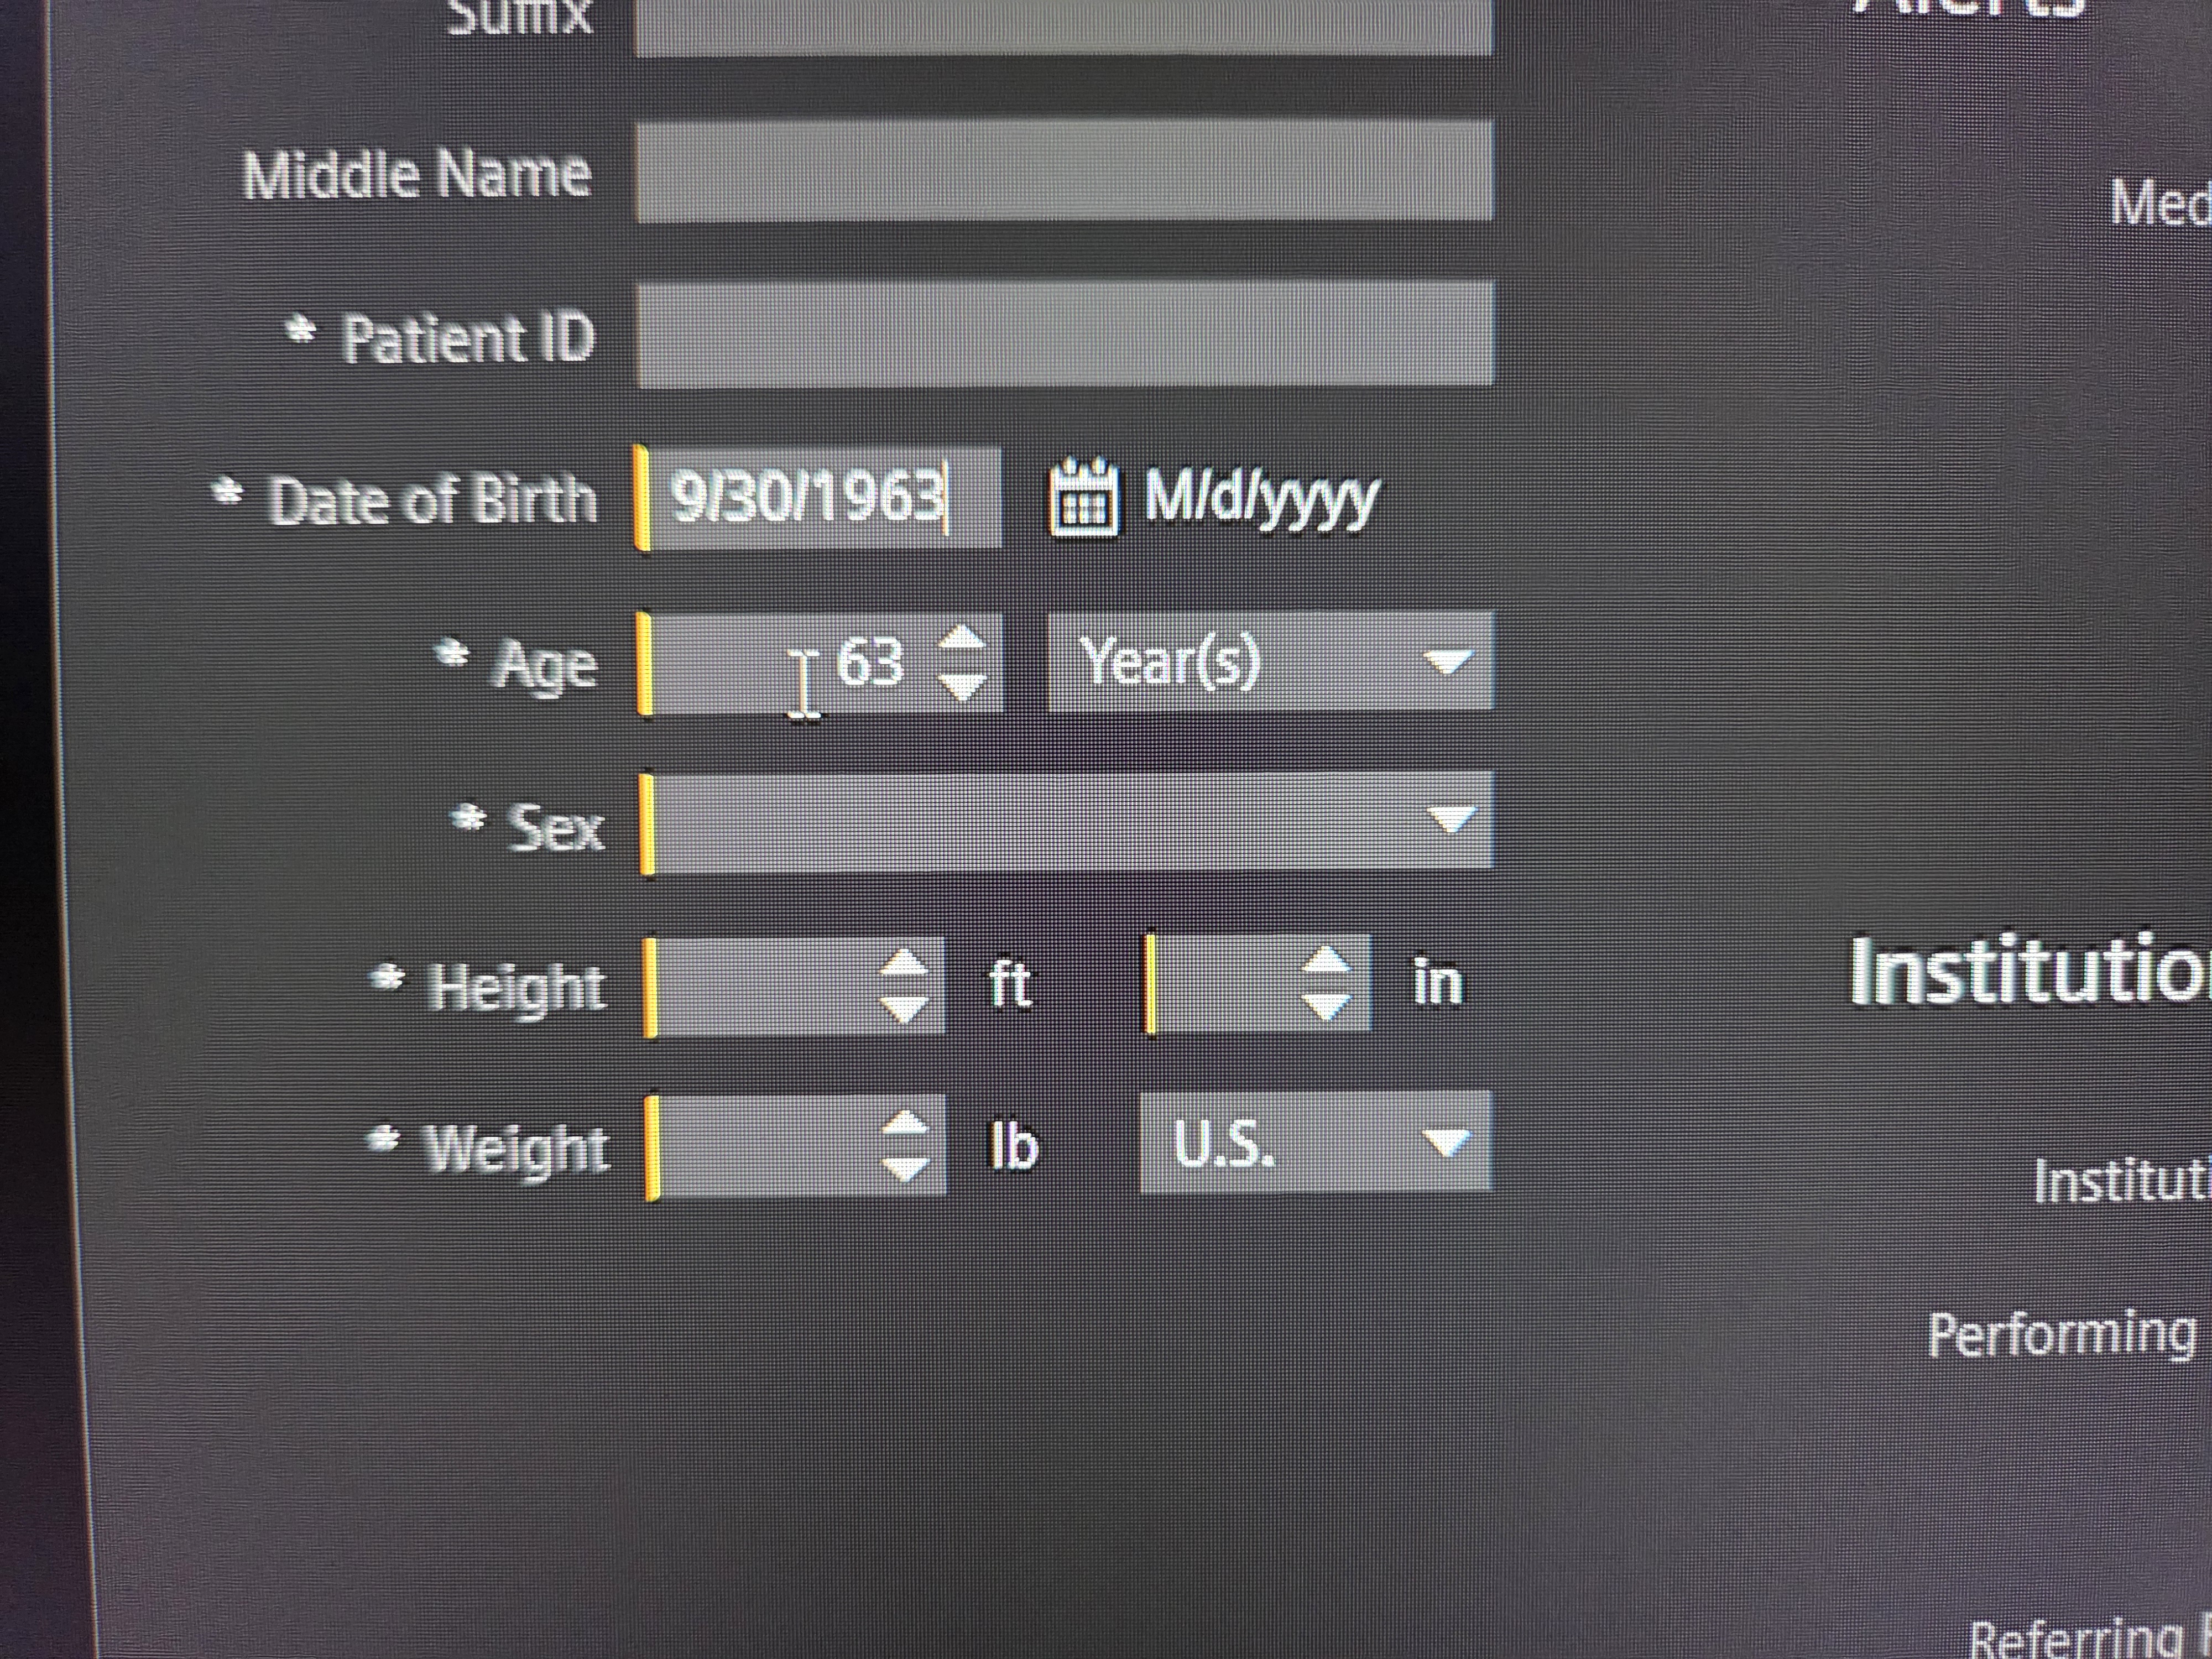
- Enter “Date of Birth”.
- Specify the first day of the current month.
- Use participant’s birth year.
- E.g. “12/1/2000” for a scan conducted 12/15/2026 on a participant born in 2000.
- Specify “Sex” from the dropdown menu.
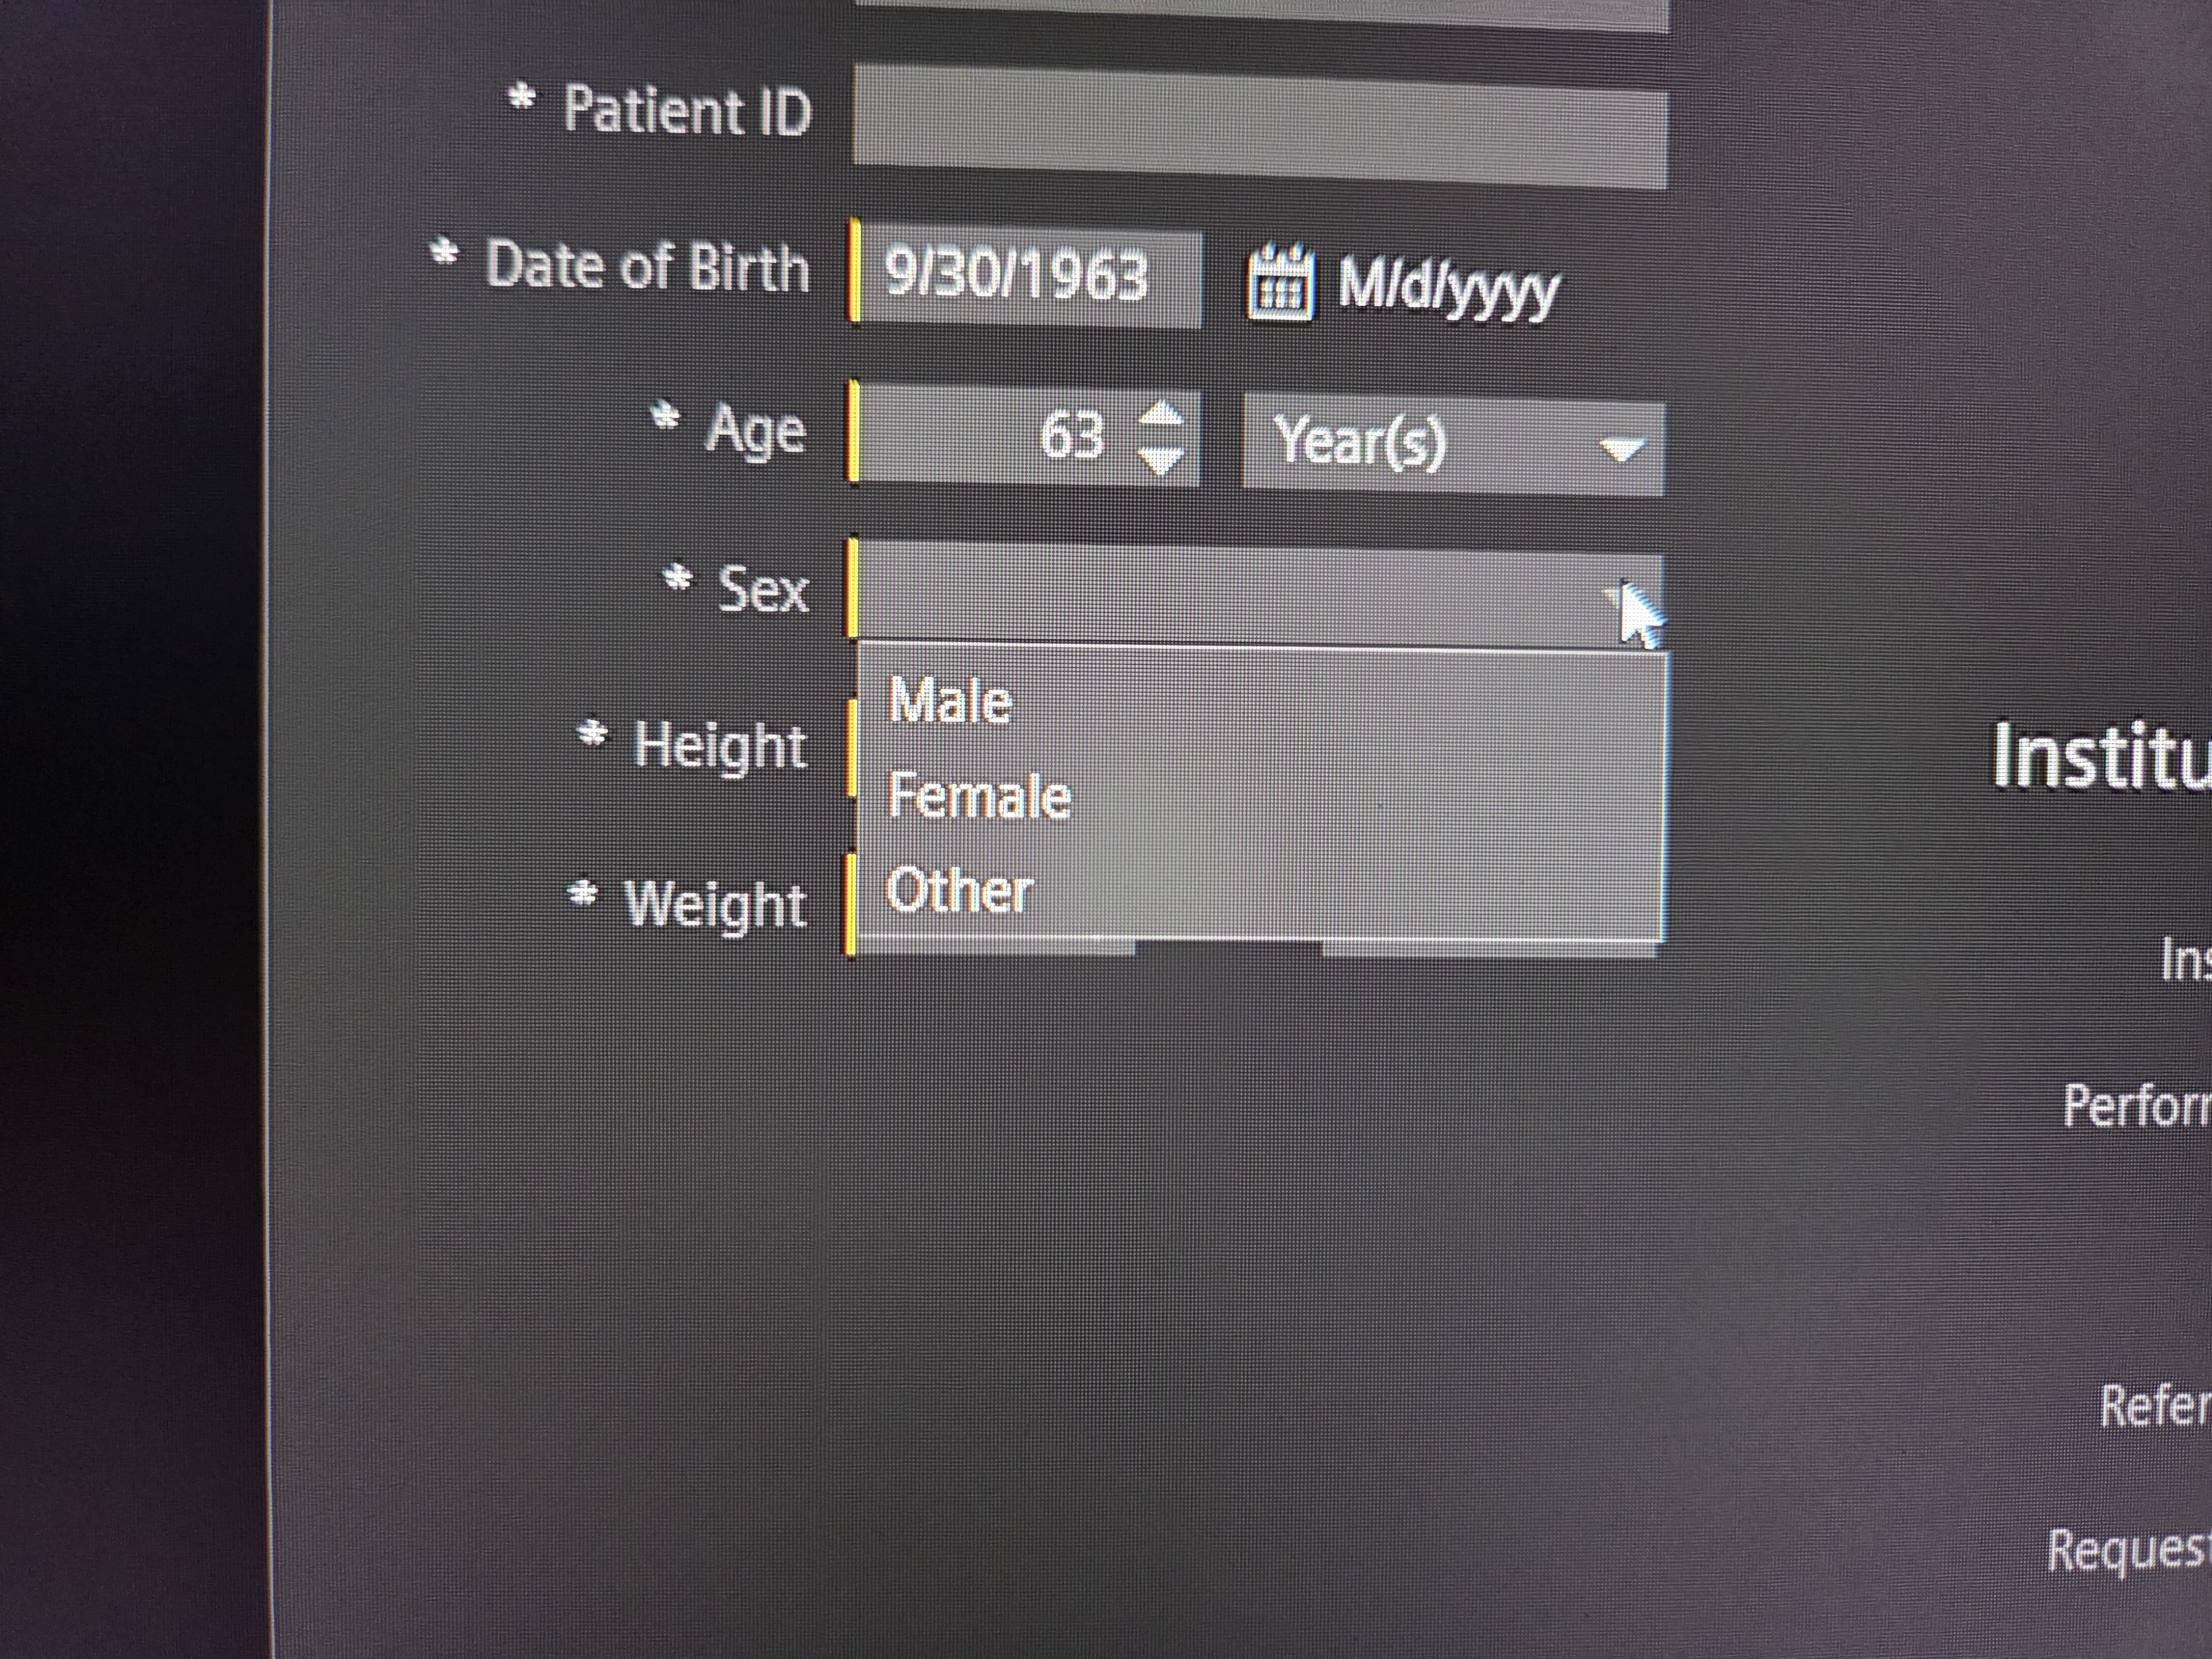
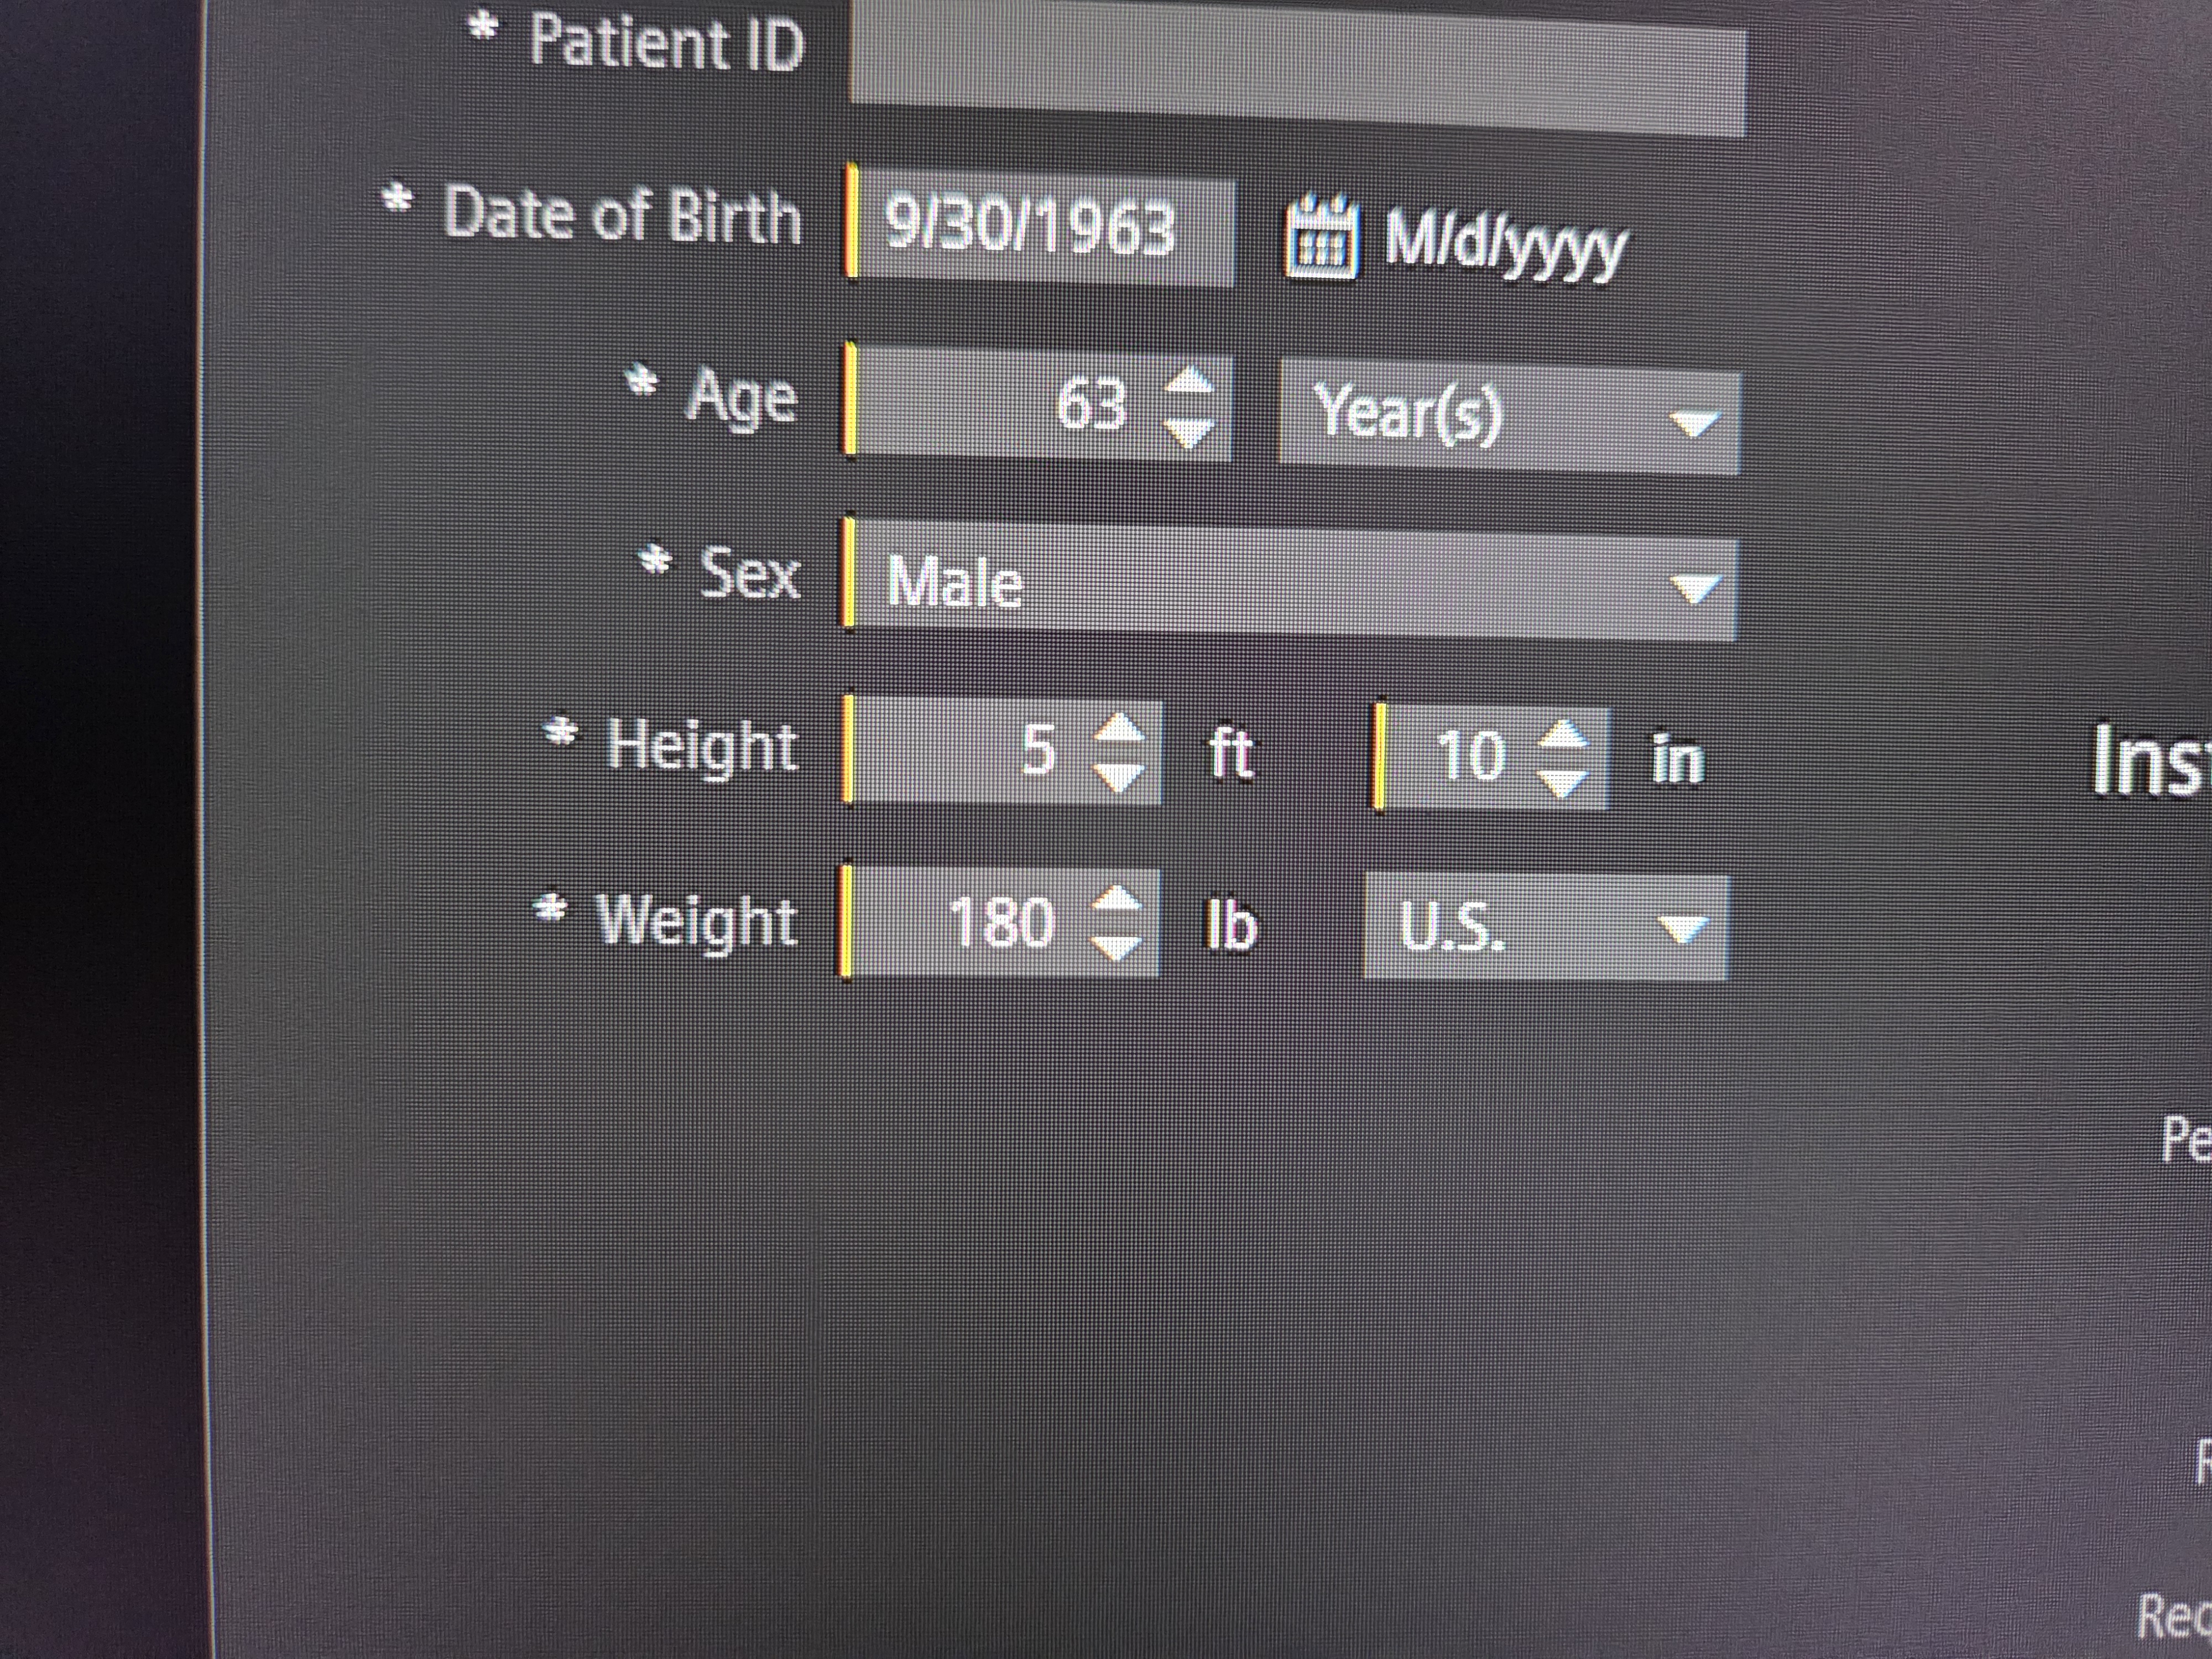
- Enter Height and Weight.
- Specify “Body Part” from the dropdown menu in the lower right corner.
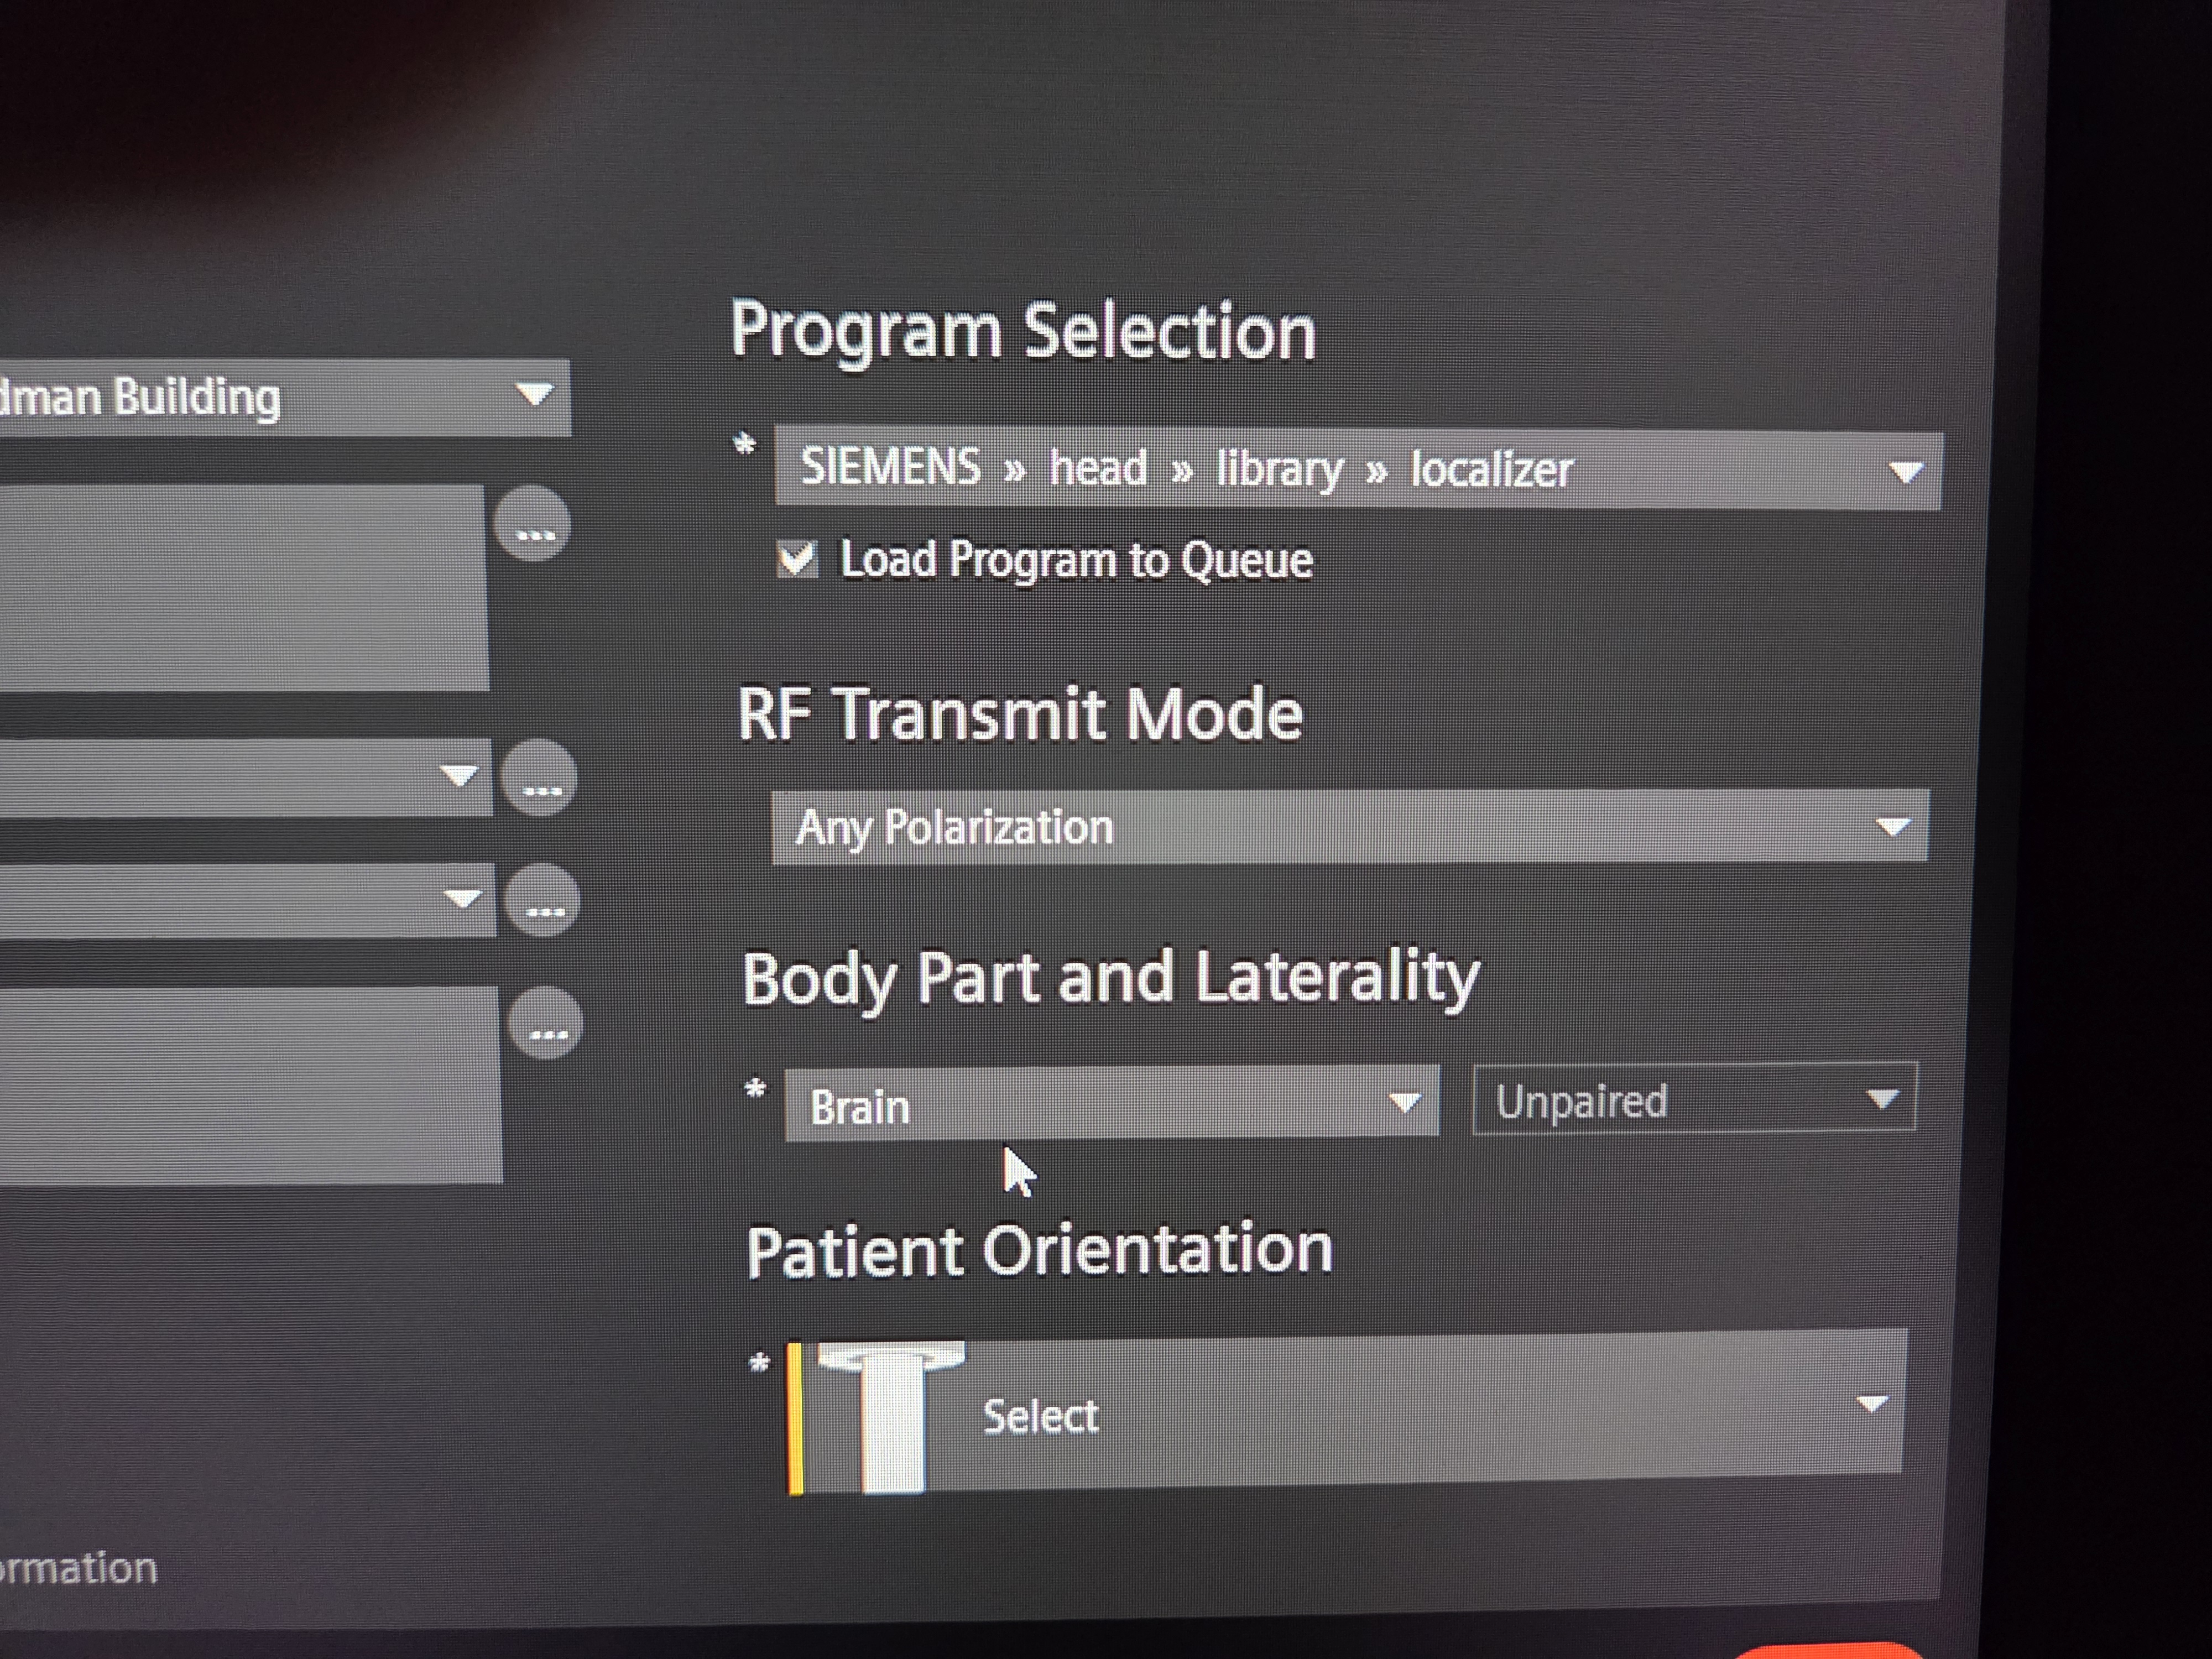
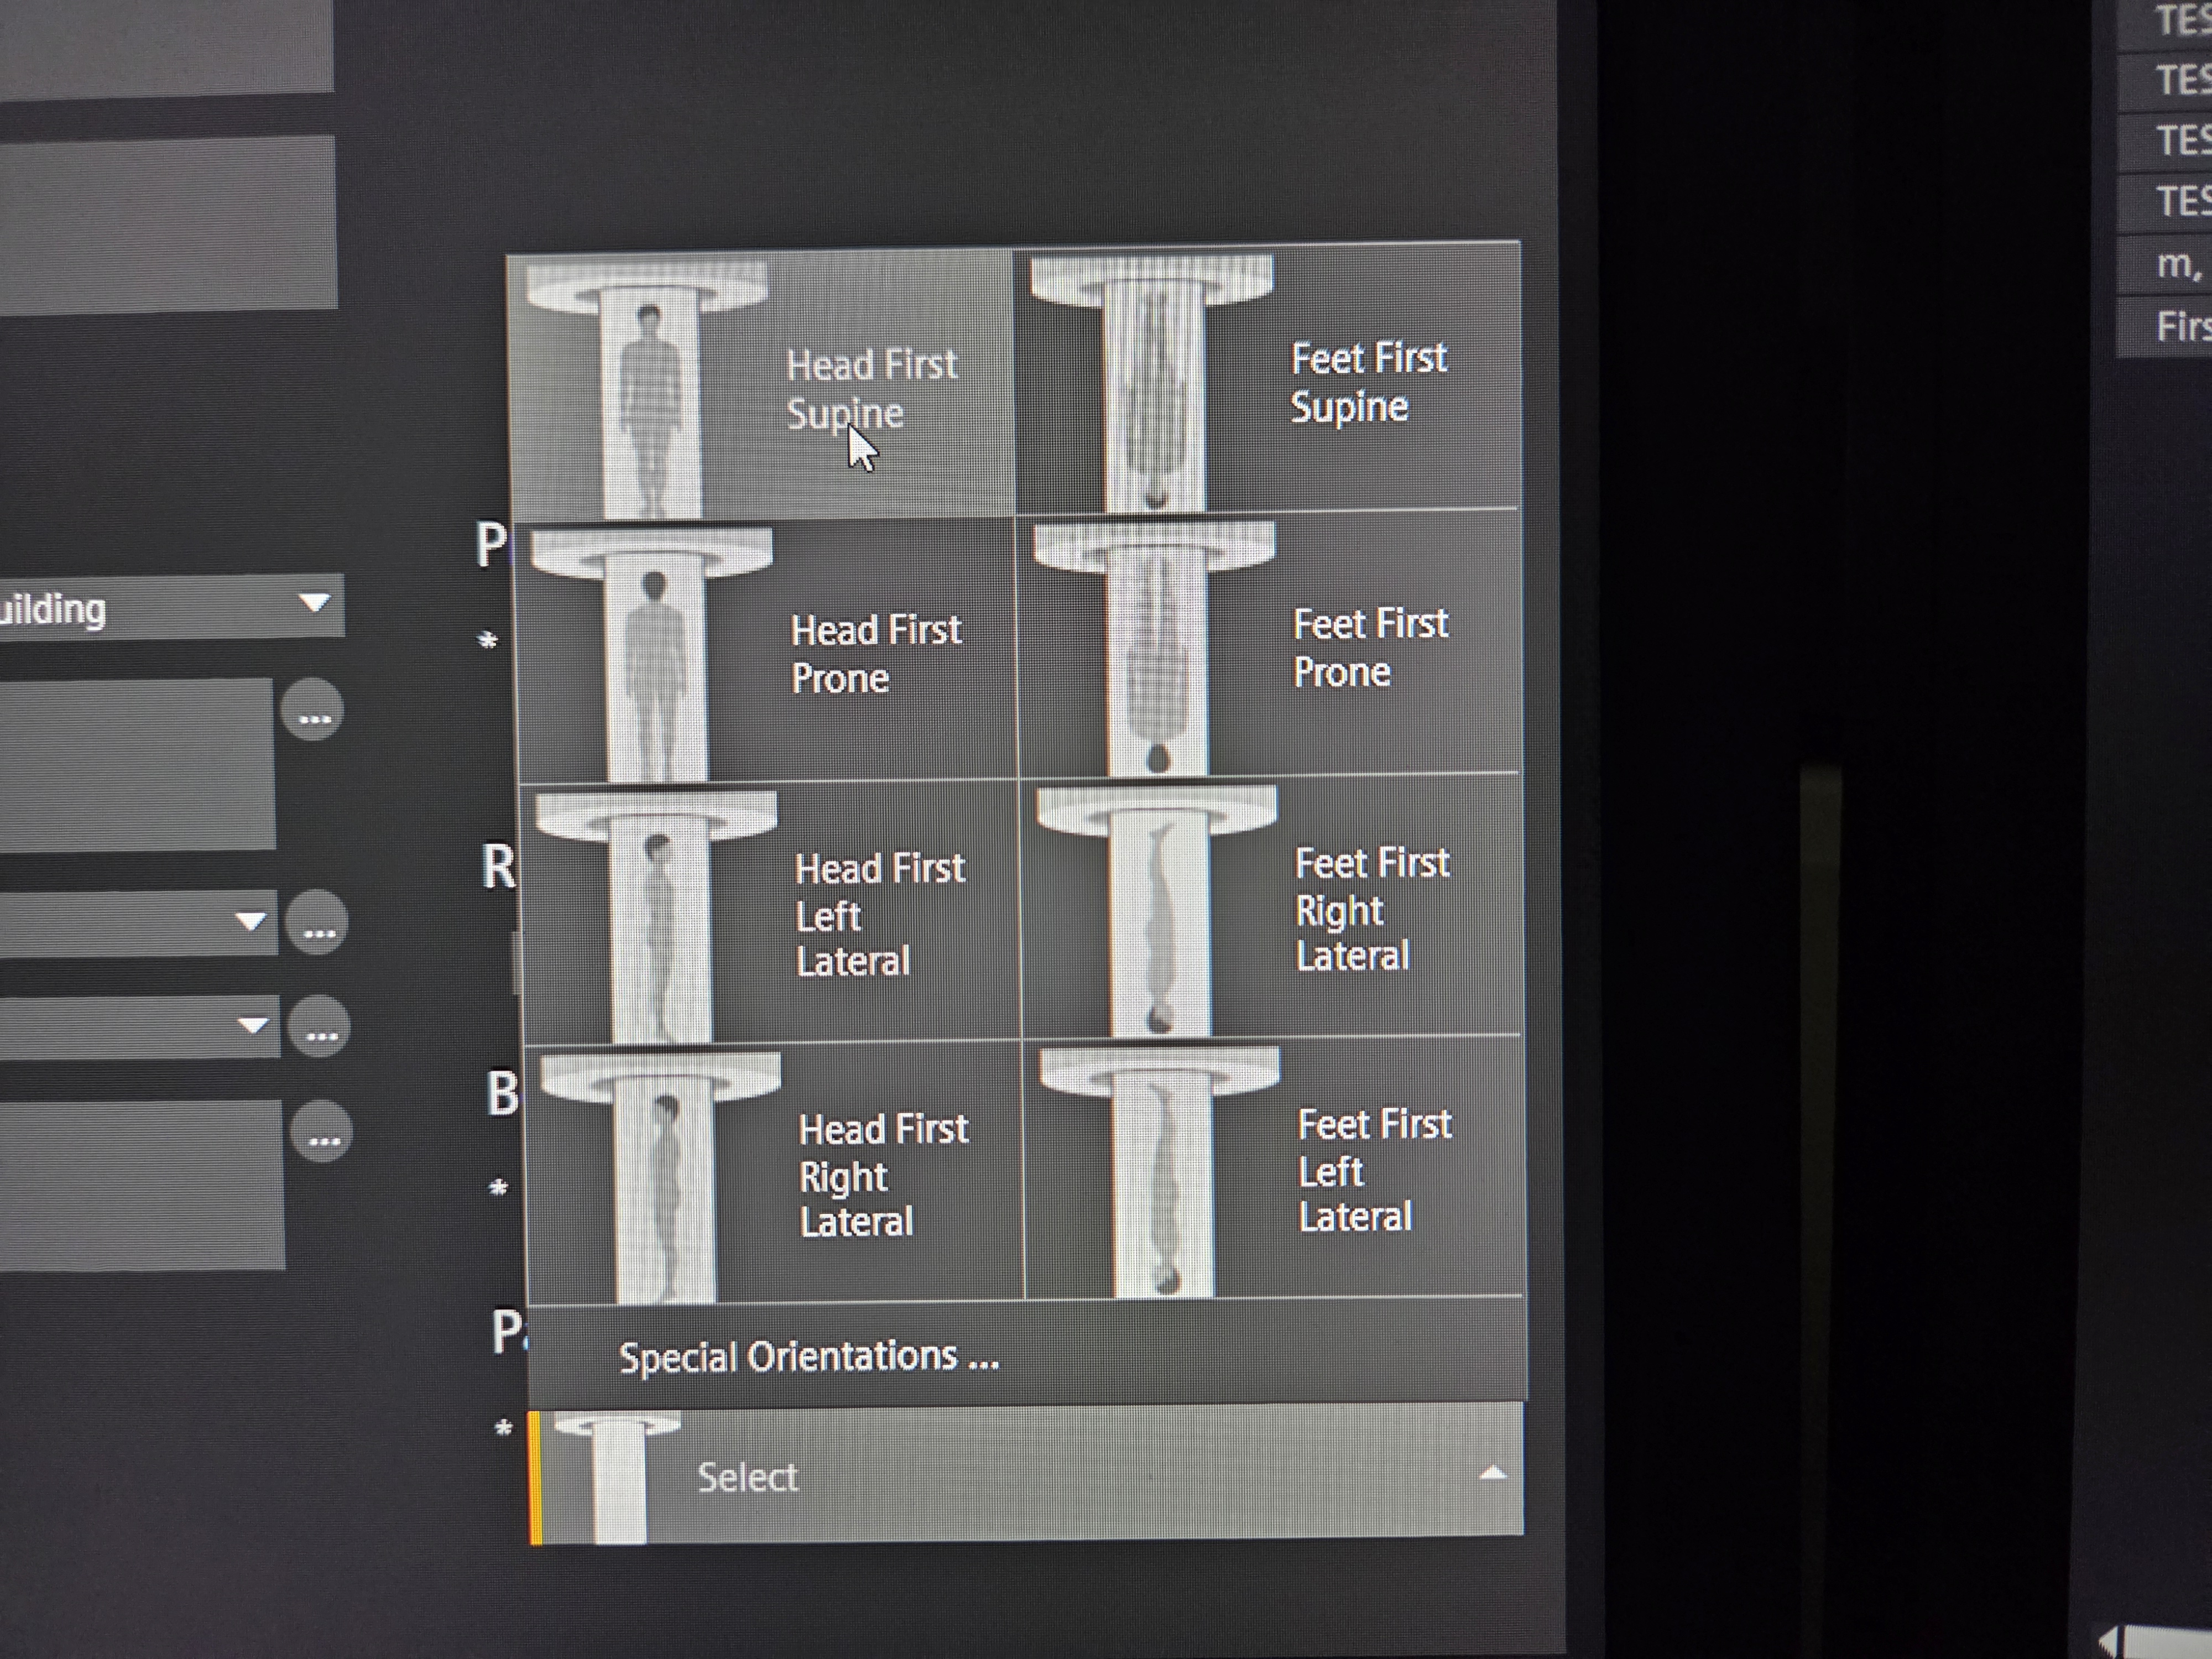
- Specify “Patient Orientation”.
Select orange “Exam” to begin.
Enter the next accession number in the procedure box using format: ND + 00001. Log this number in Form LG07.
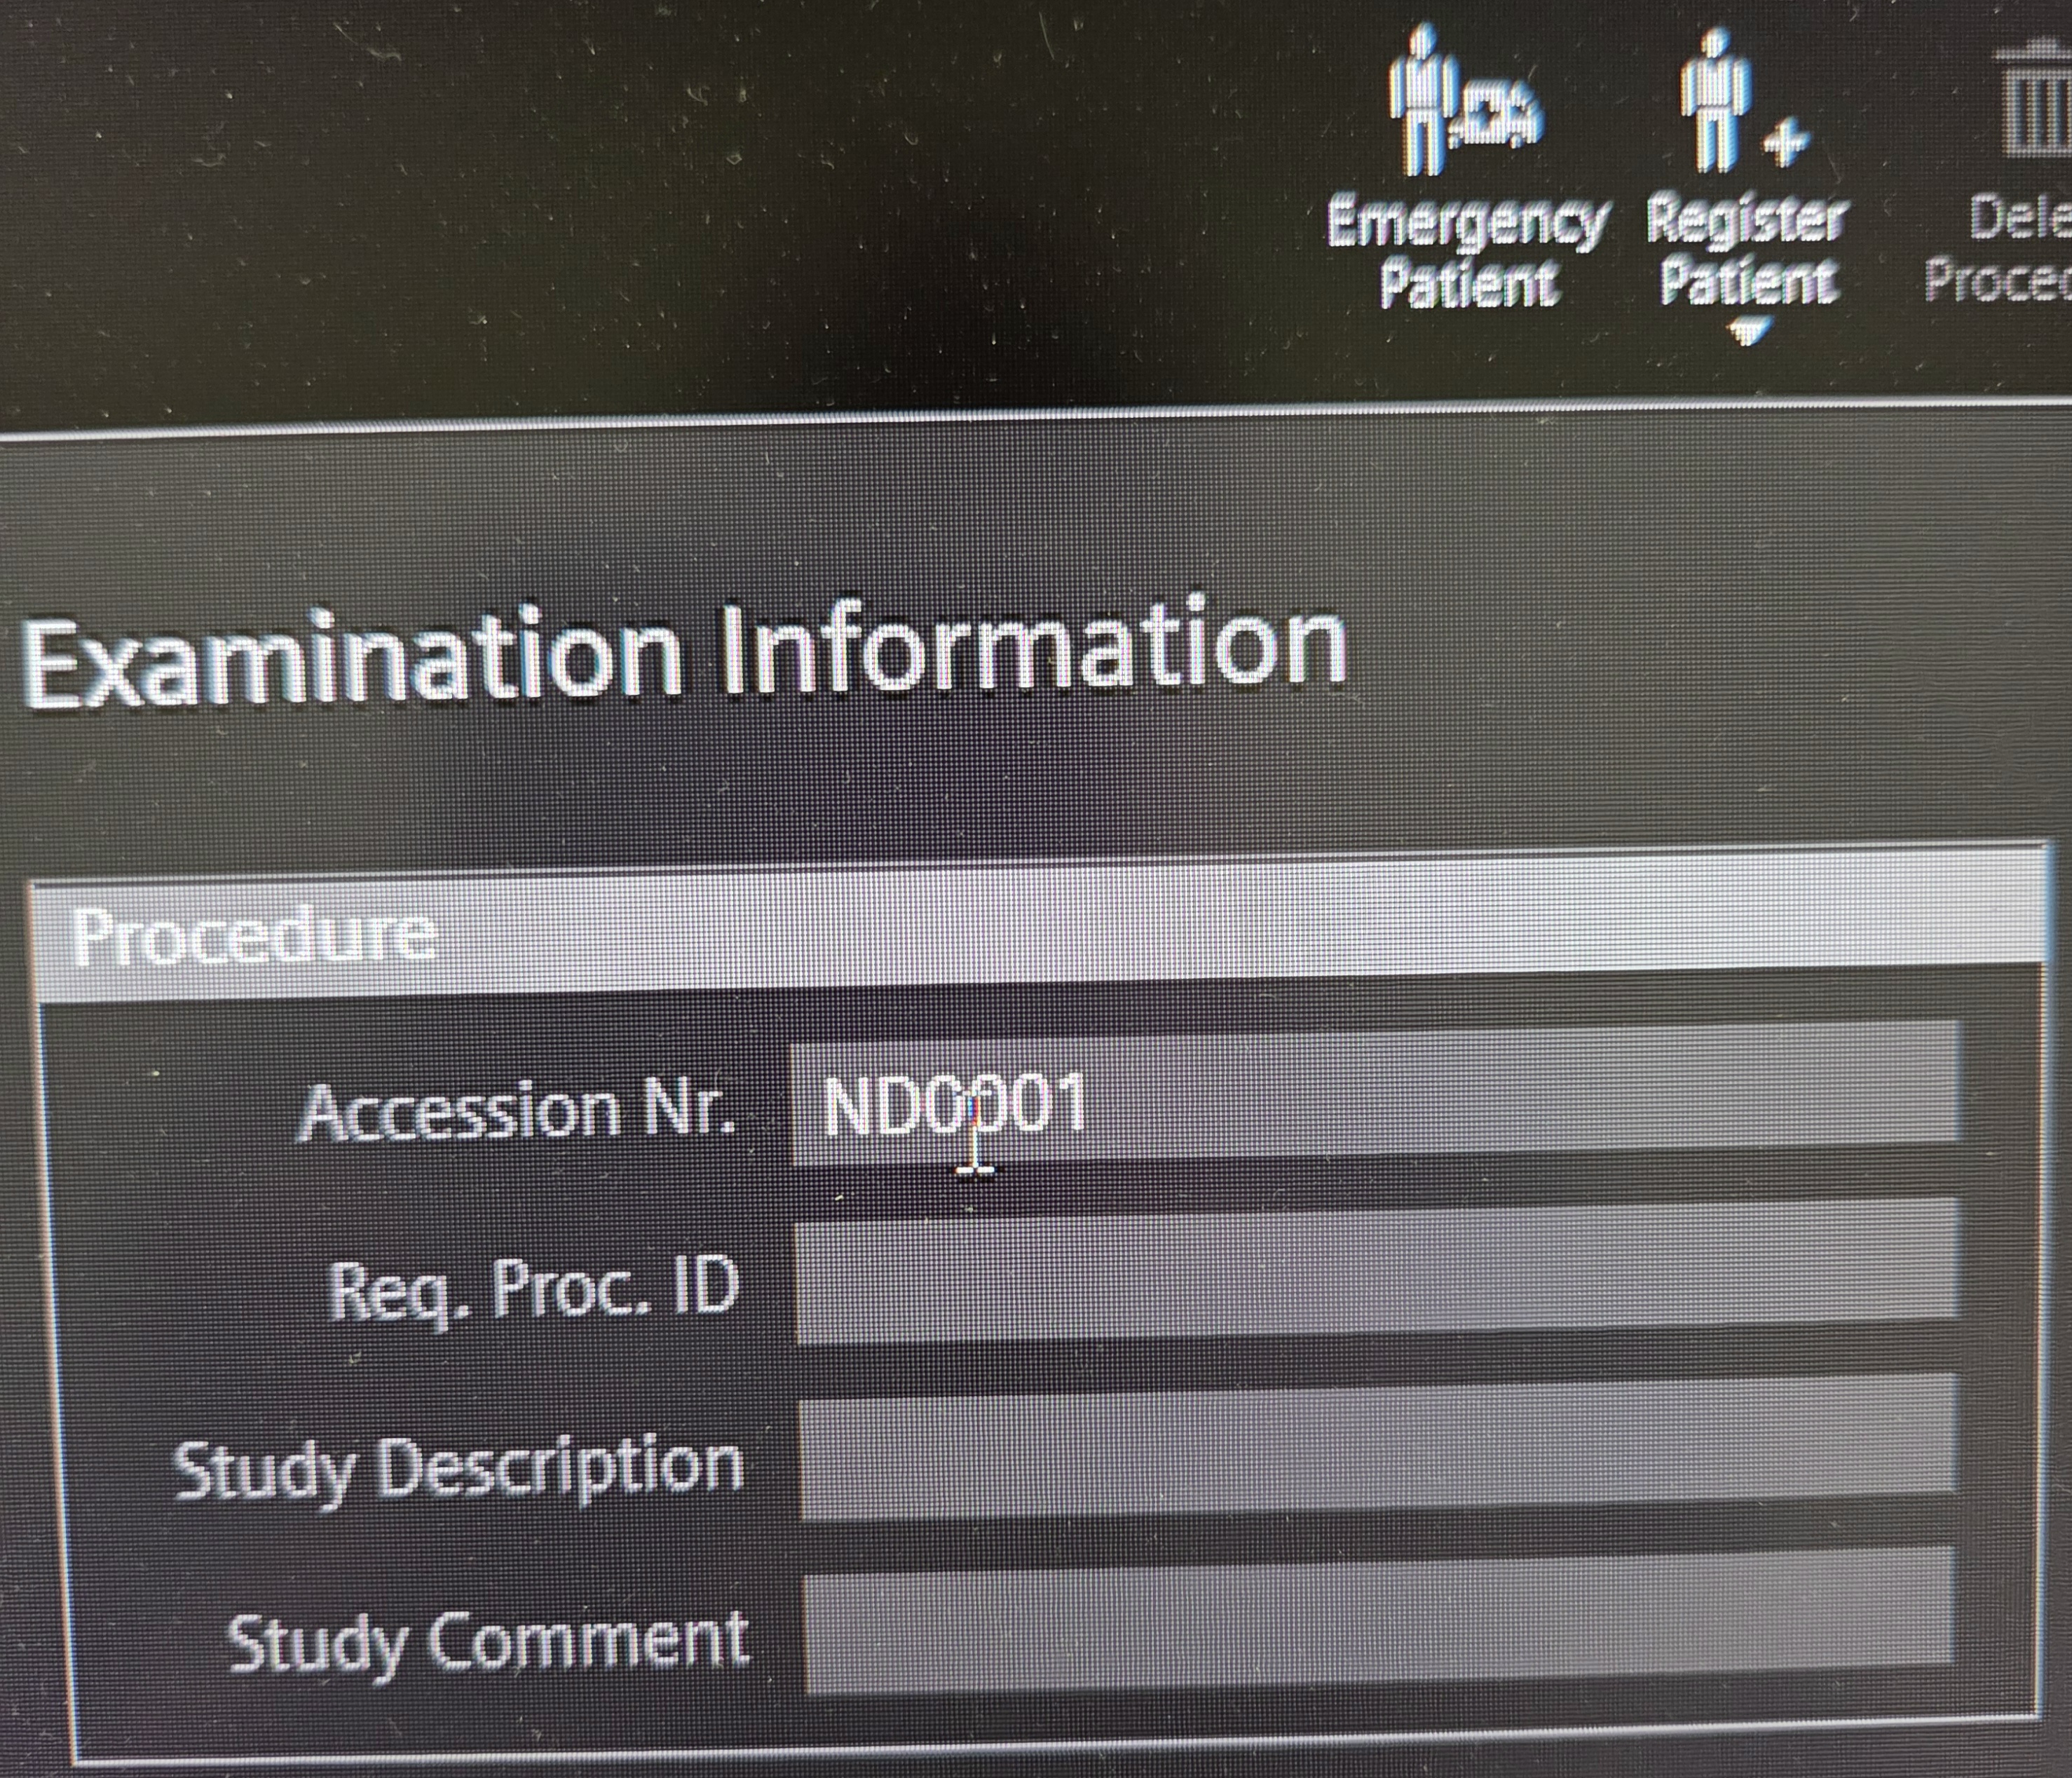
Table Control
Table Attributes
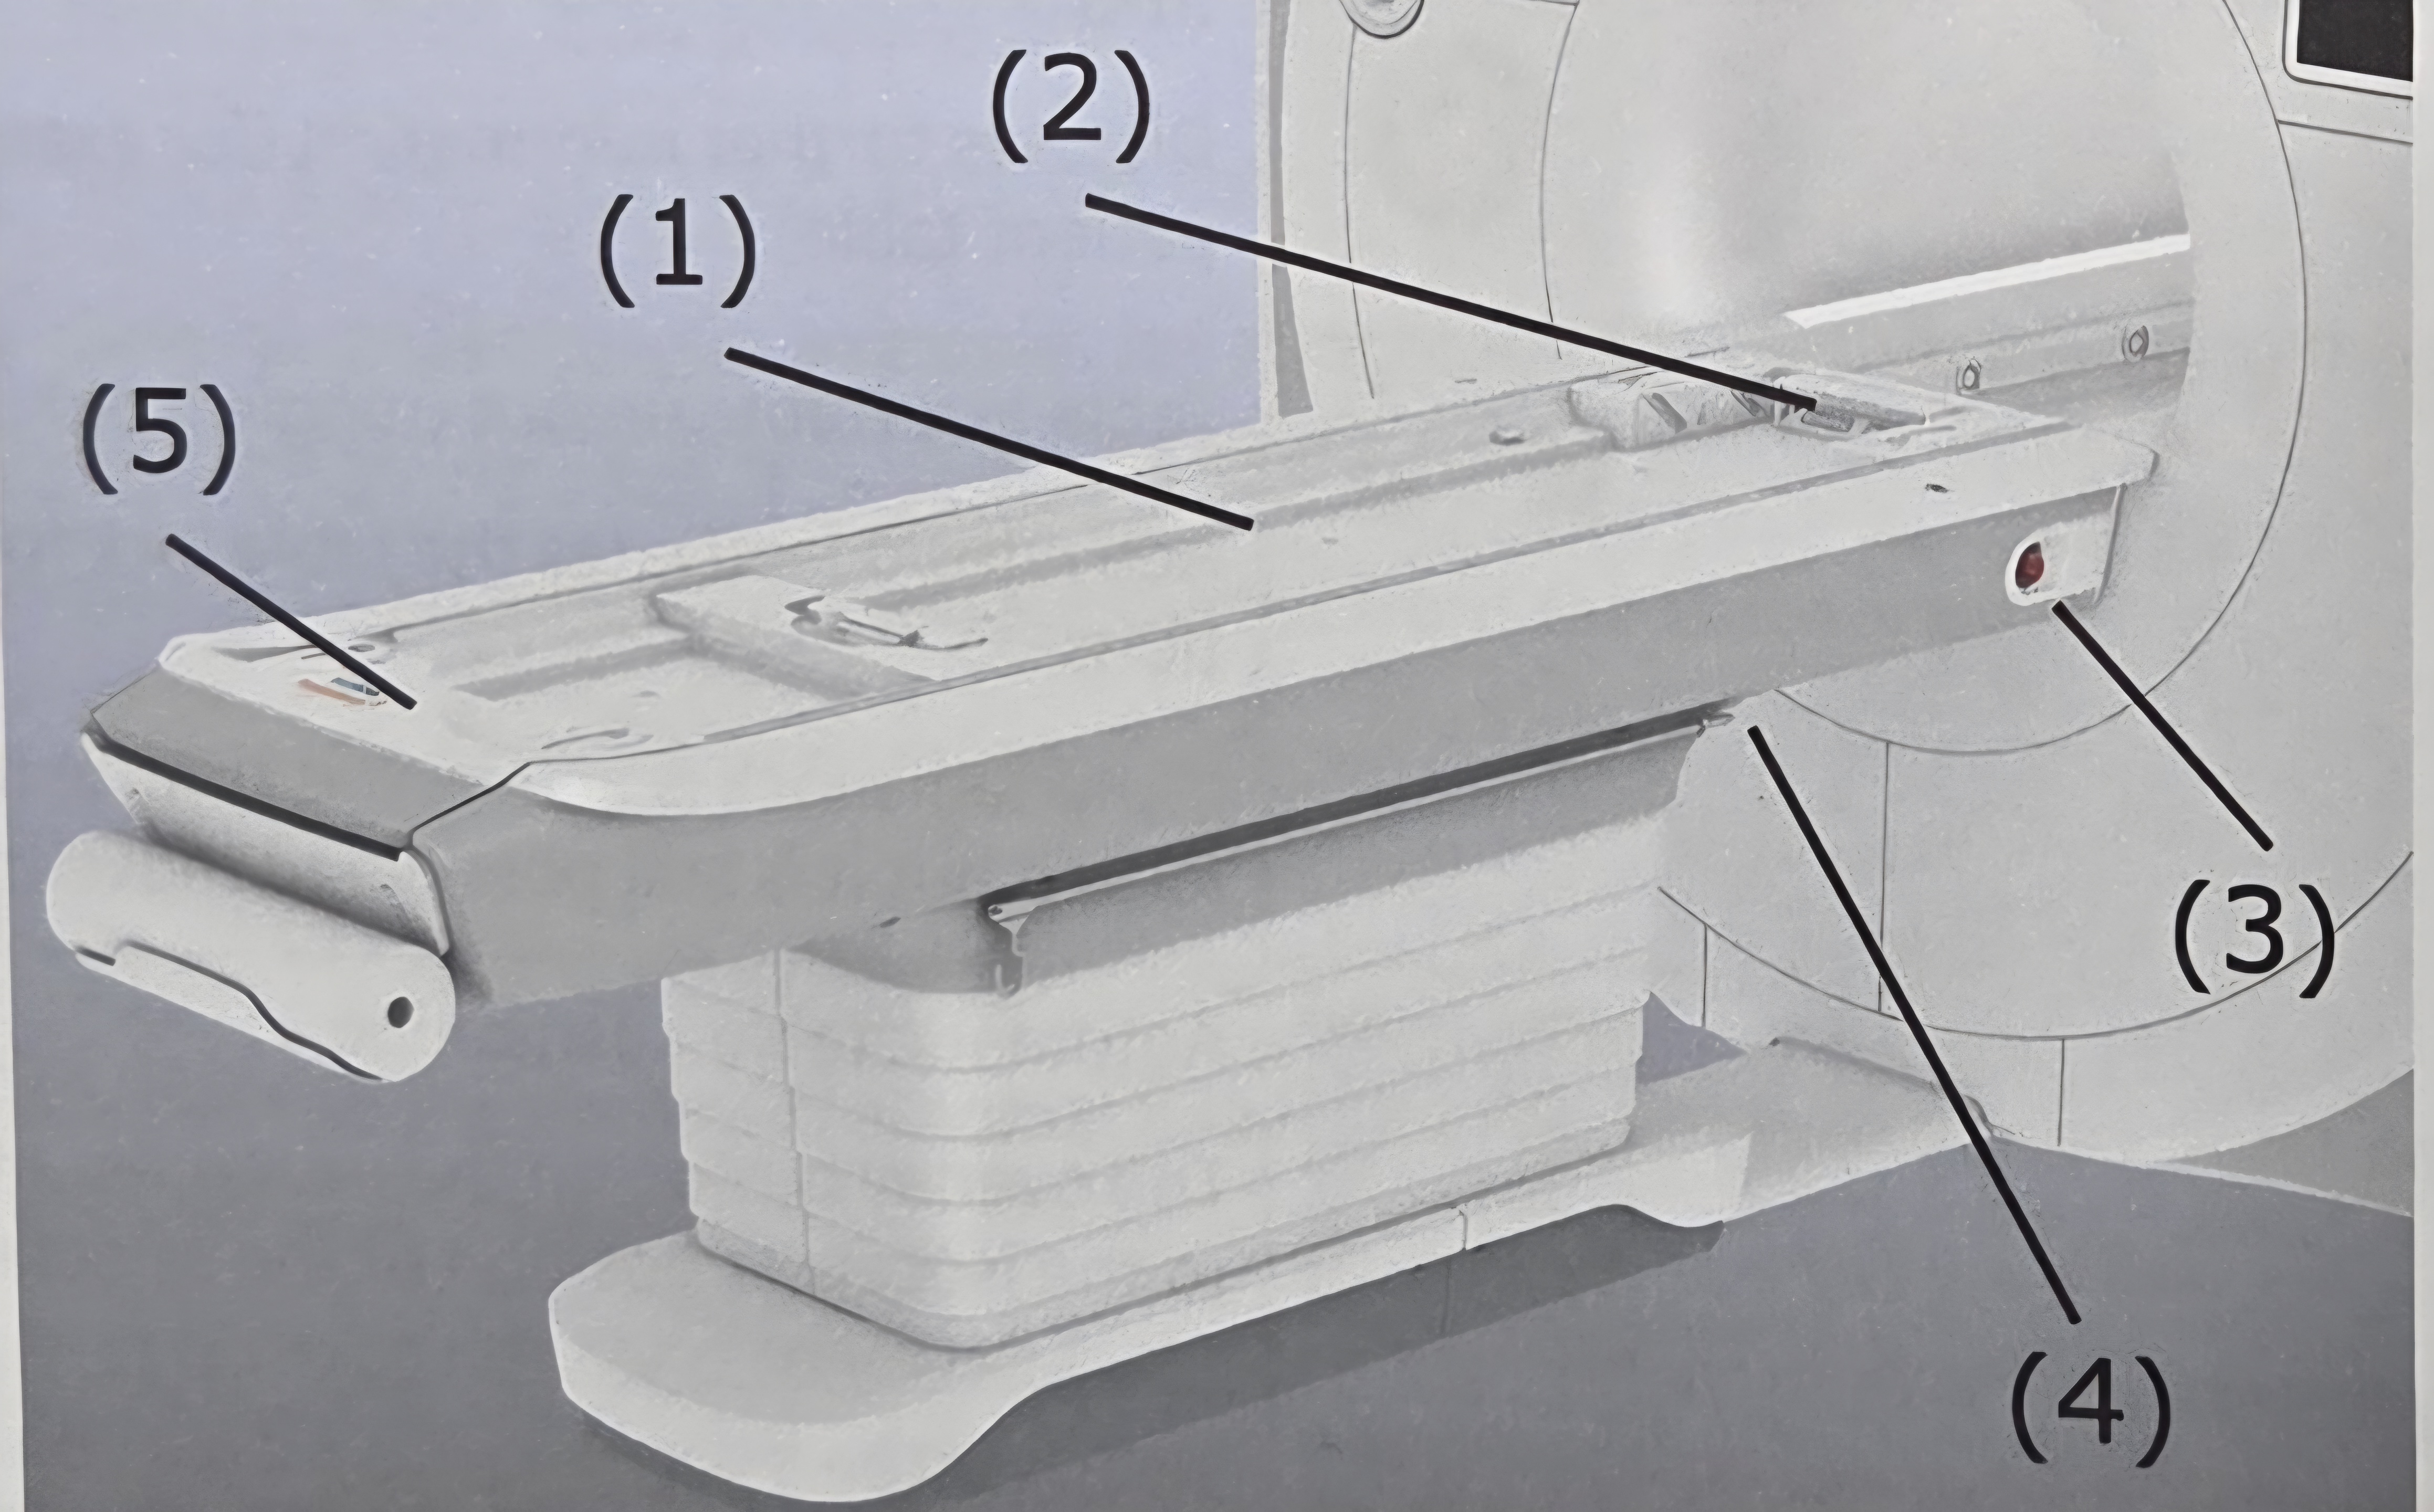
- Table Top
- Head End
- Table Stop Button
- Emergency Release
- Handle: to pull table after emergency release
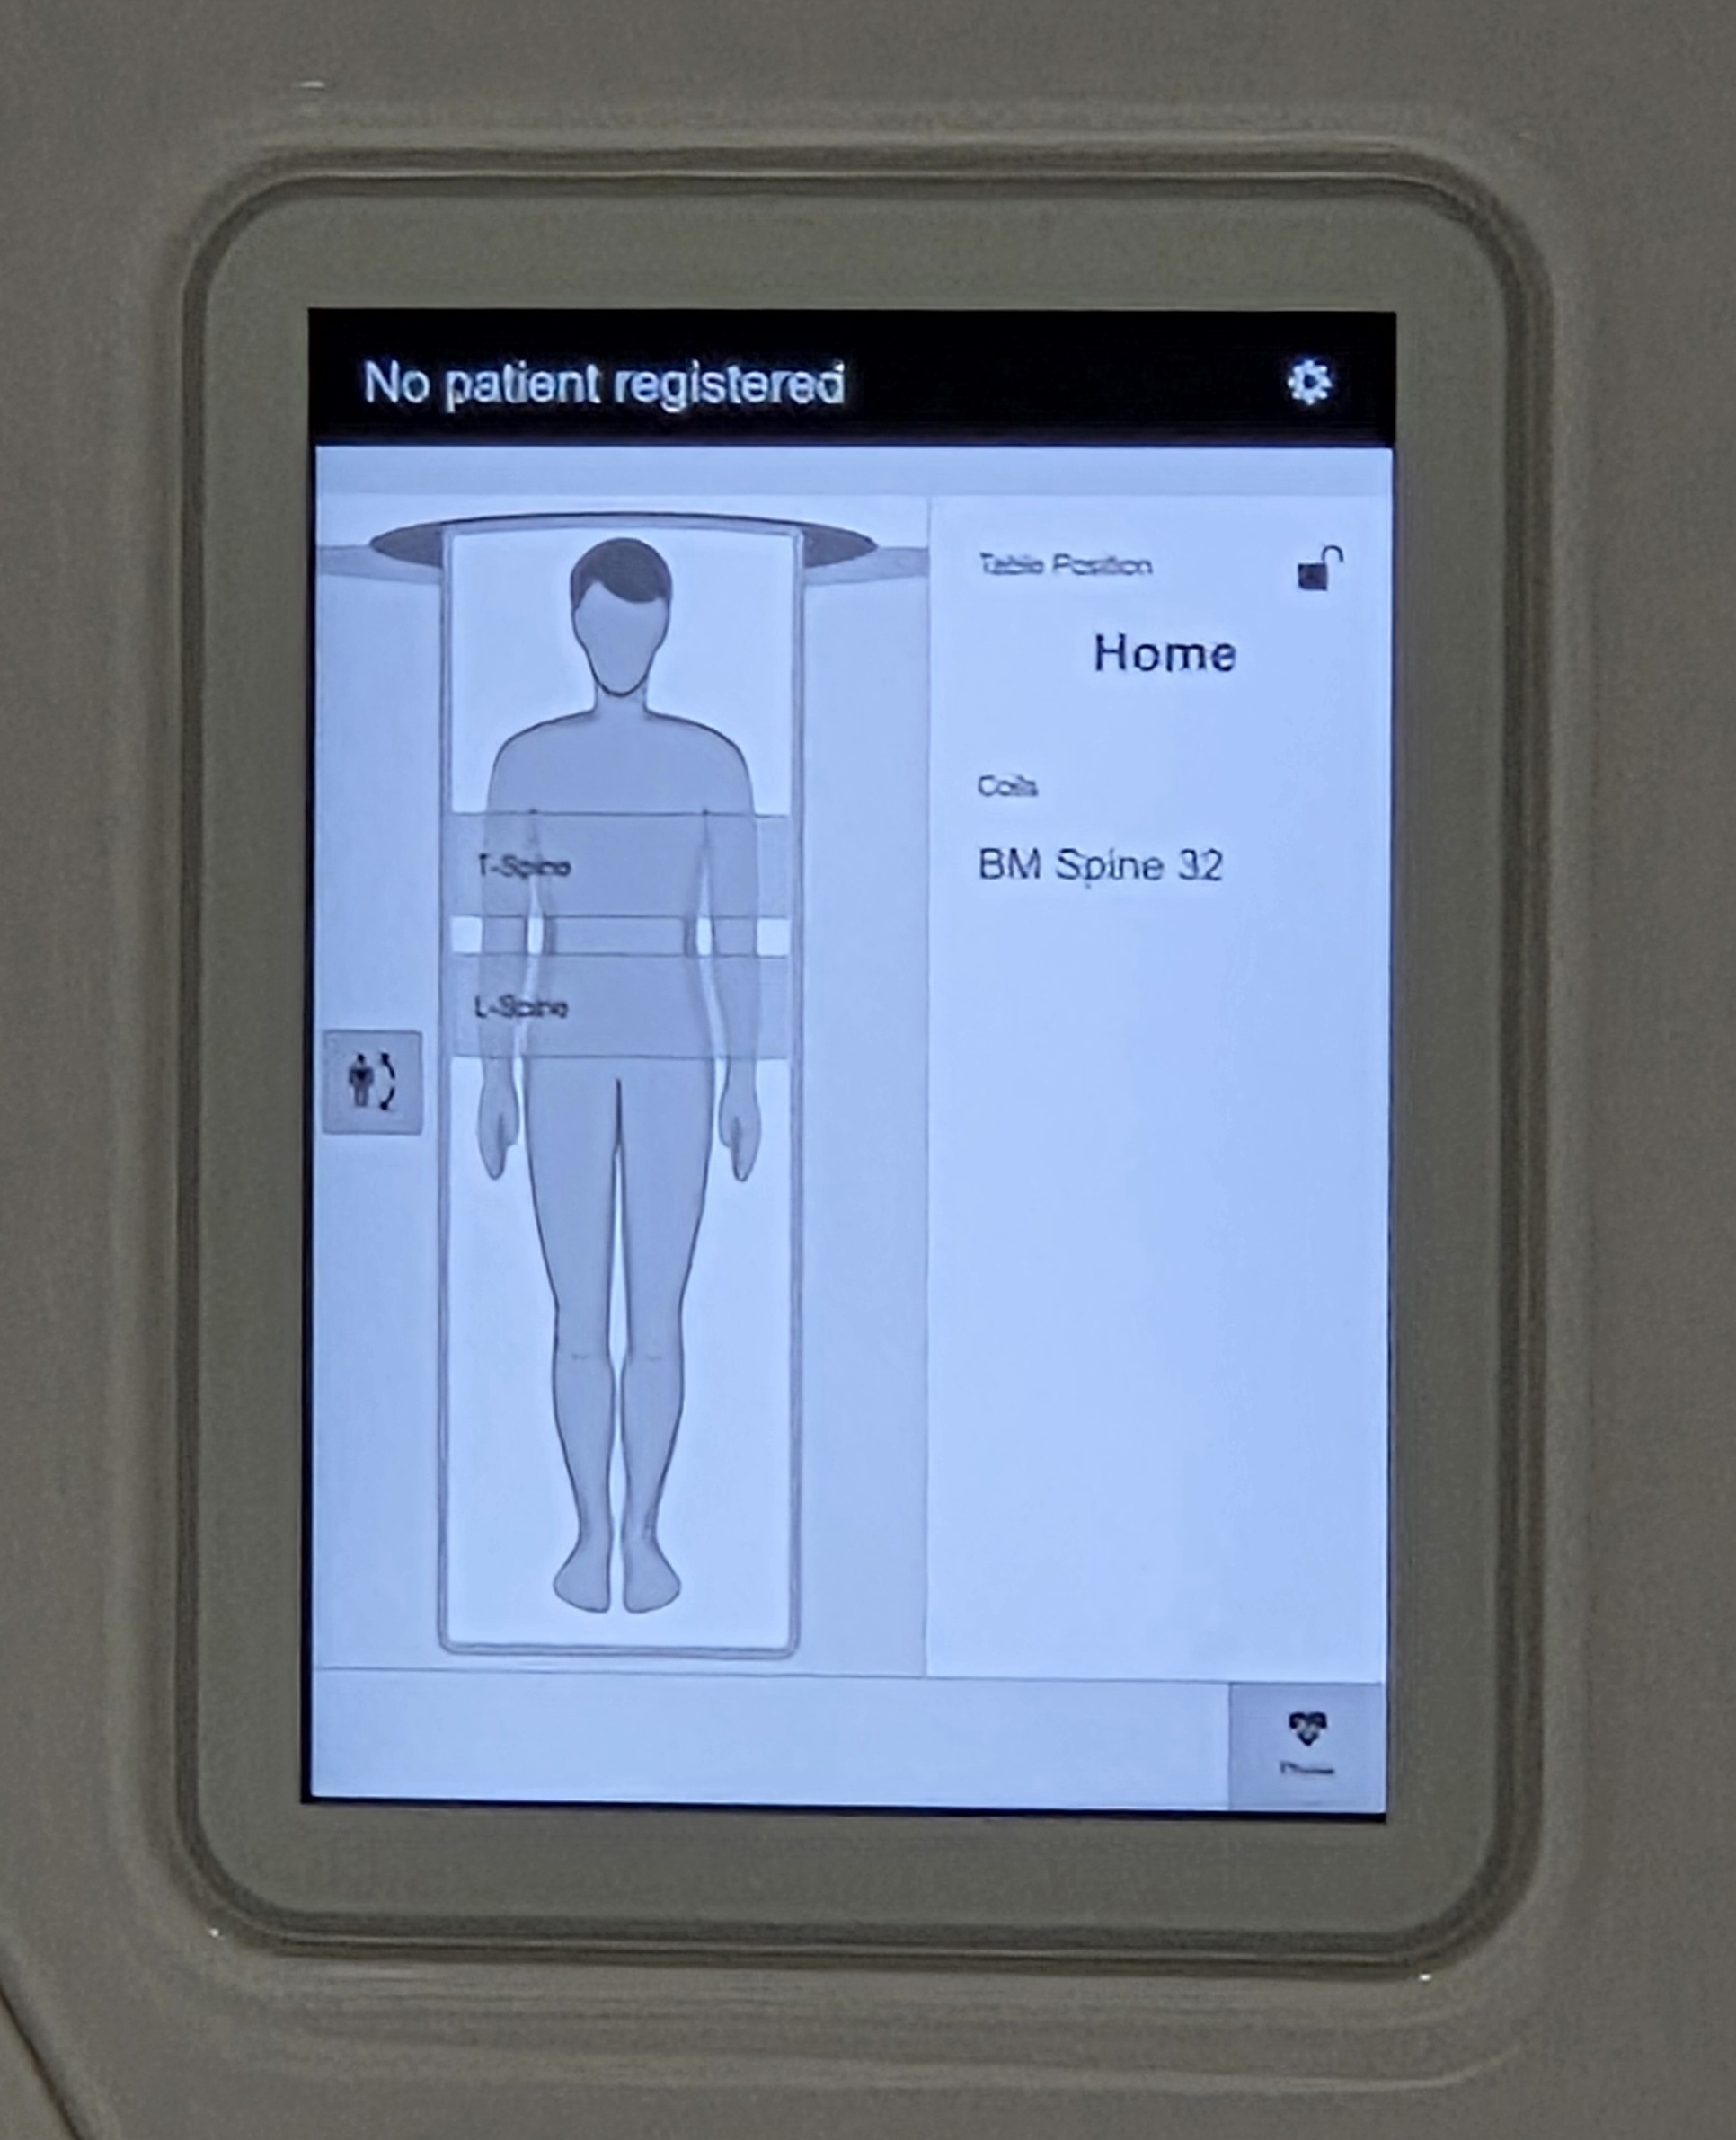
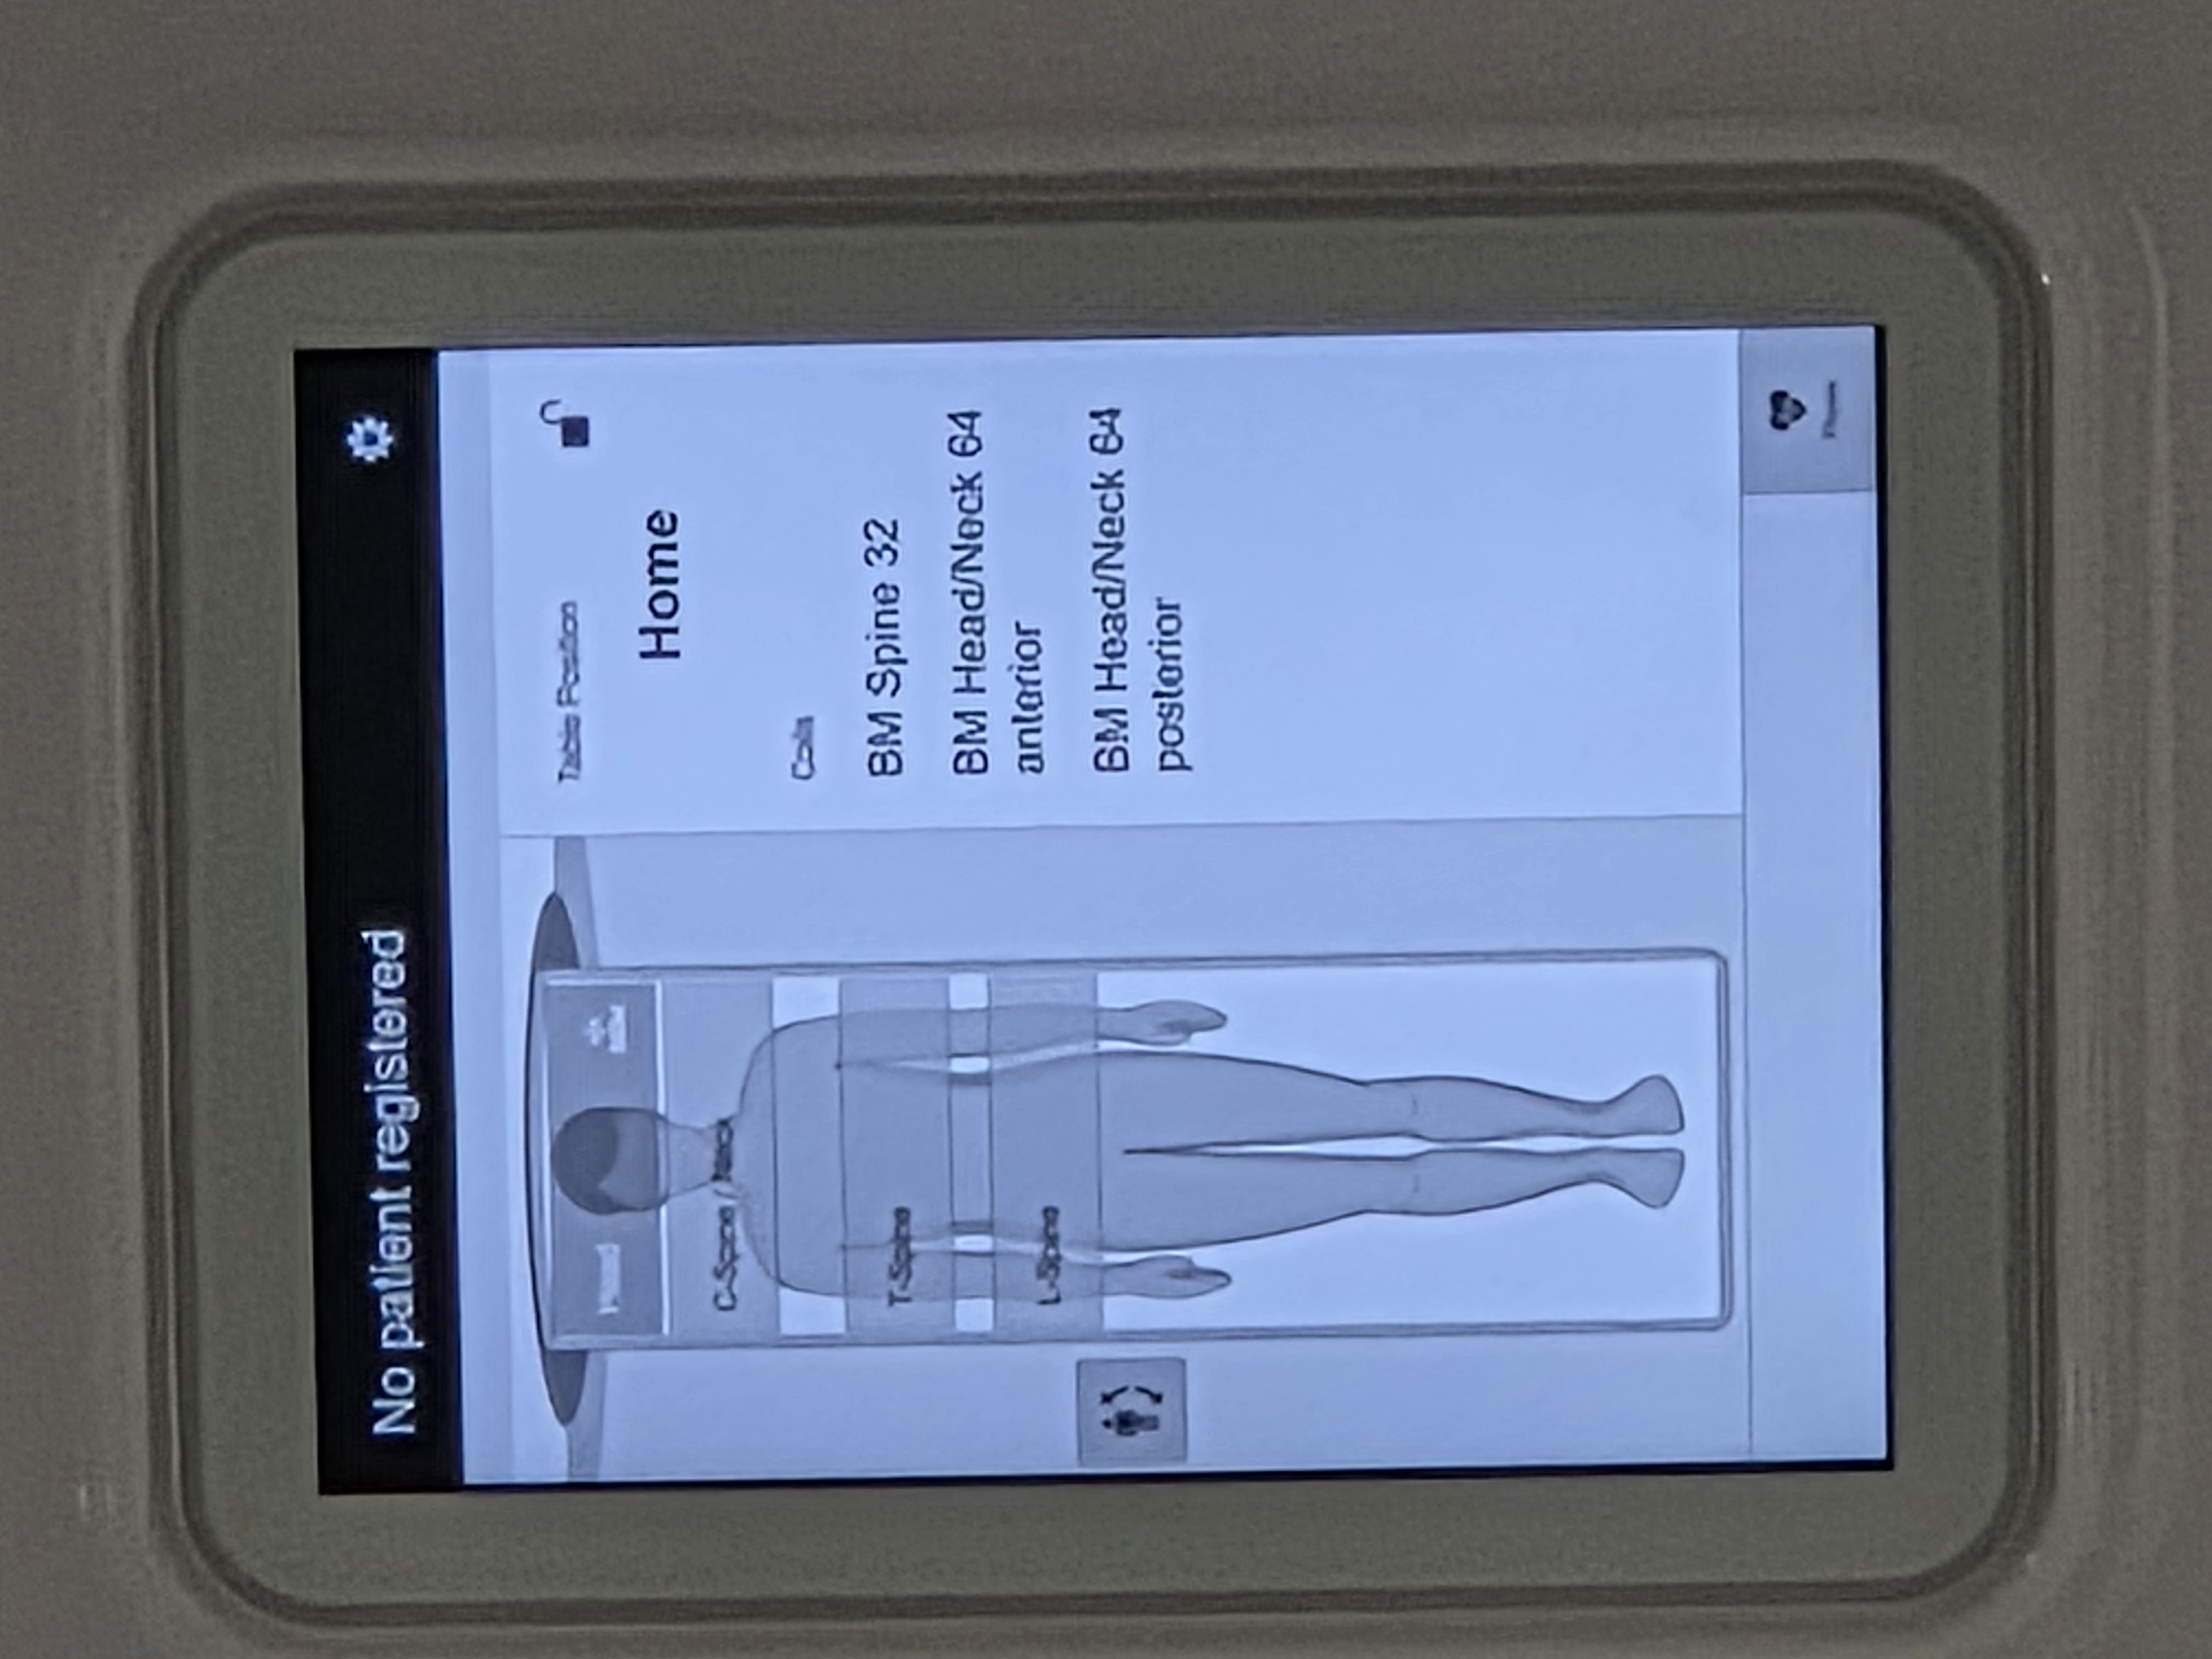
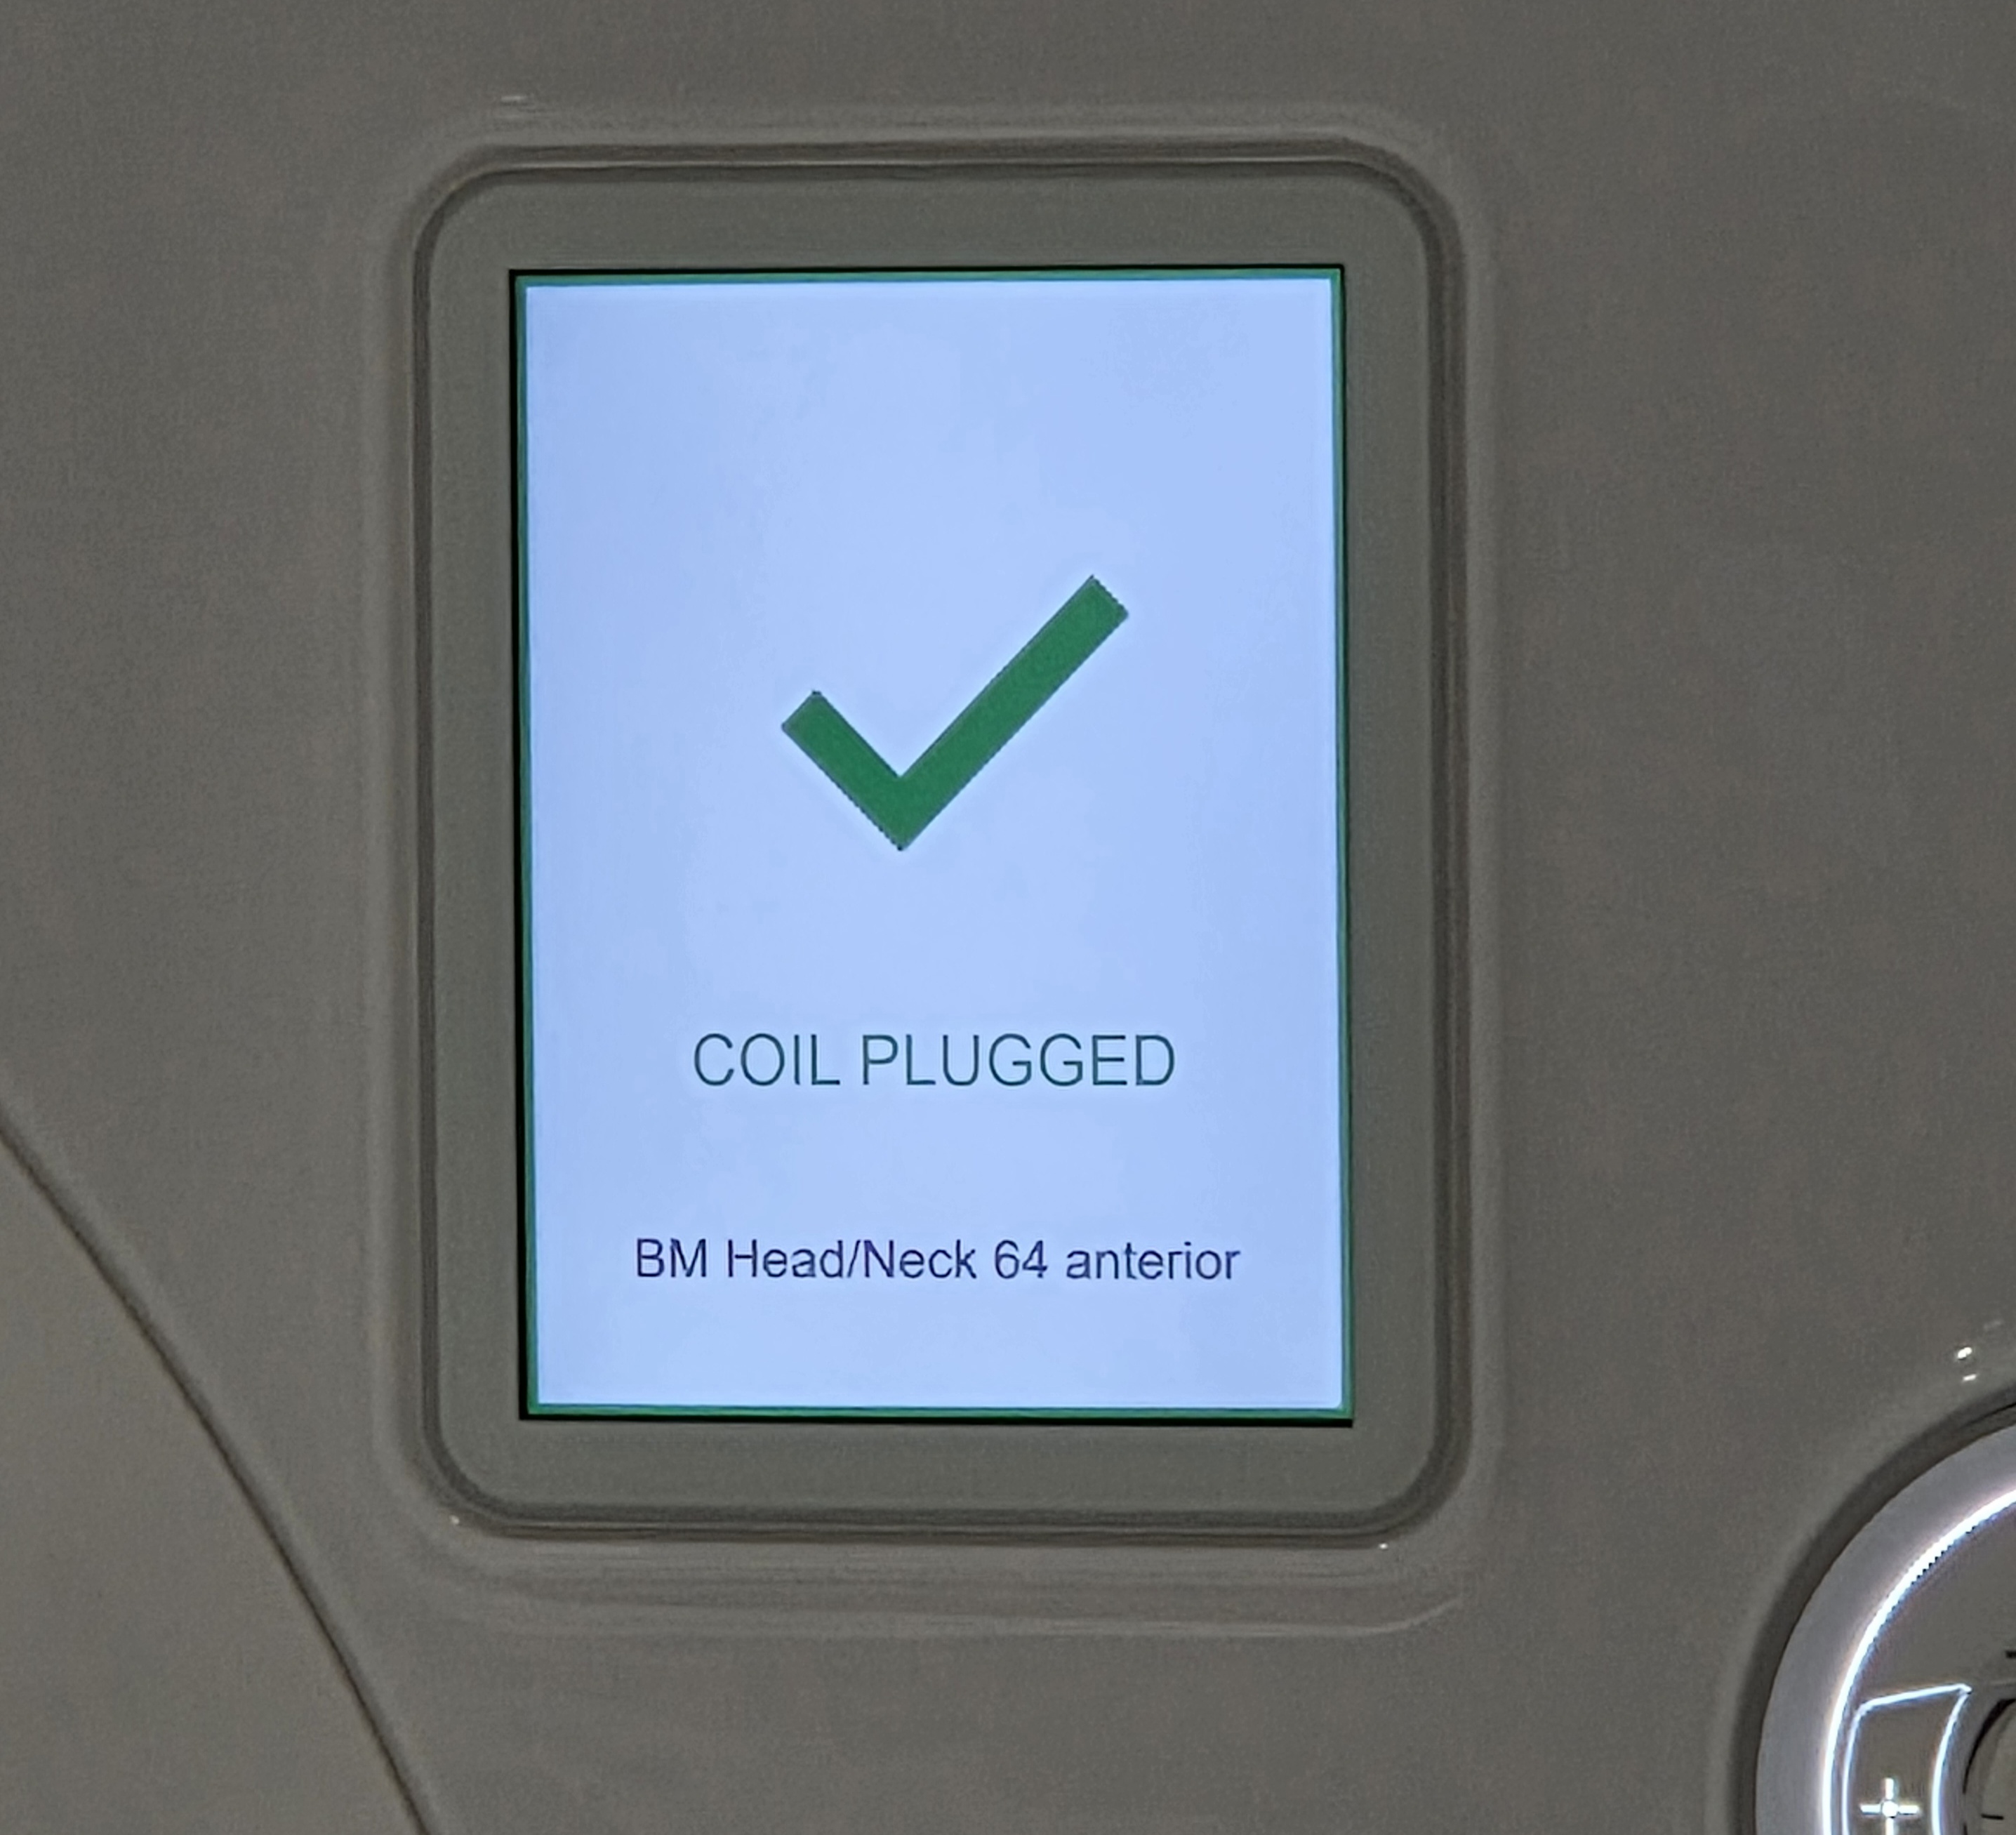
Front Panel: User Interfaces
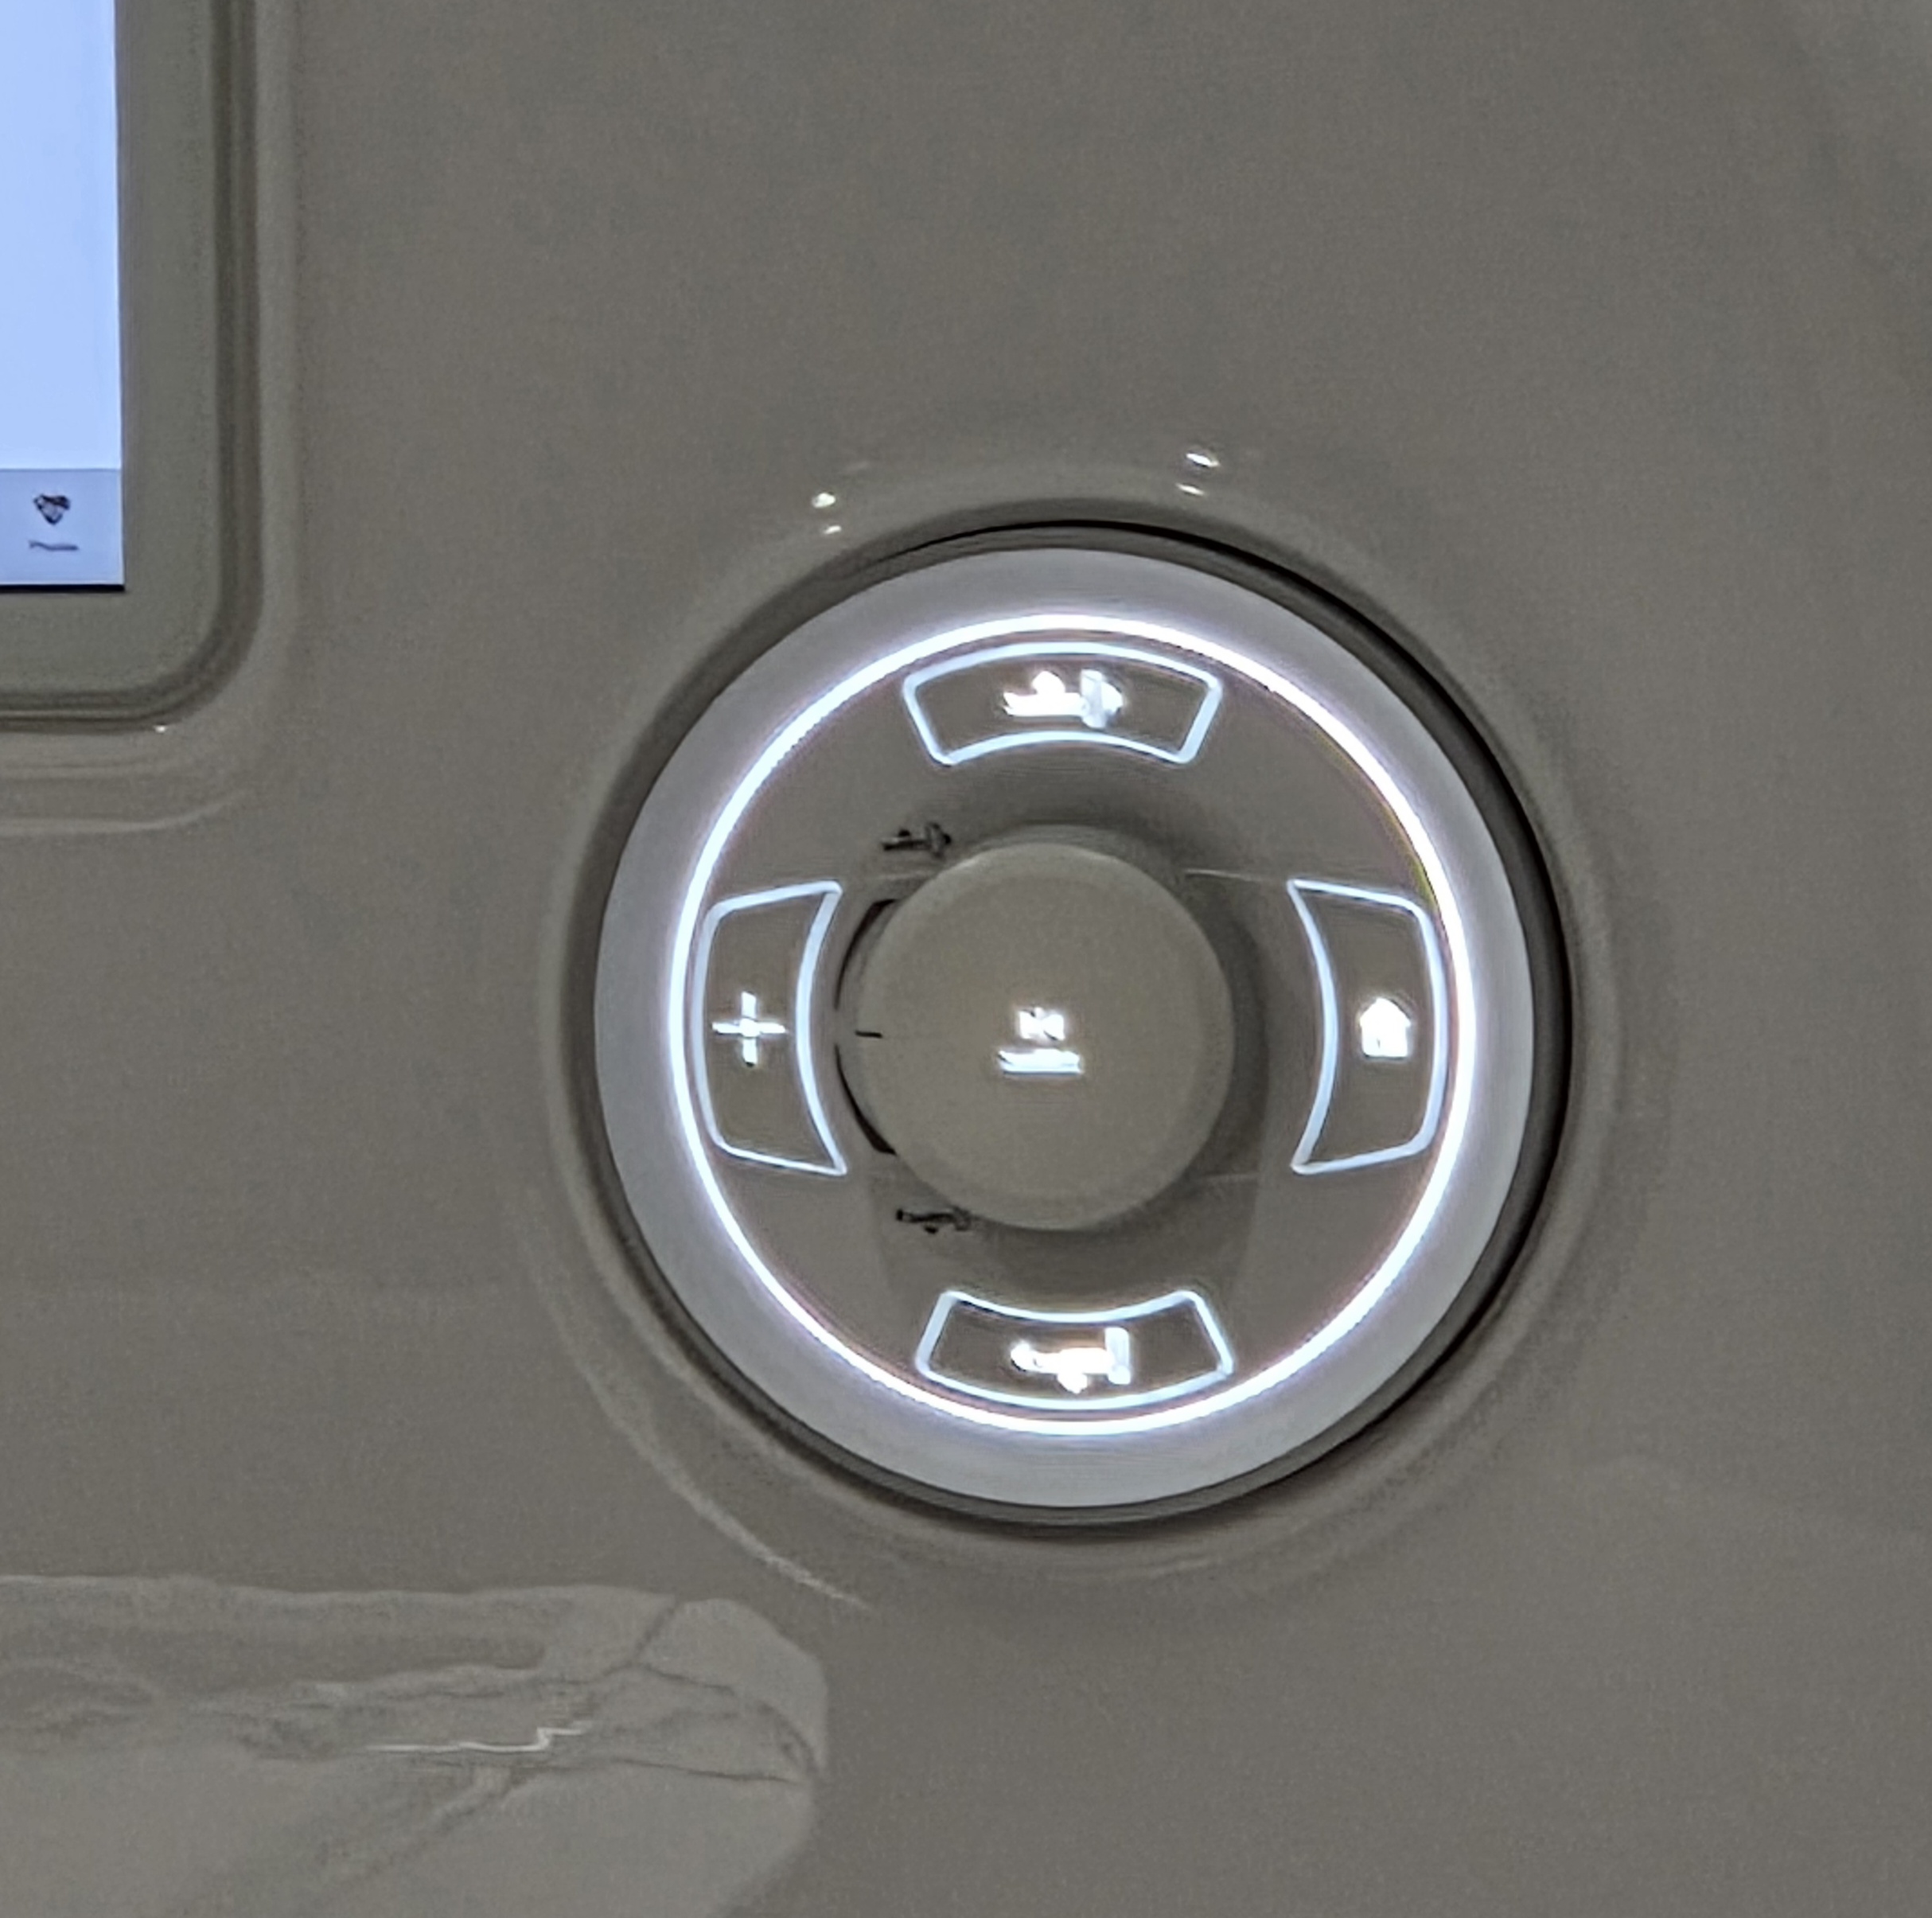
Front Panel: Jogwheel Control
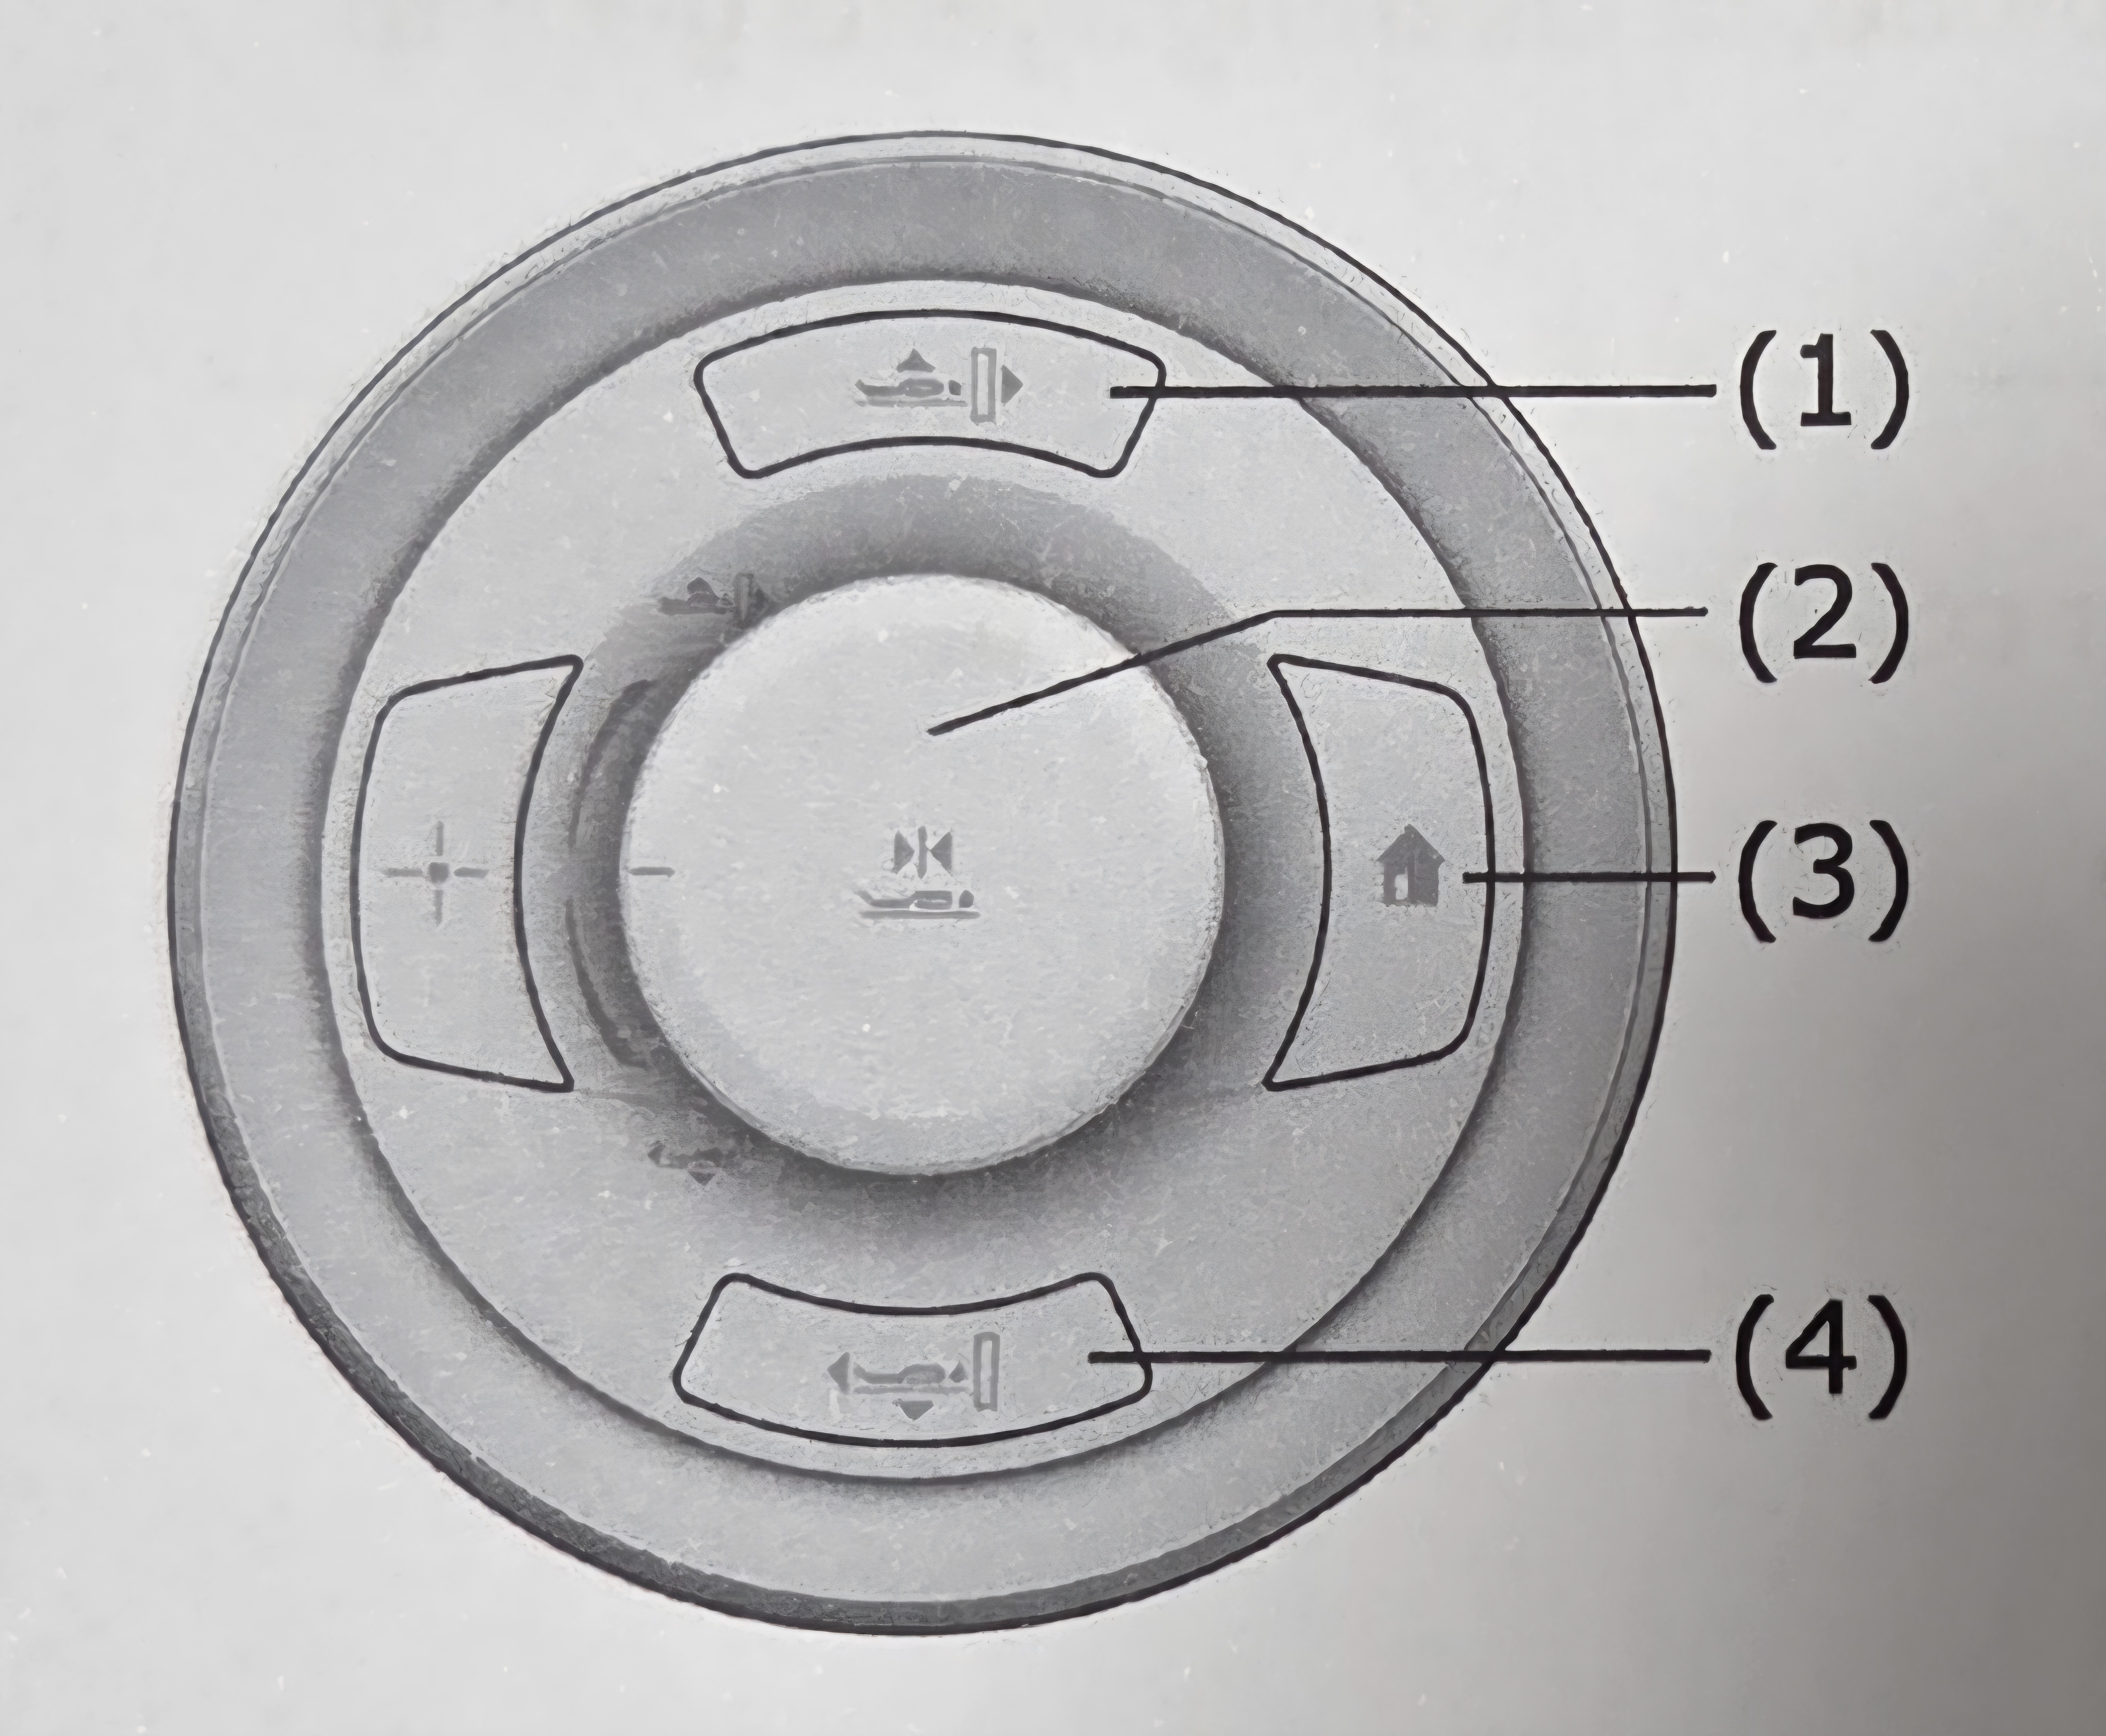
- Table up/inward button
- Jog wheel, center position (landmark) move to scan
- Move to home
- Table down/outward button
Additionally, use “+” to turn alignment light on/off.
Notes:
- Use directional buttons or turn jogwheel to move patients in/out and up/down.
- Horizontal movement speed is faster the farther the wheel is turned.
- Push jogwheel to landmark and move patient in to position for scanning.
To Position:
- Move table up until it is even with the bore.
- Turn on the alignment light by pushing “+” button.
- Move participant in until alignment light is at desired center position.
- Turn off the alignment light by pushing “+” again.
- Push the jogwheel and hold (1 second) until table starts to move to the center of the bore.
- Begin scanning.
Scan Controls: Basic Screens
Exam Screen
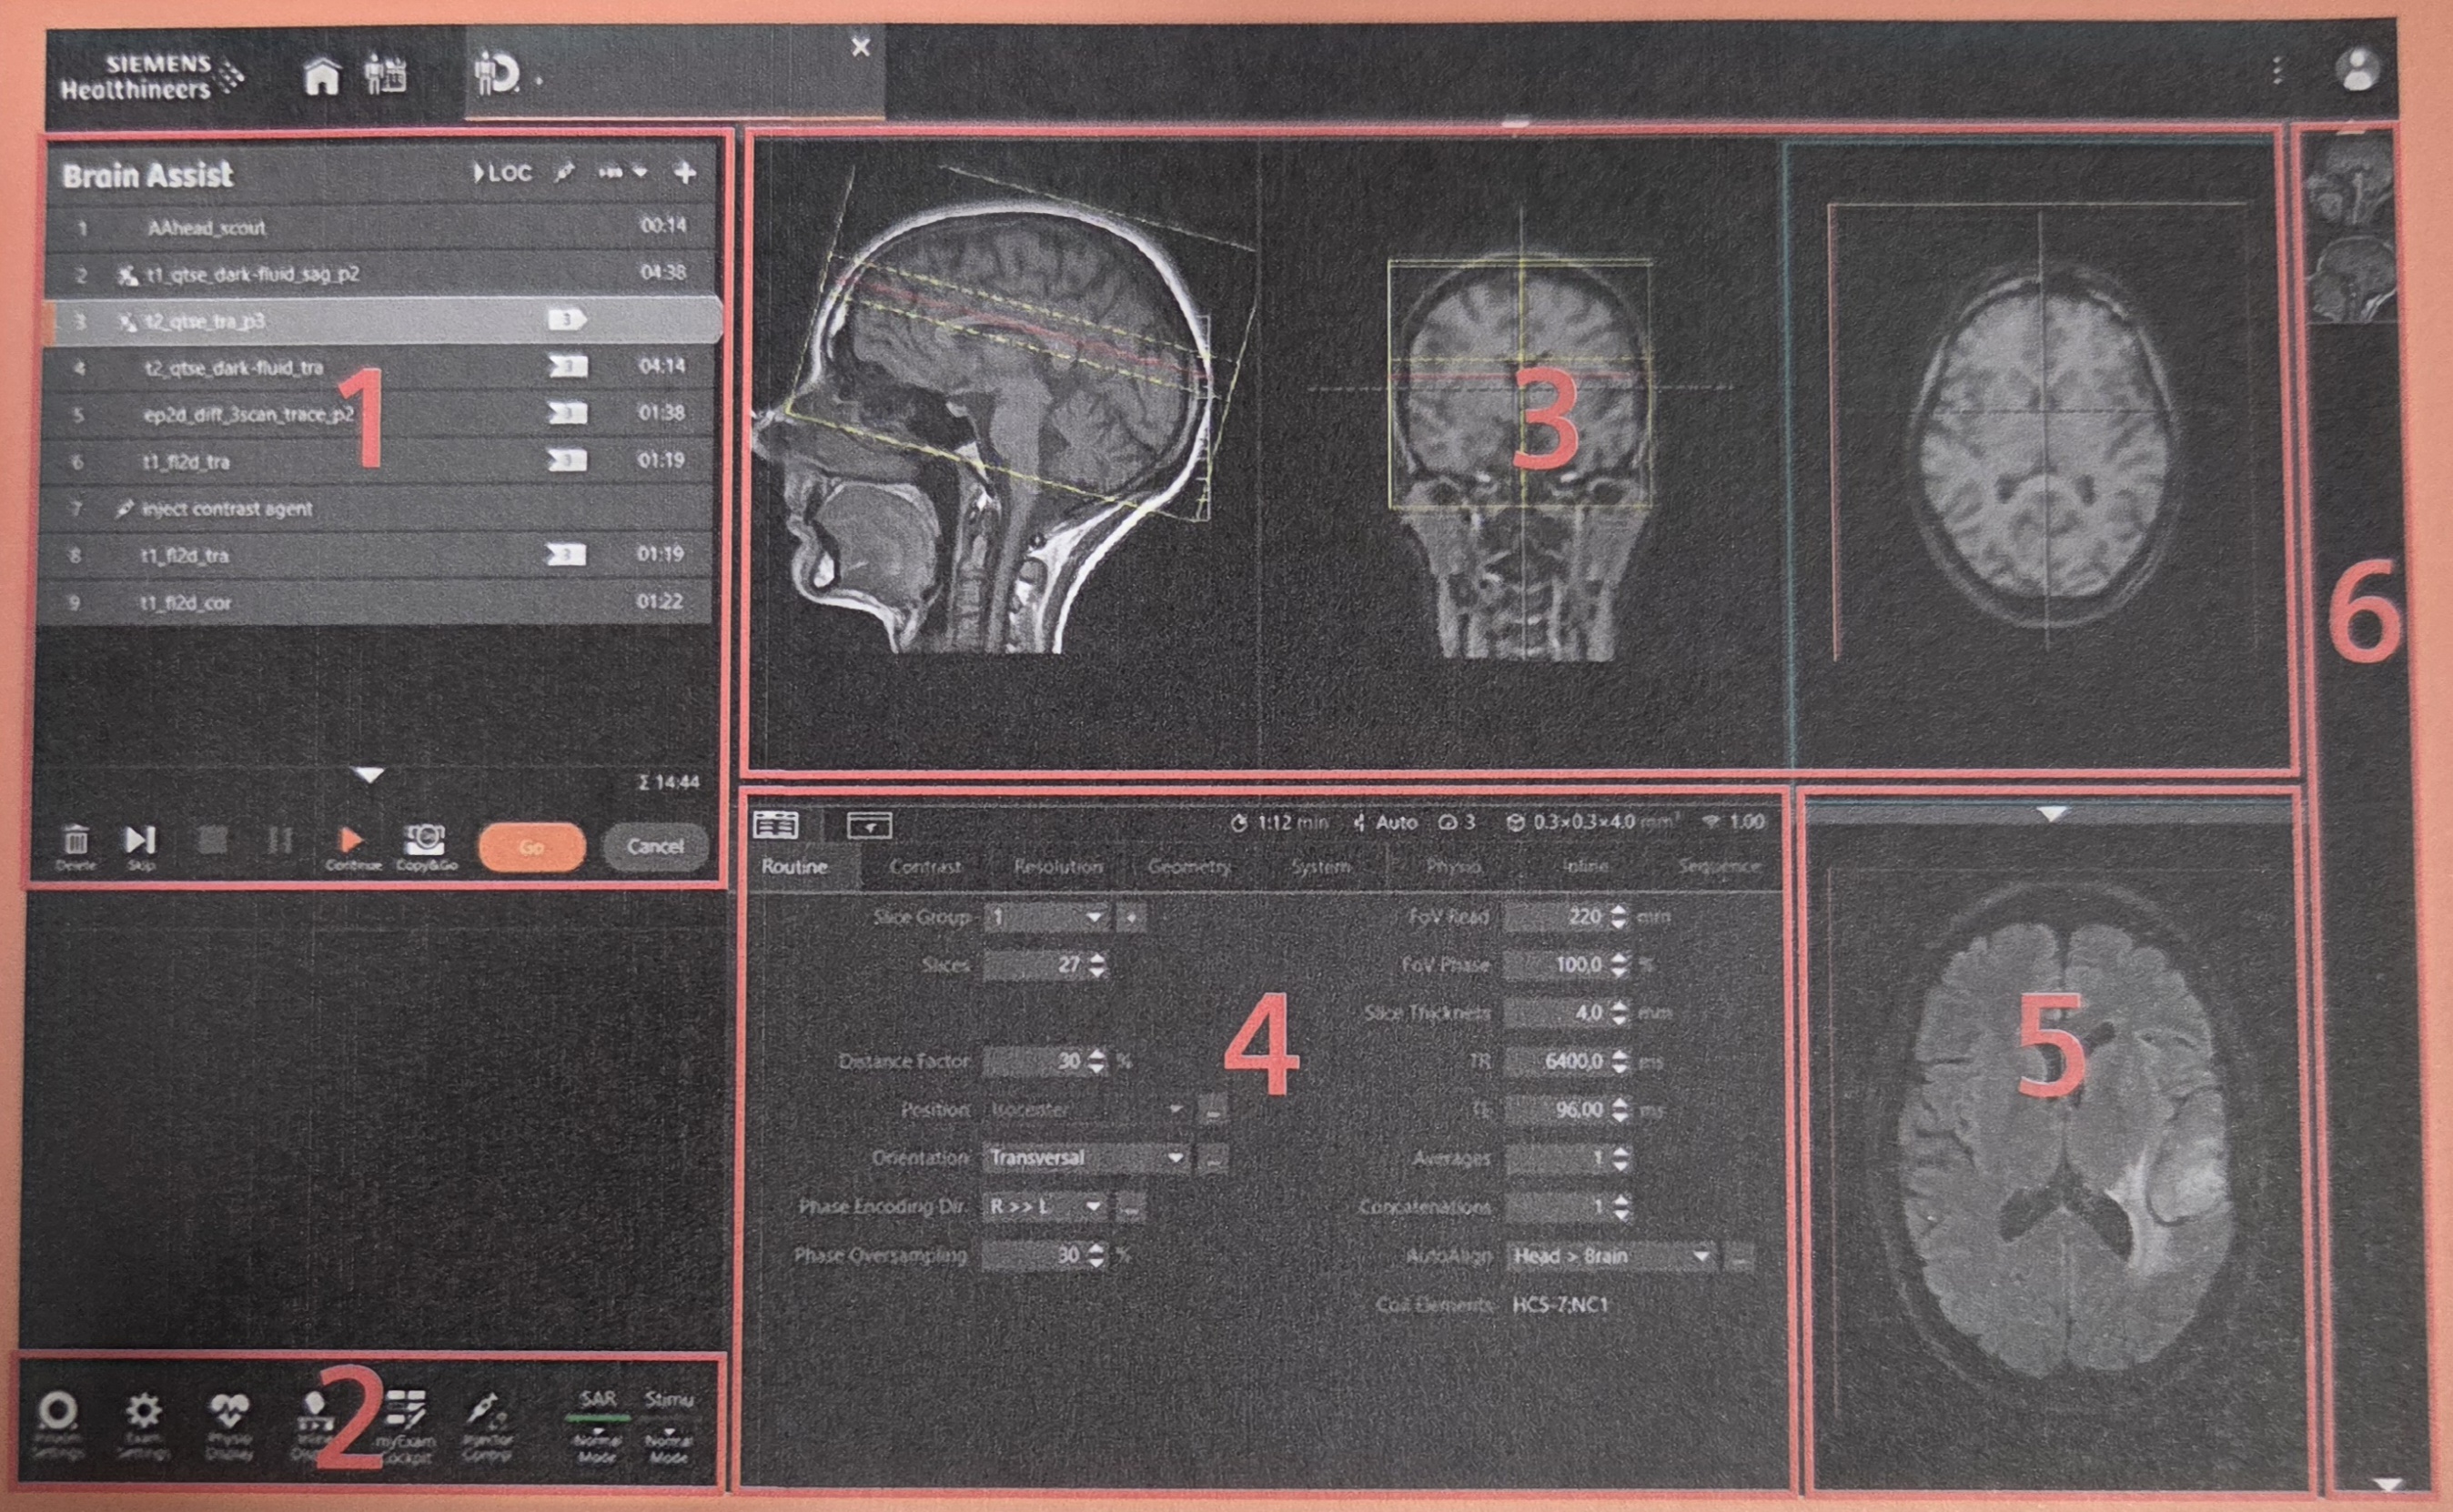
- Scan Queue: used to program sequences and program control icons.
- Exam Tool Bar: provide access to functions for setting up and controlling an exam.
- Planning Segments: displays reference images used for graphical slice positioning.
- Parameter Card Area: displays the parameter cards of the current protocol and/or user guidance.
- Variable Segment: shows the inline display or extended third plane planning segment.
- Stamp Segments: each stamp represents the images of a previously measured series from the current examination.
View and Go
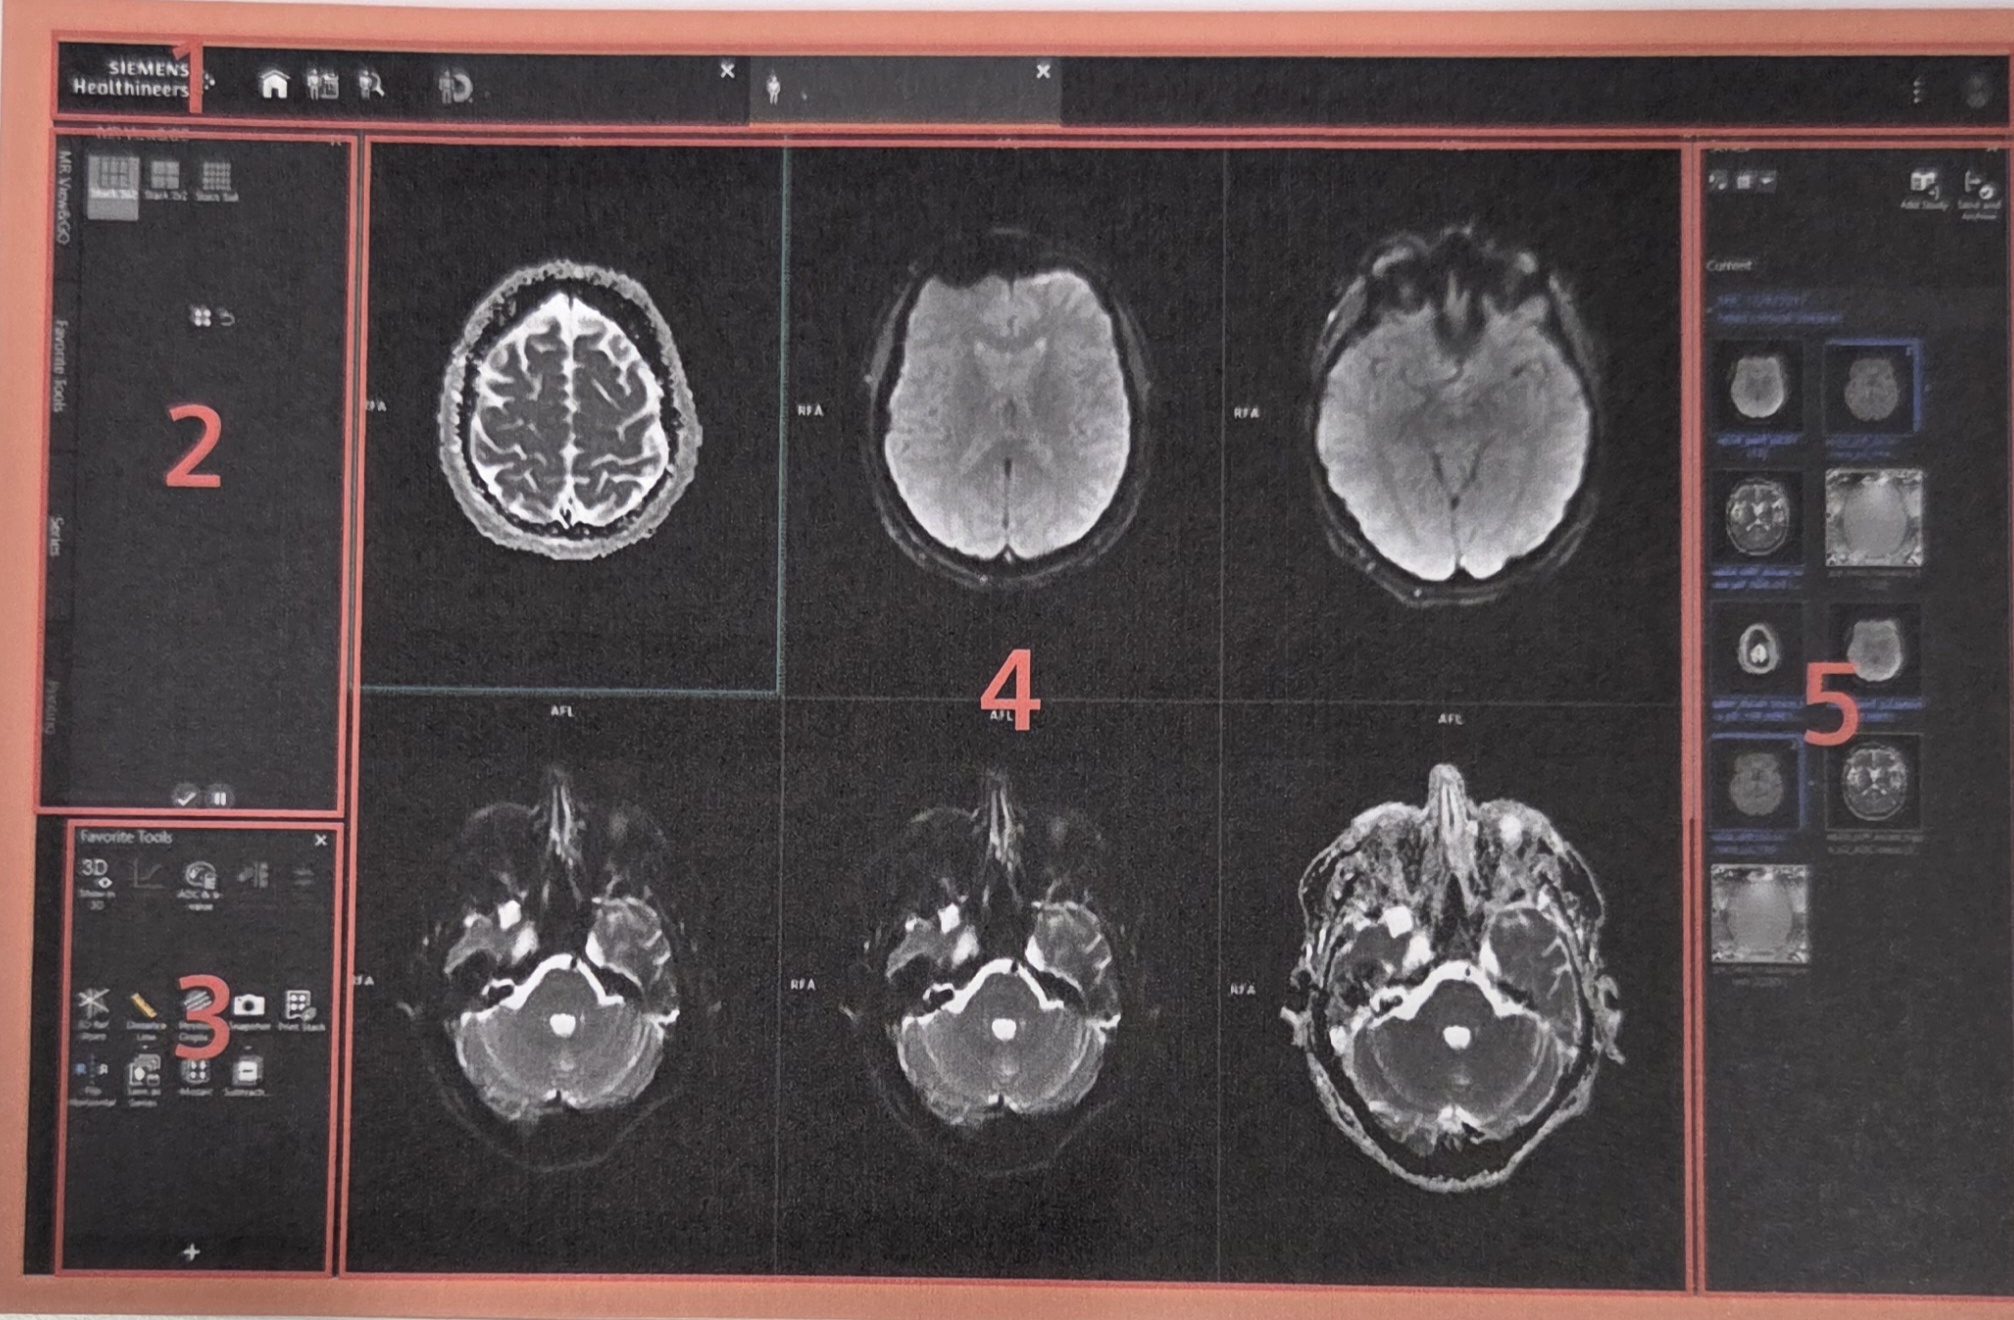
- Access Bar: contains patient tab and icons to access the patient browser or online help.
- Case Navigator: contains tabs with processing and viewing options and for printing.
- Favorite Tools Area: provides access to preferred functions.
- Image Area: displays images and series in segments.
- Series Navigator: list all available series for the current patient.